With Webex integration you can easily issue certificates/badges to your participants in hassle free way. You don’t need to worry about collecting participant’s details manually. With this integration you can automatically import the participants list in your meeting or webinar and issue certificates in one click! To integrate Webex into Hyperstack, follow the below steps
1

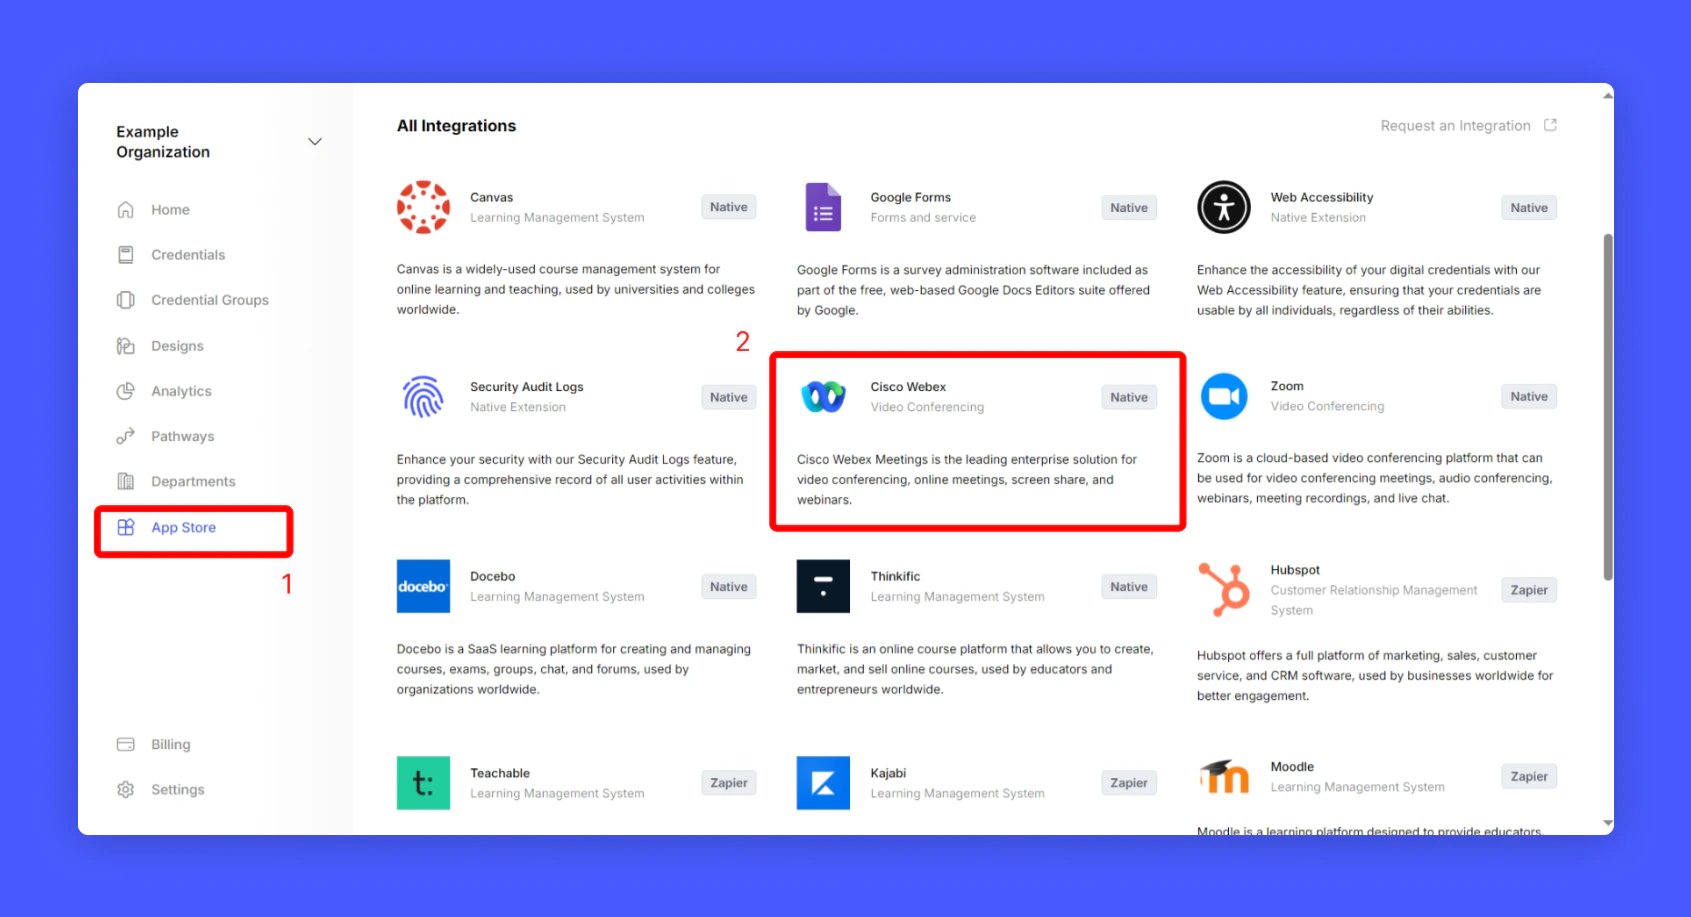
Login to your Hyperstack account, Click App Store and Webex Integration from your Issuer home page

Screenshot of a deployment confirmation message that says All checks have passed.
2

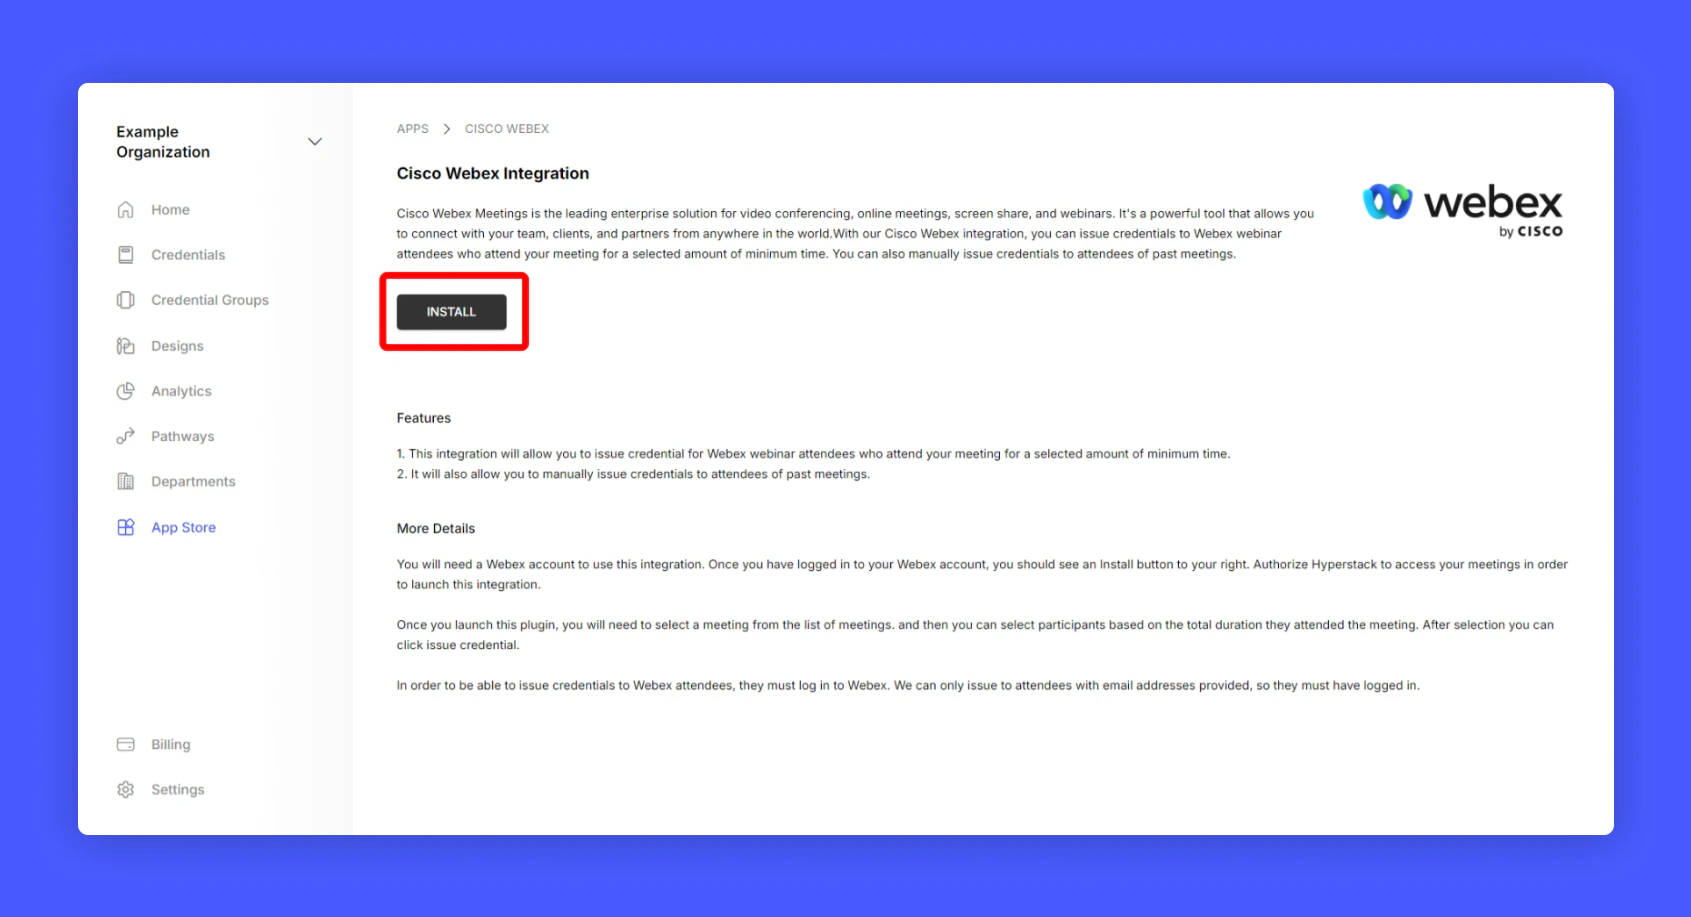
On Webex integration page click Install to integrate Webex into Hyperstack

3

You will be taken to Webex authorization page, Click Accept to install the Hyperstack app on your Webex app

Screenshot of a deployment confirmation message that says All checks have passed.
4

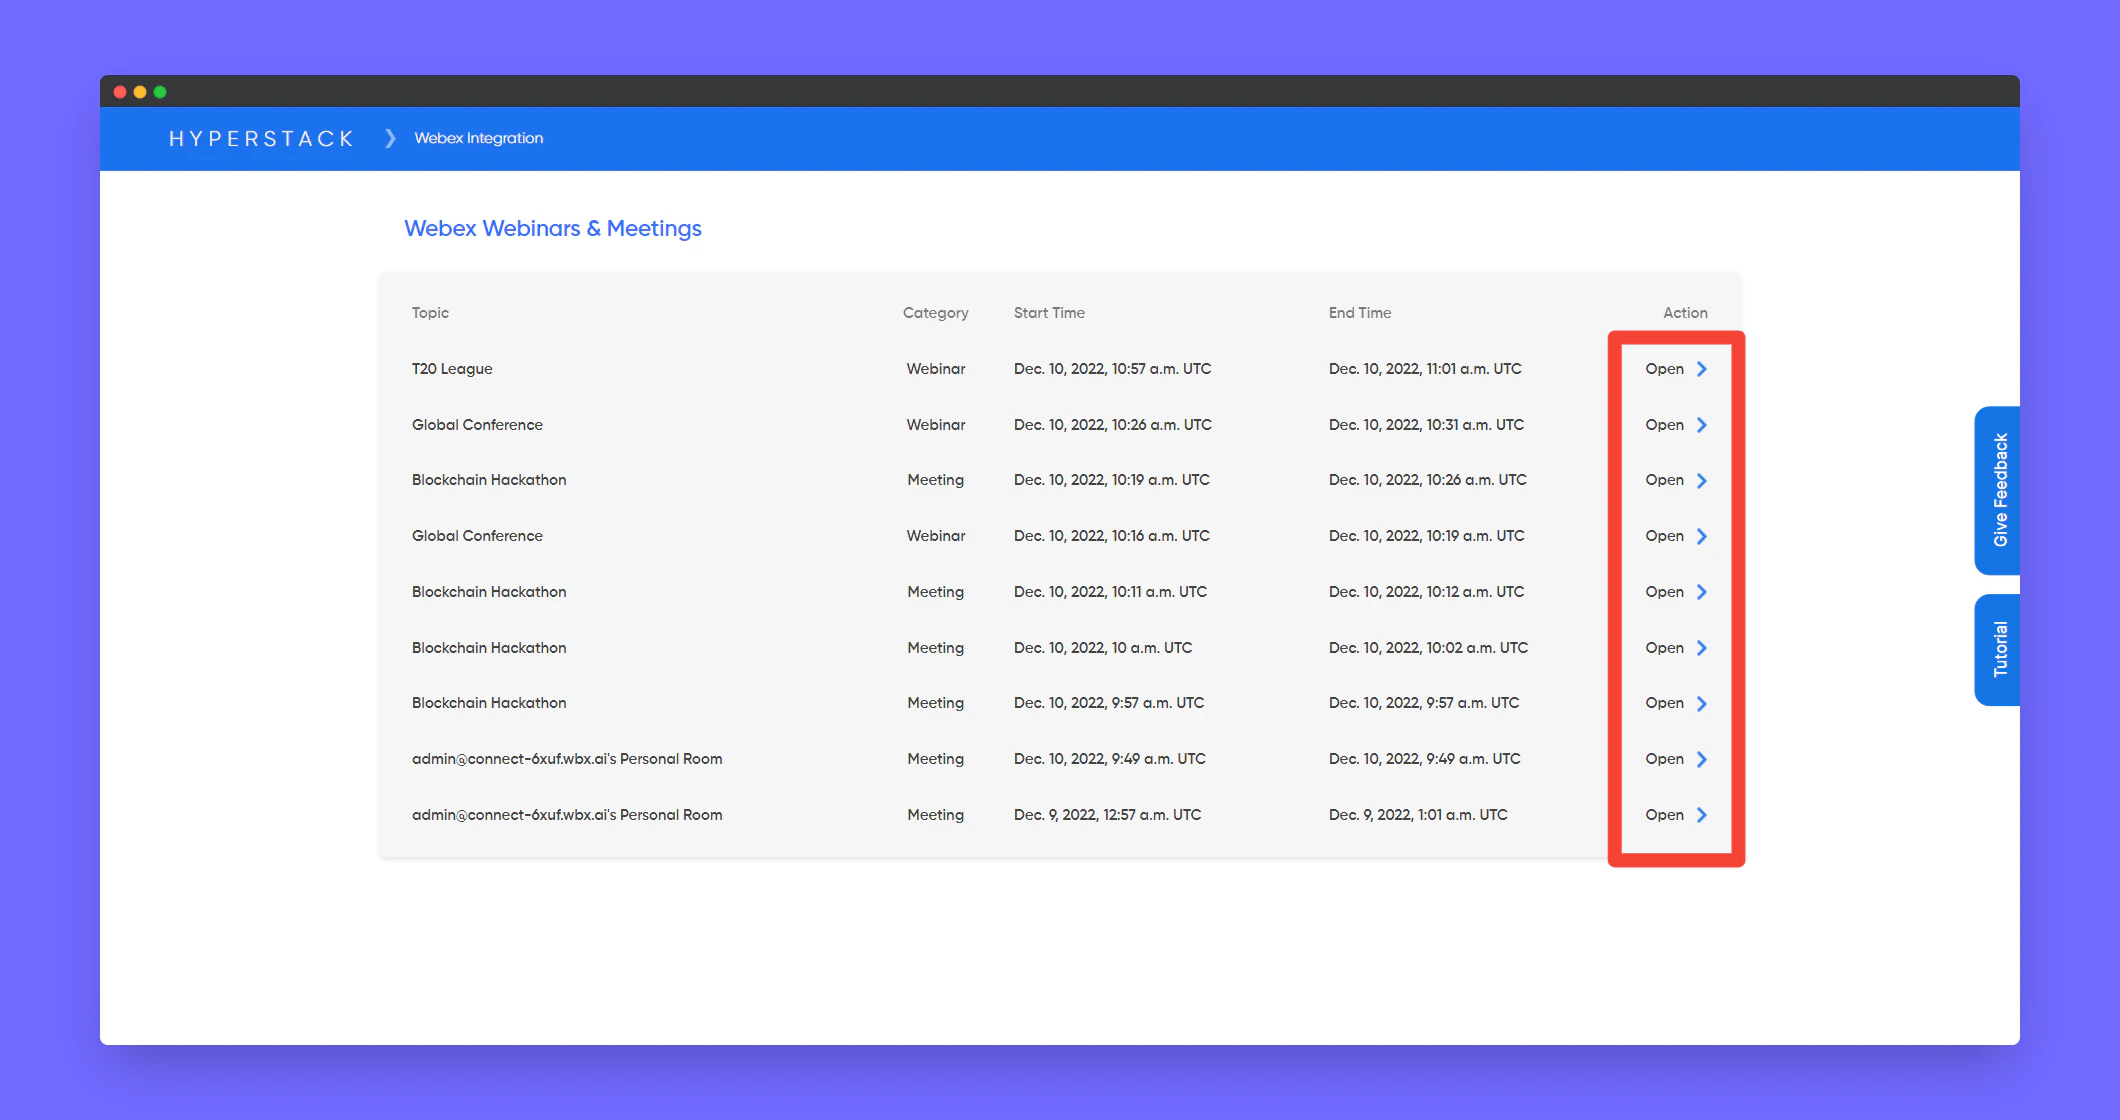
After successfully installing, refresh to see your meeting lists

5

Click Open in any one of your meetings

Screenshot of a deployment confirmation message that says All checks have passed.
6

You will see list of all attendees who attended and their duration they spent on the meeting/webinar

7

Select the attendees and click Create Credentials to start issuing certificates to the selected attendees
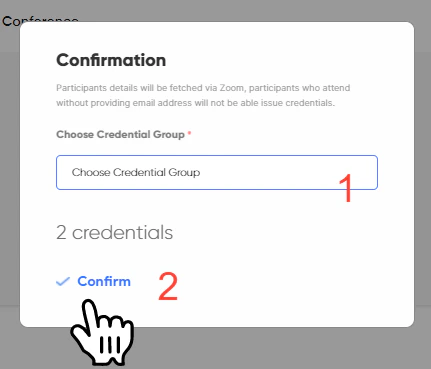
Screenshot of a deployment confirmation message that says All checks have passed.
8

A confirmation popup will appear, Select the Credential Group you want to issue in and Click Confirm to publish the certificates

Screenshot of a deployment confirmation message that says All checks have passed.
Hurray! you have successfully issued the certificates to your Webex attendees! To uninstall Webex from Hyperstack. Simply go to the Webex Integration page in Hyperstack and Click “Uninstall Webex” to unlink webex.
Screenshot of a deployment confirmation message that says All checks have passed.
Last modified on February 22, 2026