

You need a paid Zoom account, and you must be an administrator in Hyperstack. Hyperstack can only issue to attendees who signed in to Zoom and shared an email.
Connect Zoom
1
In the Studio, click Add integration, then Zoom
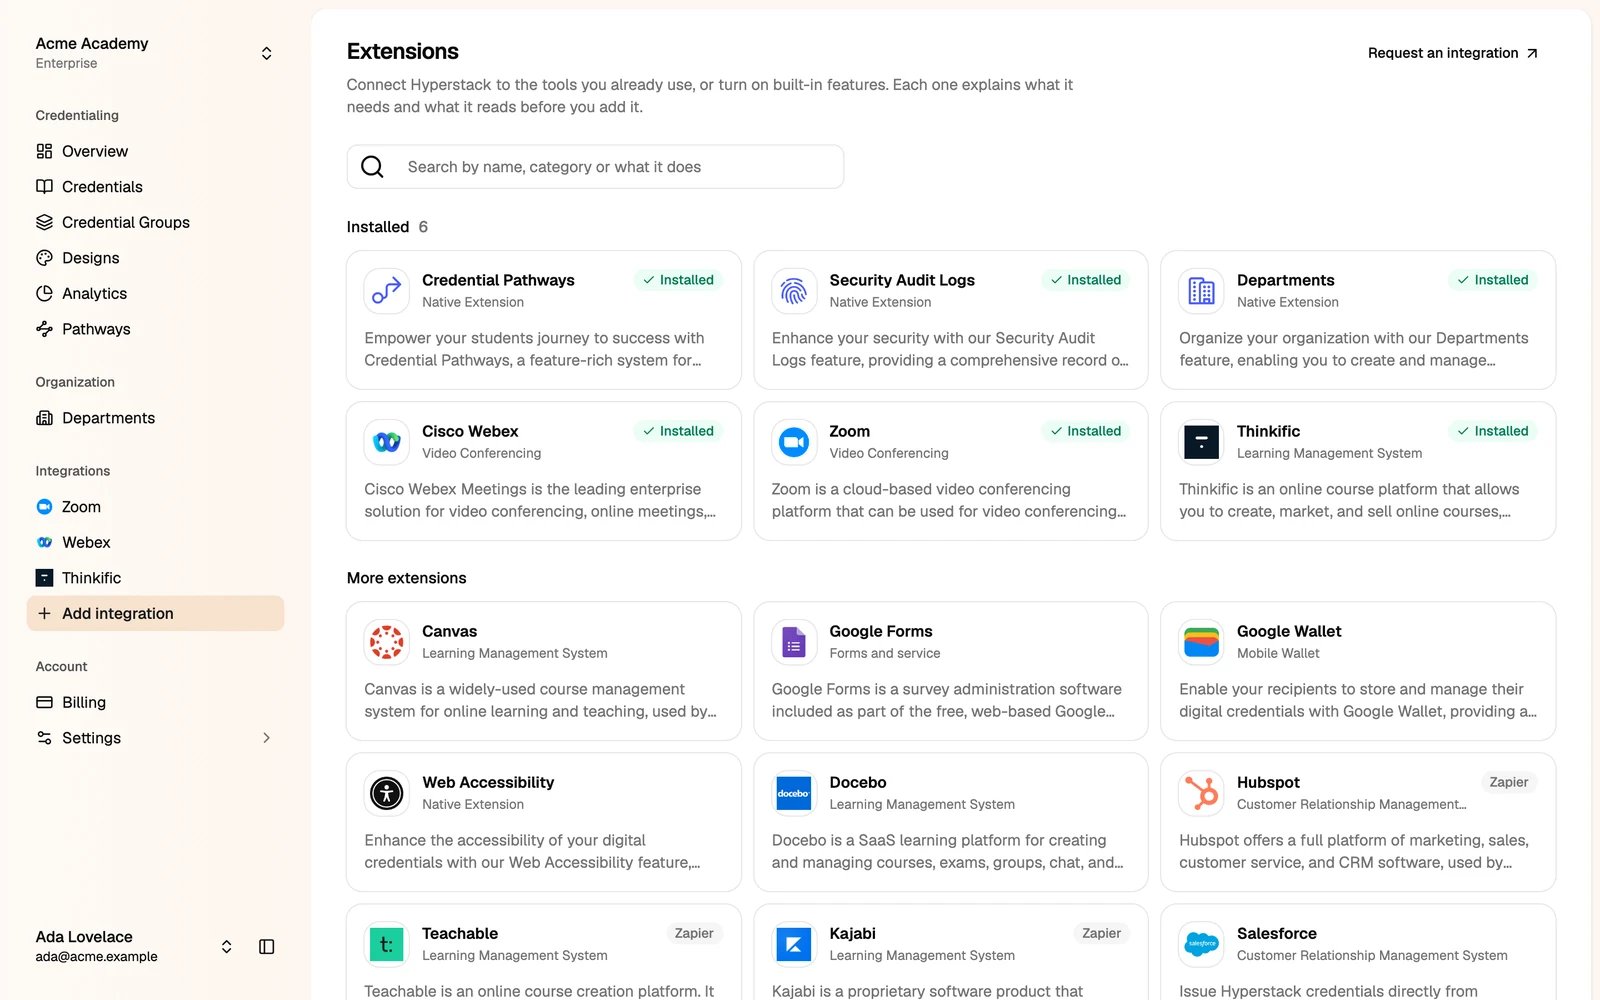
2
Click Install
Zoom opens in a new tab. Sign in to Zoom and approve the Hyperstack app.
3
Go back to the Studio
Zoom now shows under Integrations in the sidebar.
Issue credentials to attendees
1
Click Zoom in the sidebar
You see your meetings and webinars from the last 12 months. Click Refresh to load new ones.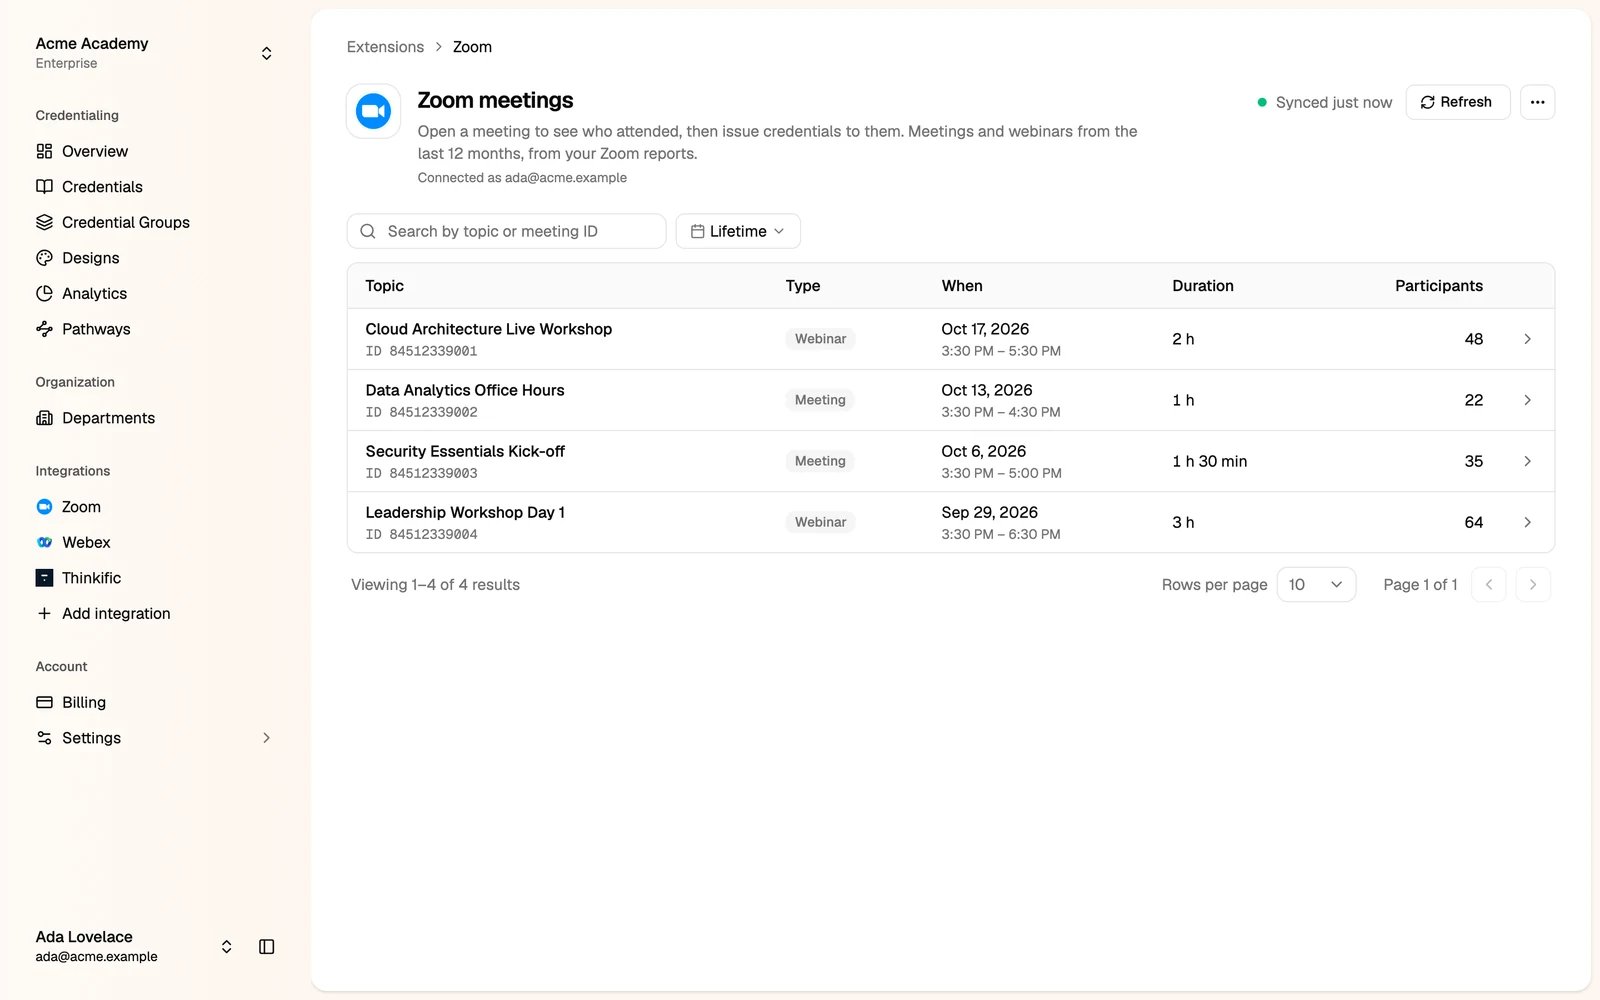
2
Open a meeting
You see everyone who attended, with the times they joined and left and how long they stayed. People who joined more than once with the same email are shown once, with their time added up.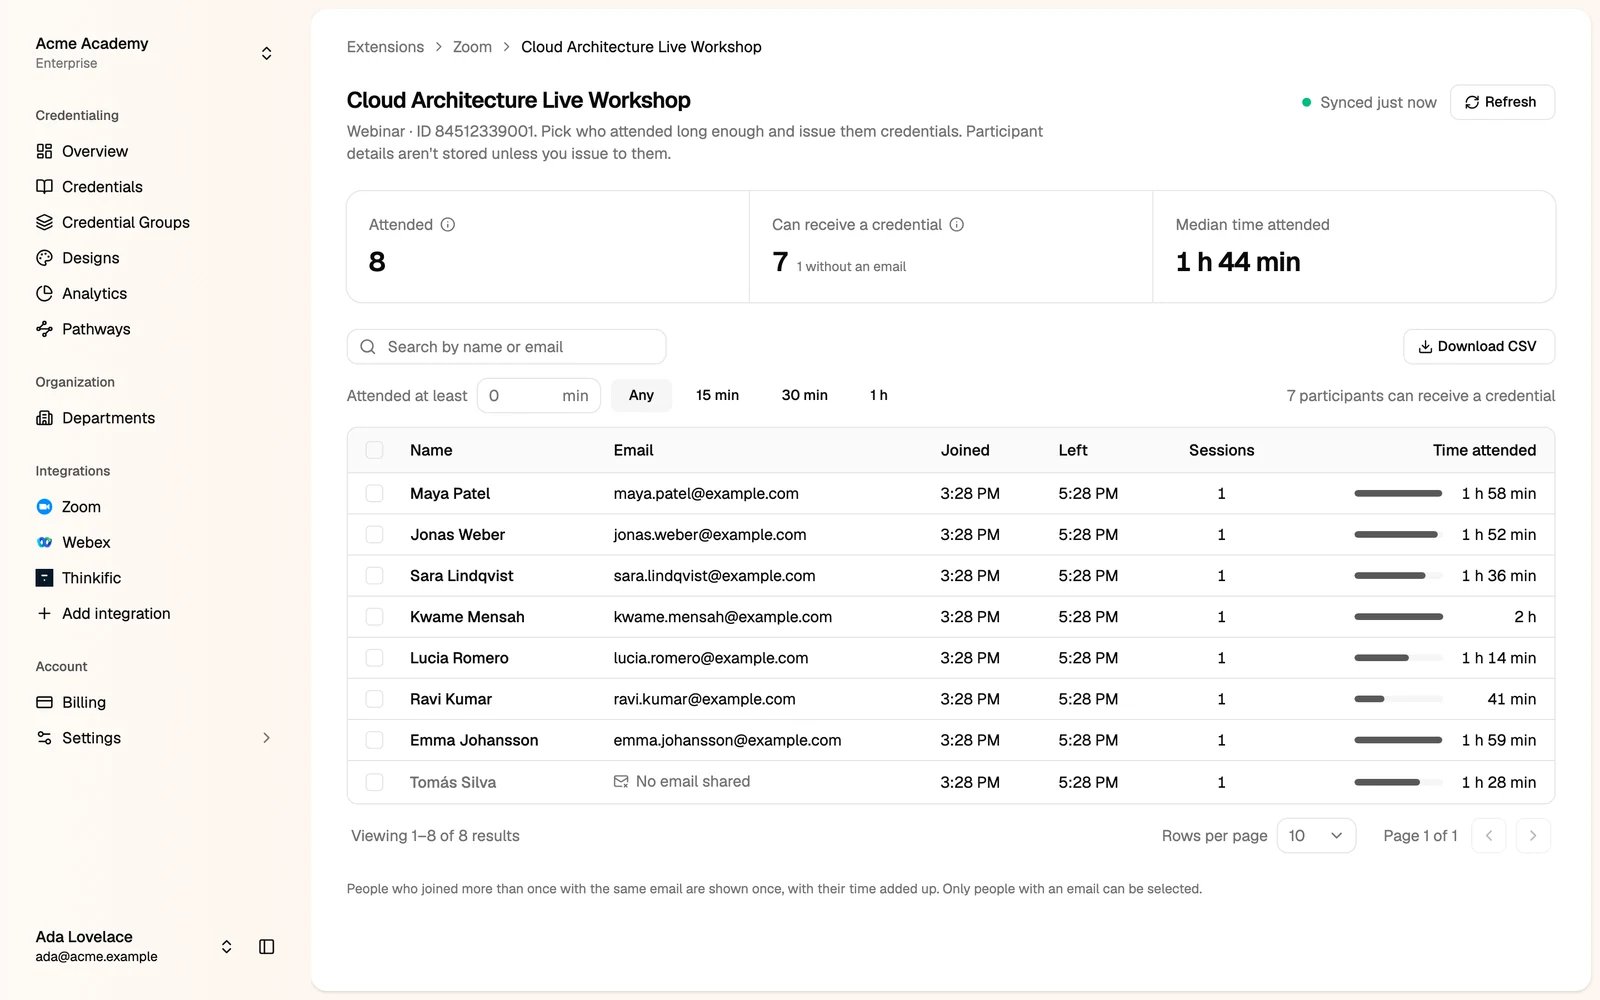
3
Select the attendees
Use Attended at least to keep only people who stayed long enough, for example 30 minutes or 1 hour. Then tick the attendees. Only people with an email can be selected.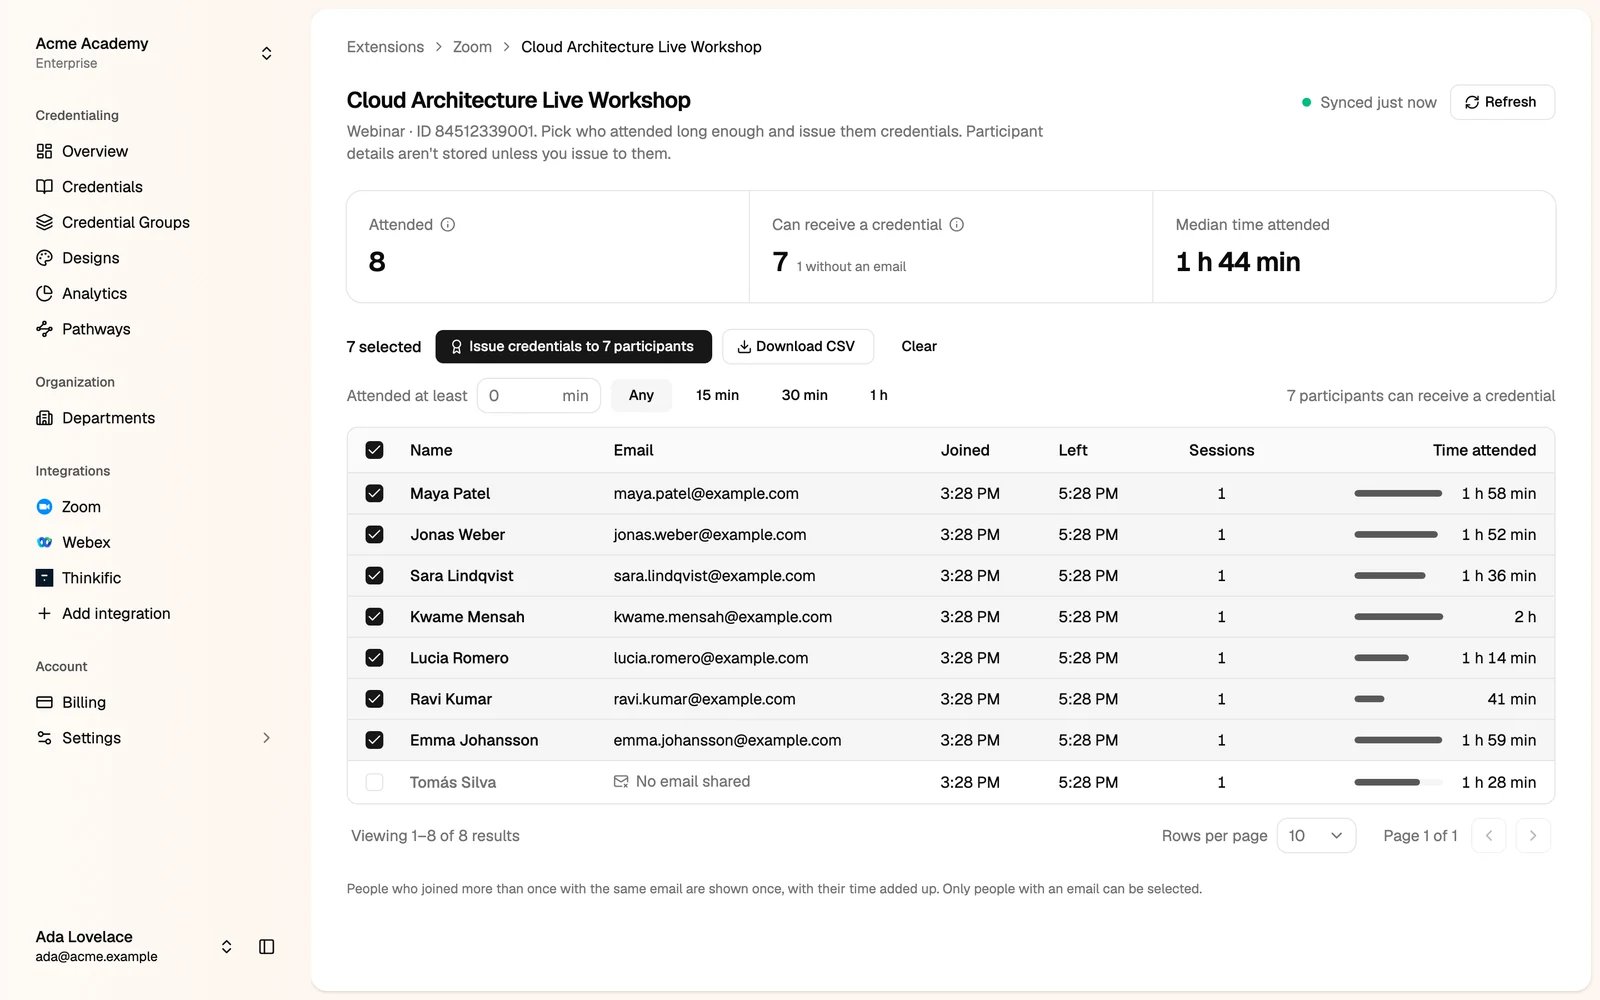
4
Click Issue credentials and choose a credential group
The dialog shows the number of recipients and the credits they can use.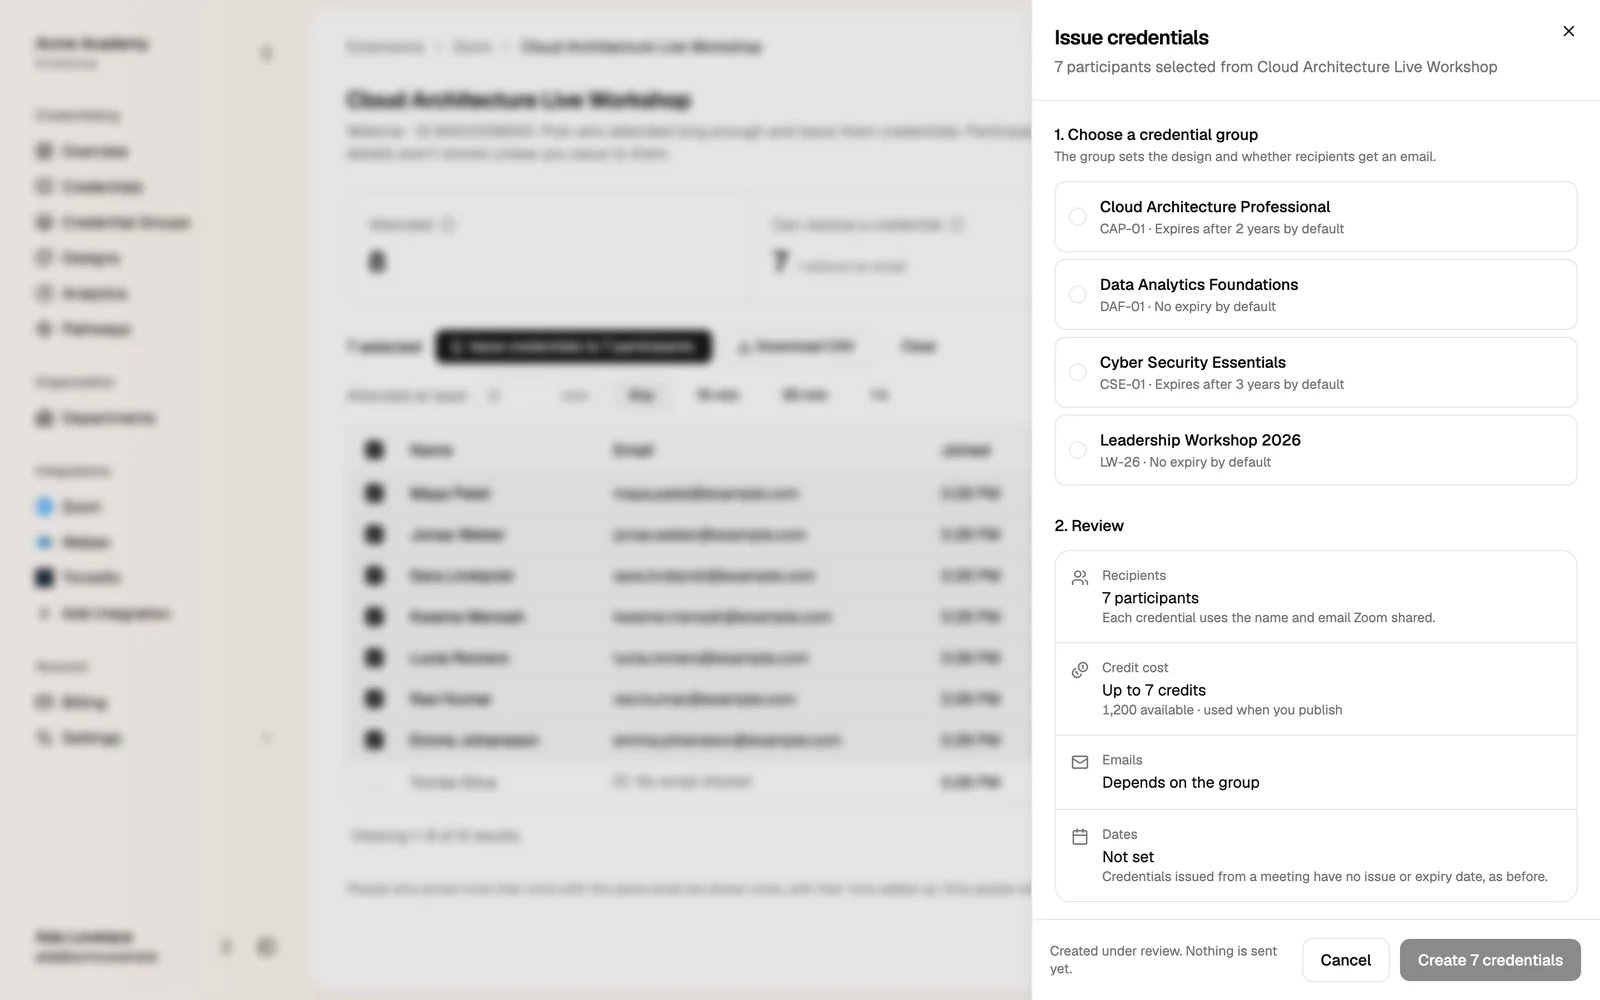
5
Click Create credentials
The credentials are created under review. Nothing is sent yet.
6
Publish them
Go to Credentials → Under Review, then publish them now or schedule them. See Publish.
Disconnect Zoom
- In the Studio: open Zoom, click the menu at the top right, then Disconnect Zoom. Meetings and participants stop loading.
- In Zoom: go to the Zoom App Marketplace, click Manage → Installed Apps, find Hyperstack and click Uninstall.