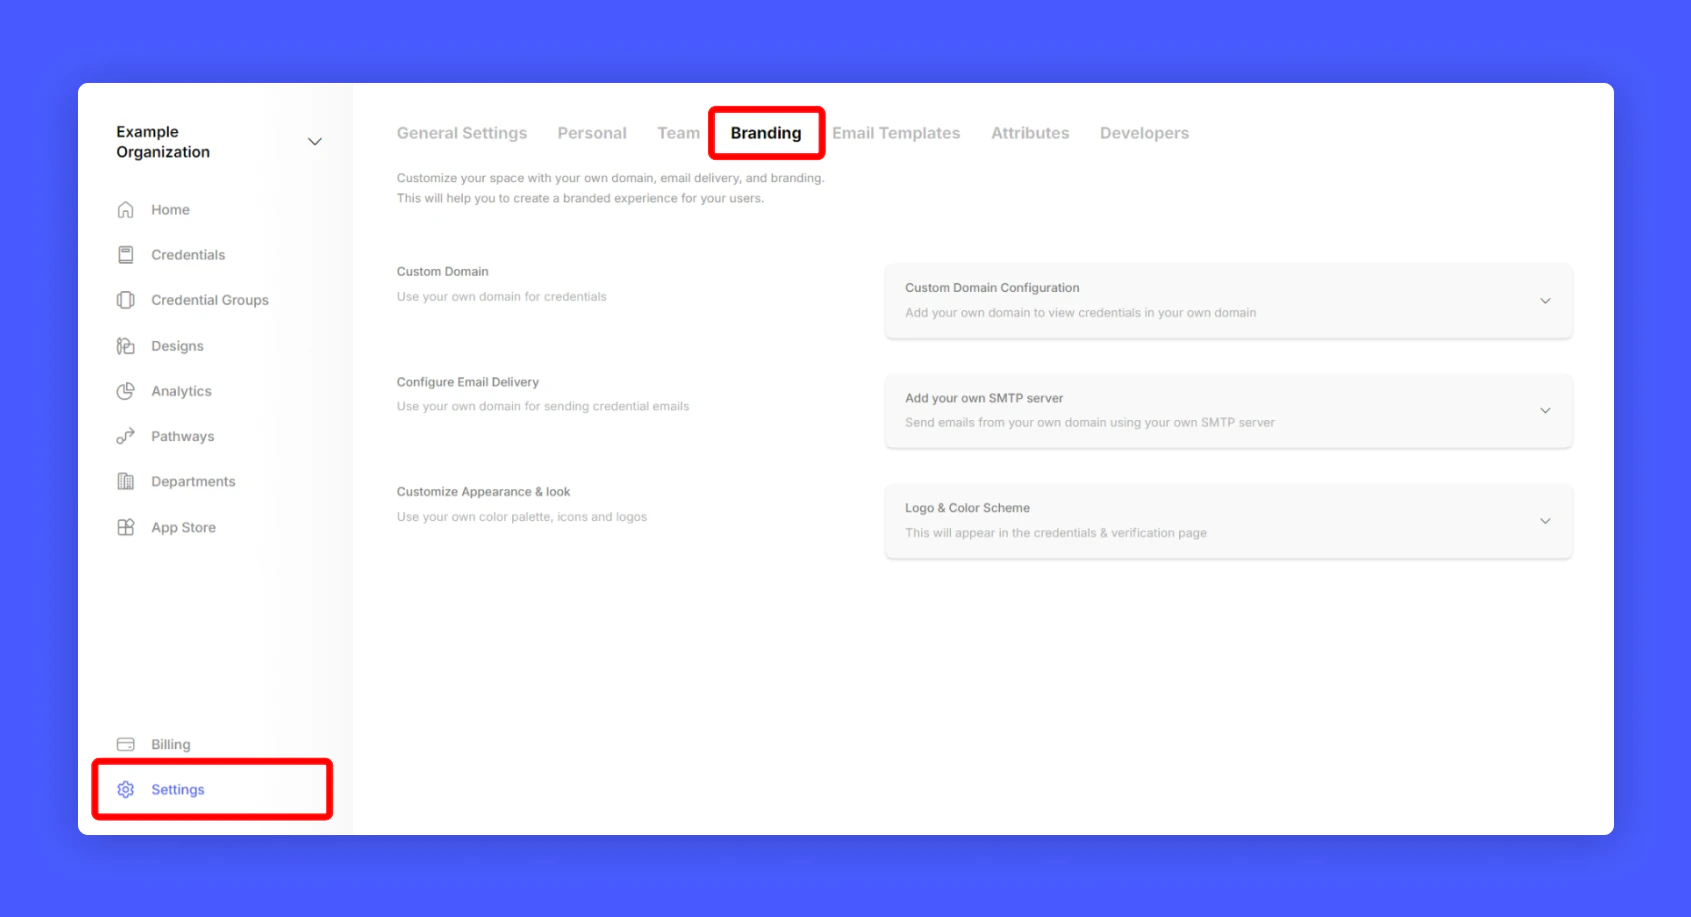
Go to Settings > Branding from your issuer account home page to access your branding settings.
Customize Appearance & look
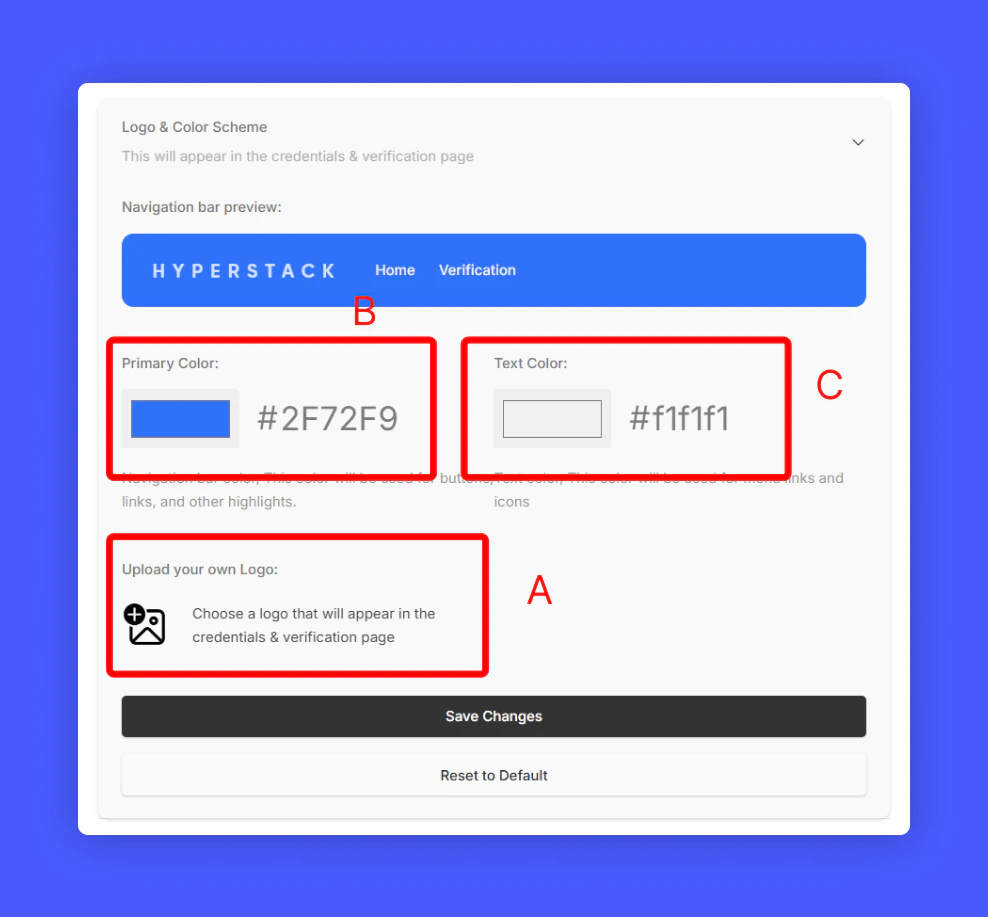
Under Brand Page, Select Customize Appearance & look to change the appearance of the credential page. You can customize the following:
Update the following details:
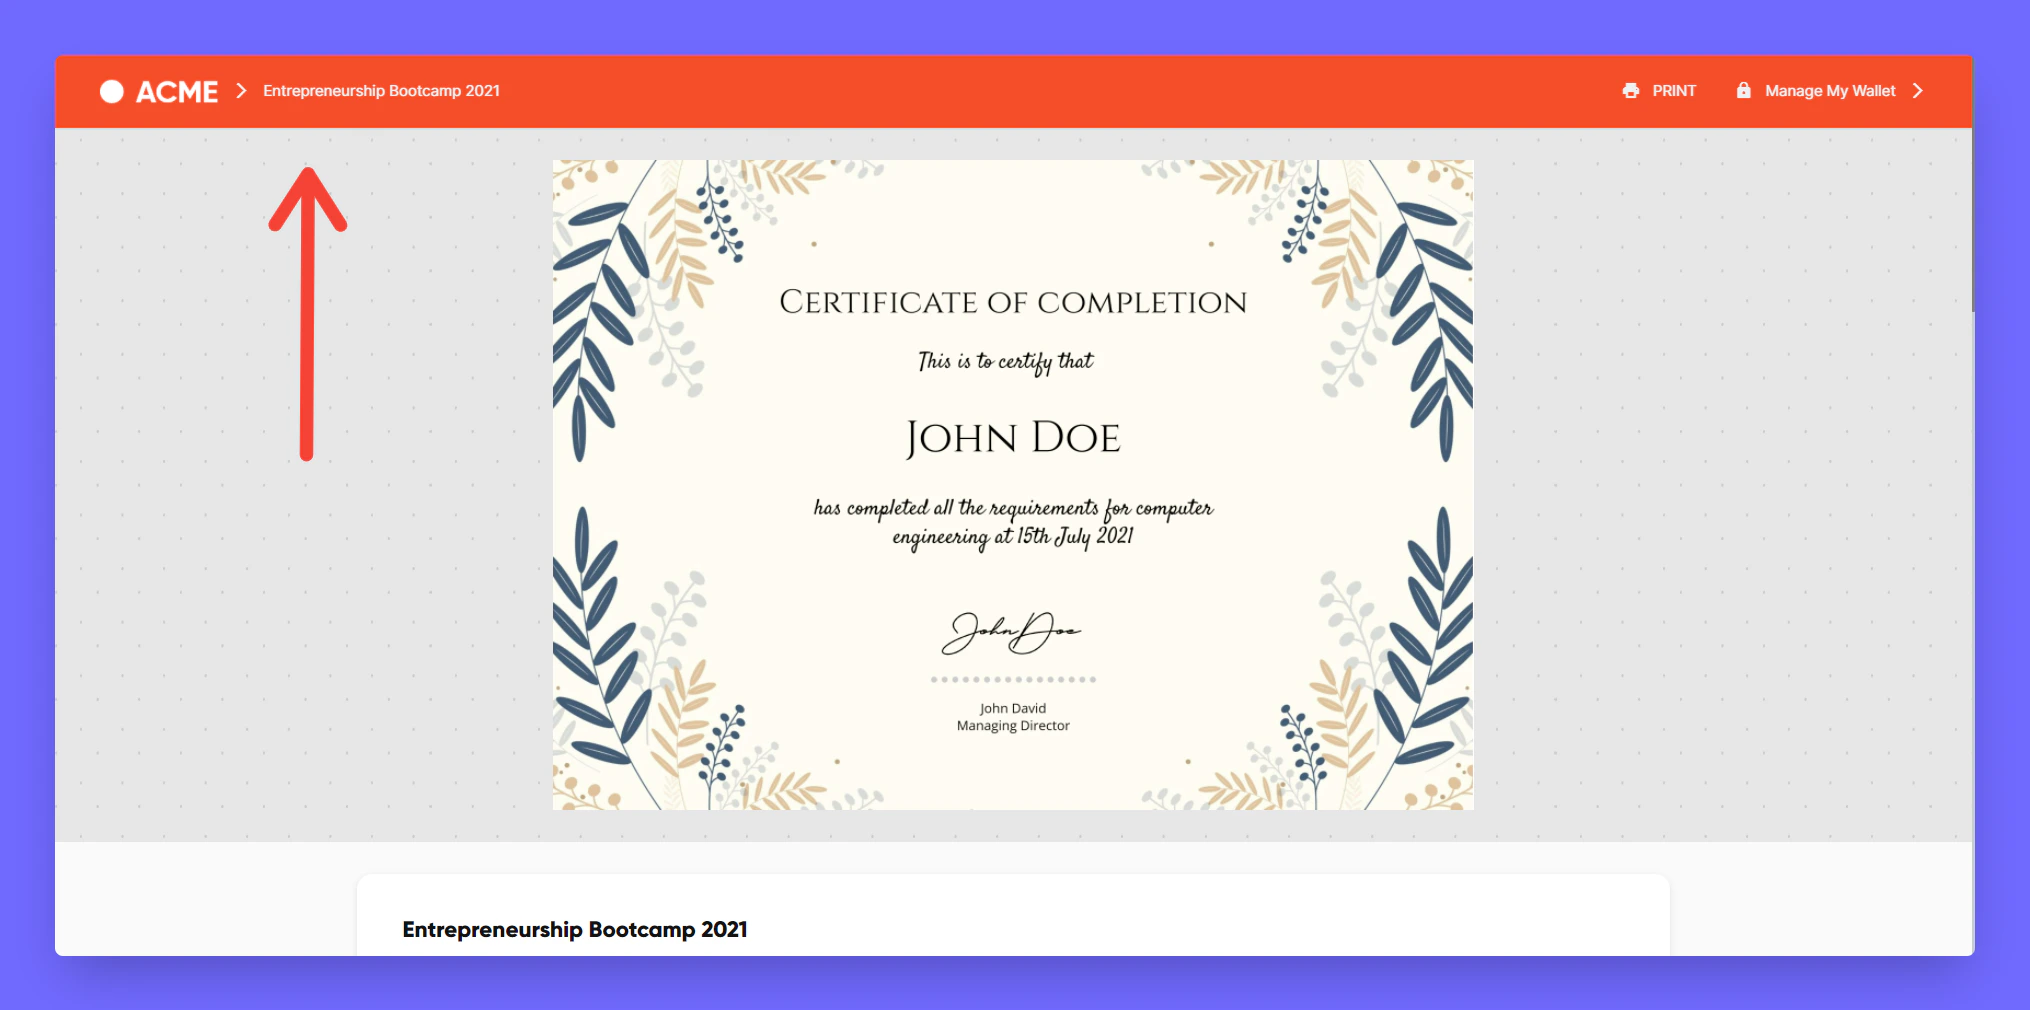
a. Horizontal Logo (Used in Credential Navigation bar)
b. Navigation Bar color (Used in navigation bar background color)
c. Primary text color (Used in credential page navigation bar menu)
Don’t forget to save your changes
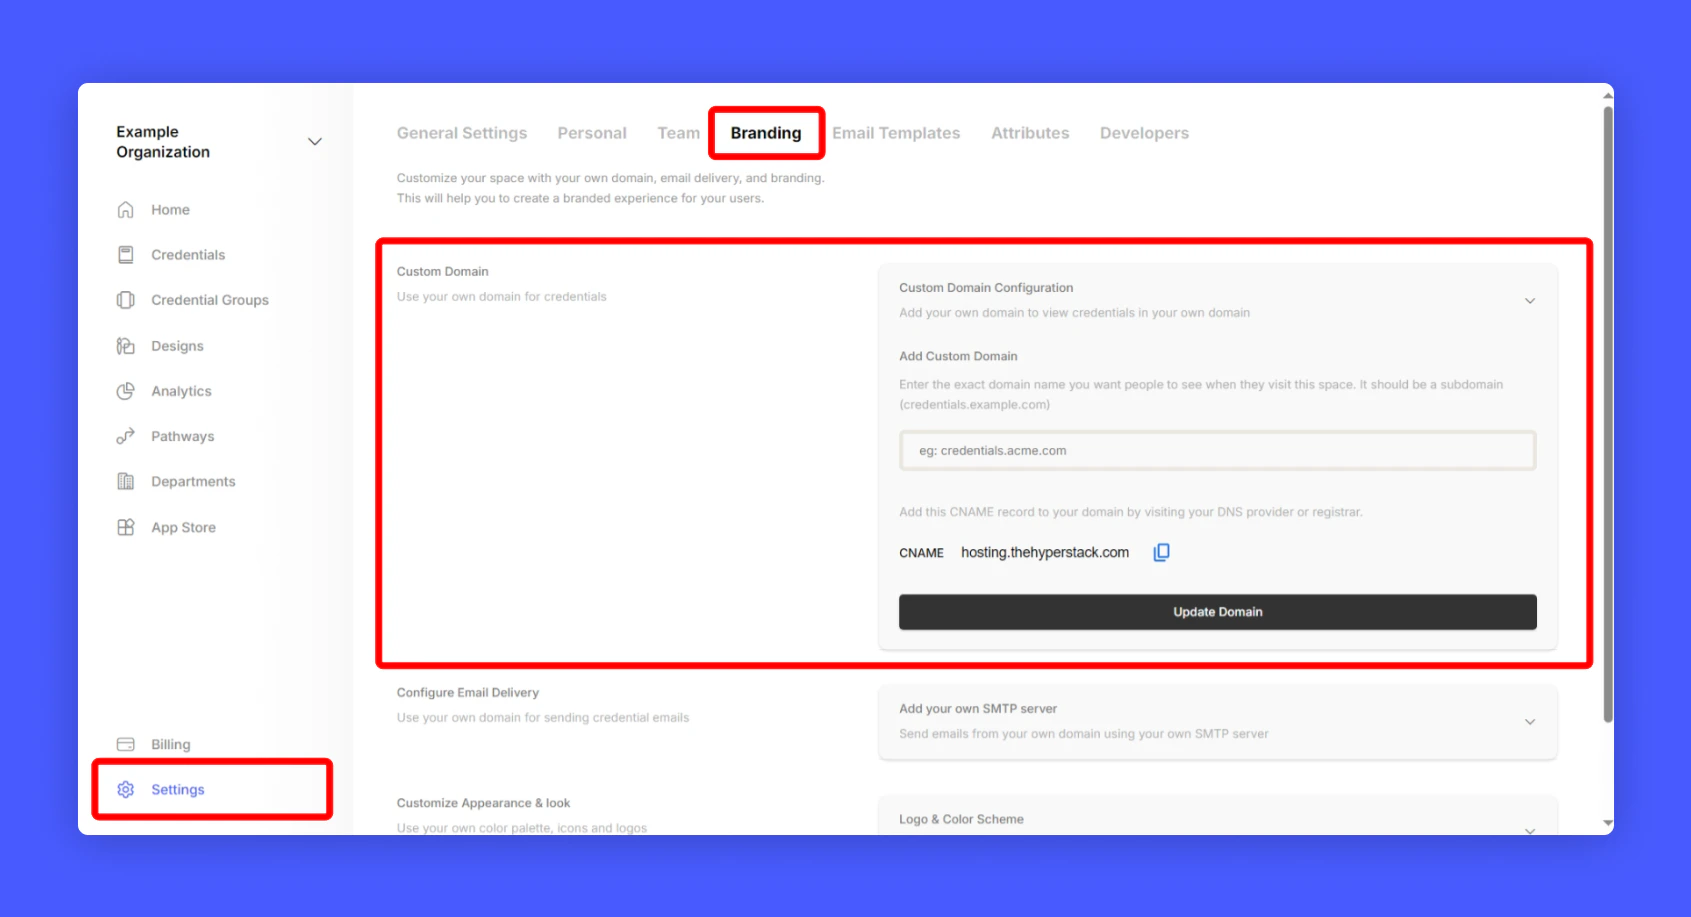
Adding your own Domain
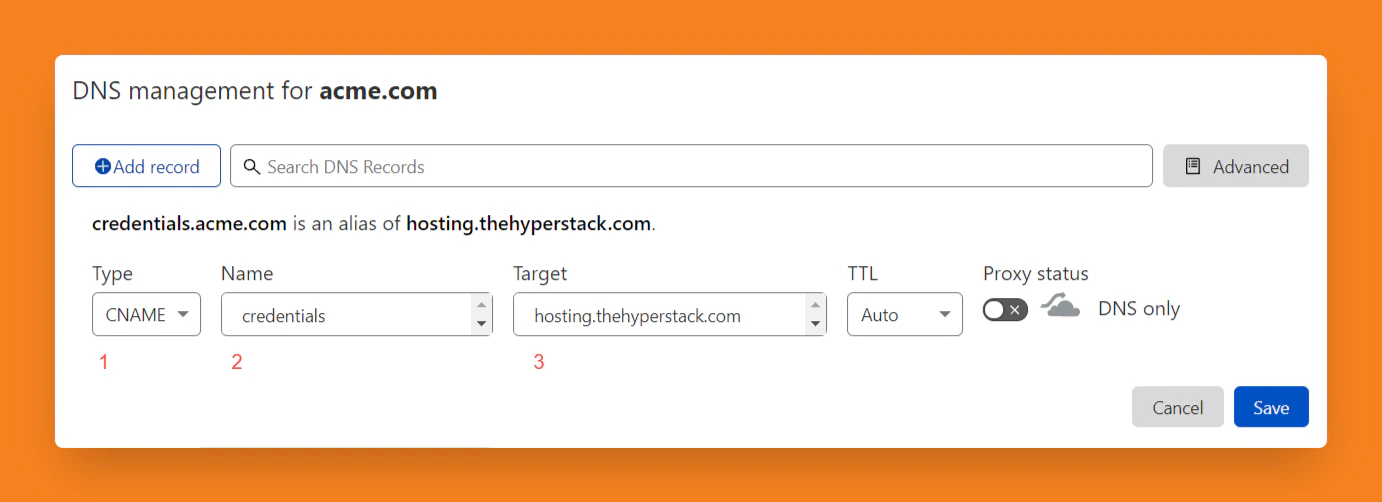
To change domain address for your credentials and showcase page. Select Custom Domain. and enter your desired sub-domain name. Make sure to add a CNAME record in your DNS settings pointing to hosting.thehyperstack.com
eg: credentials.yourdomain.com
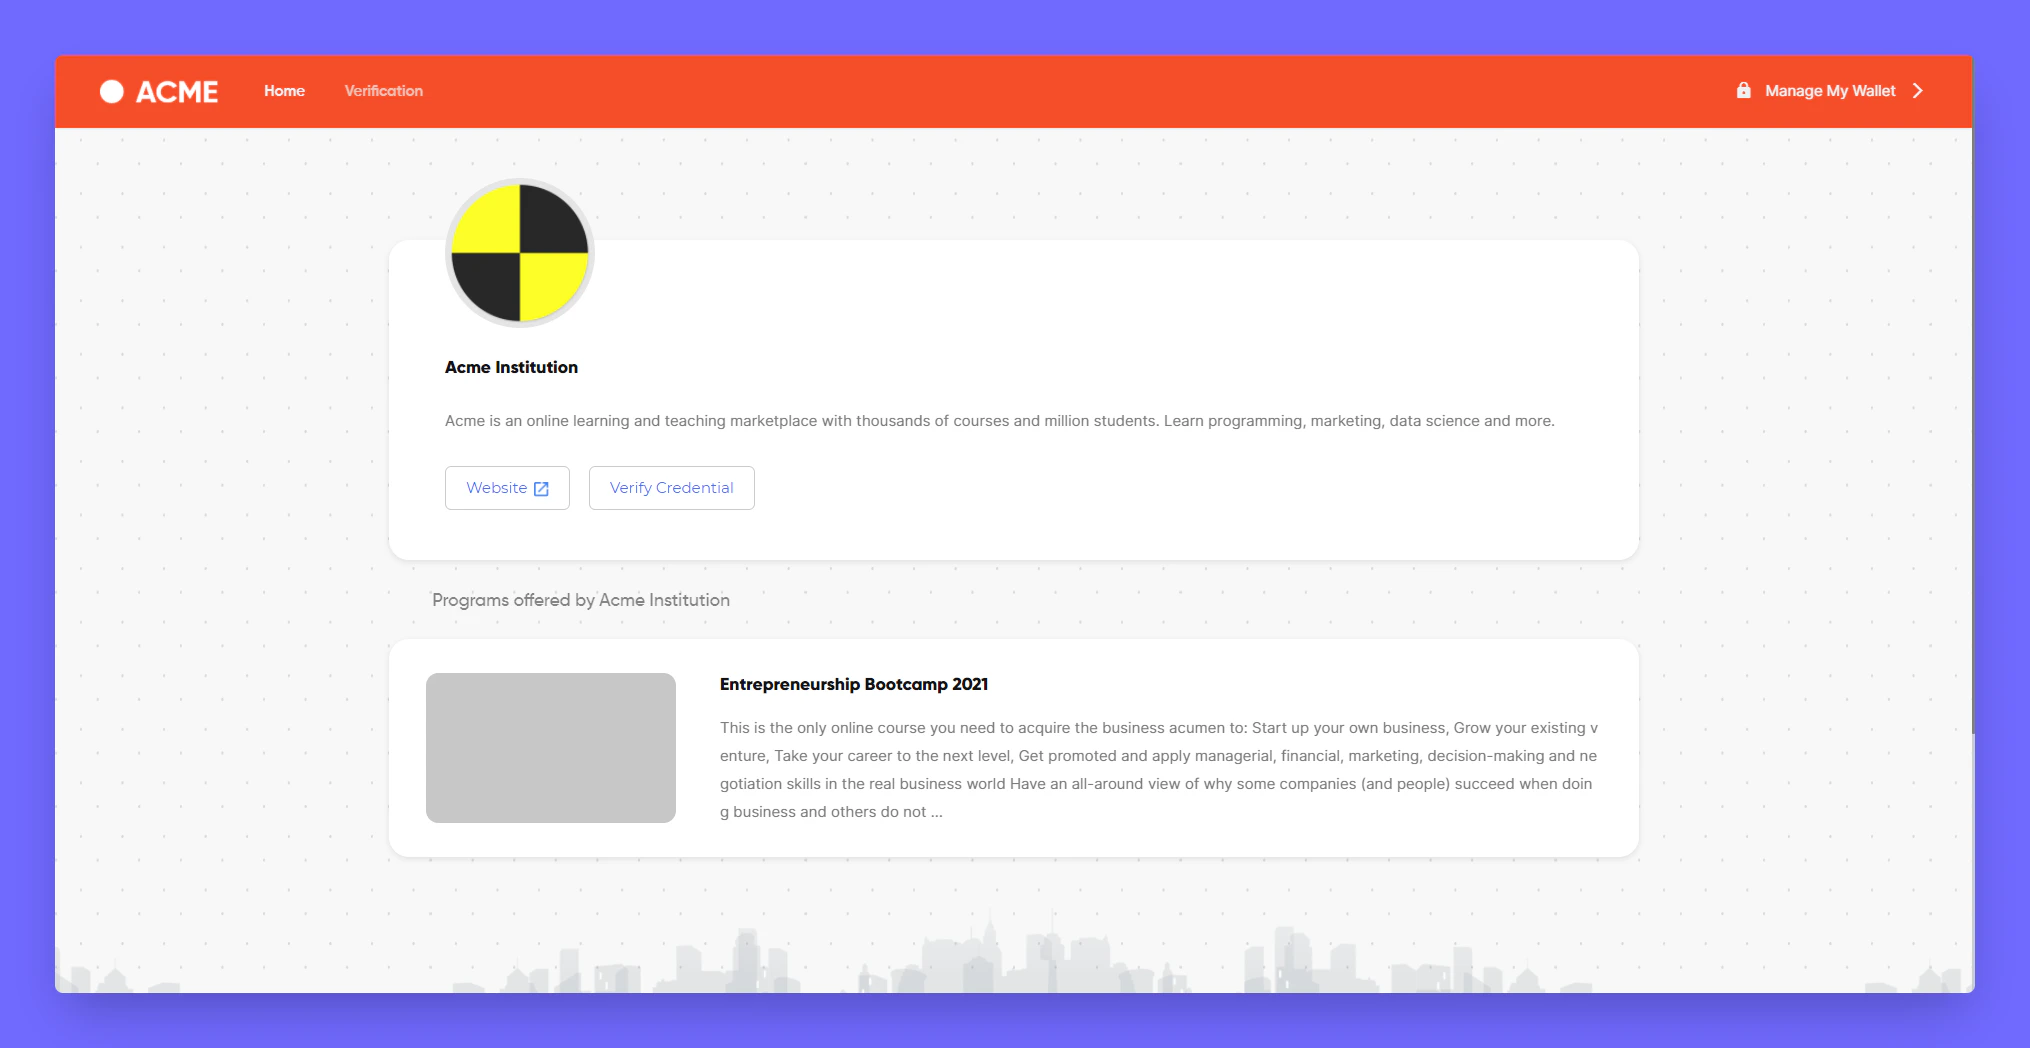
Final Look after Branding
Let’s see how it looks like after branding