> ## Documentation Index
> Fetch the complete documentation index at: https://thehyperstack.com/docs/llms.txt
> Use this file to discover all available pages before exploring further.
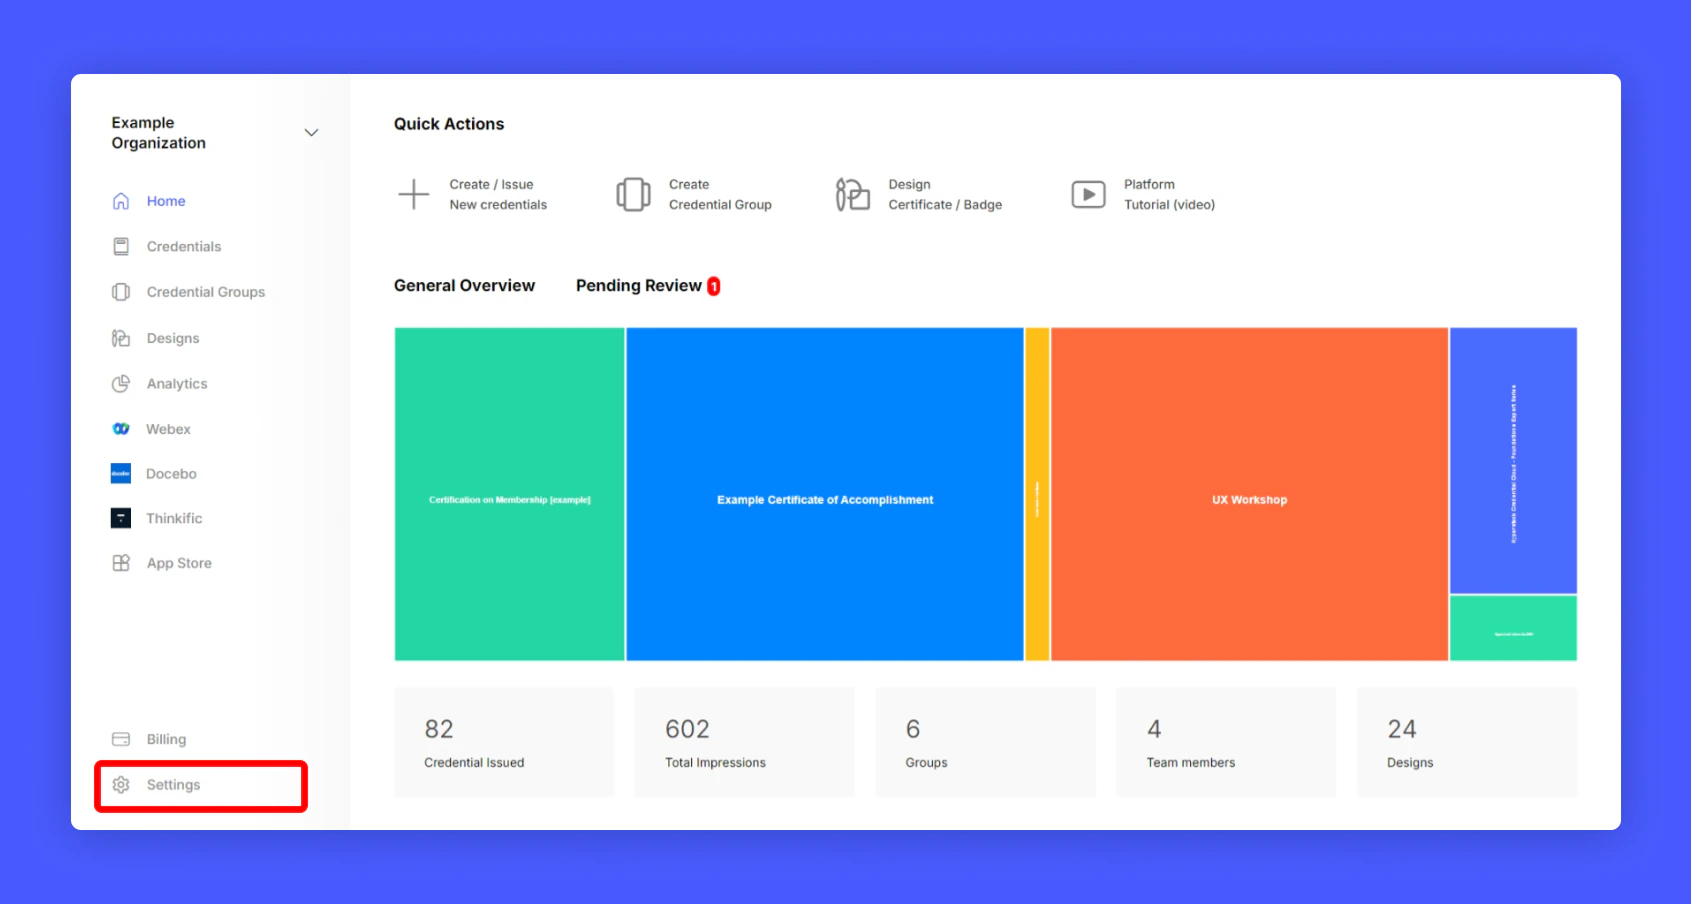
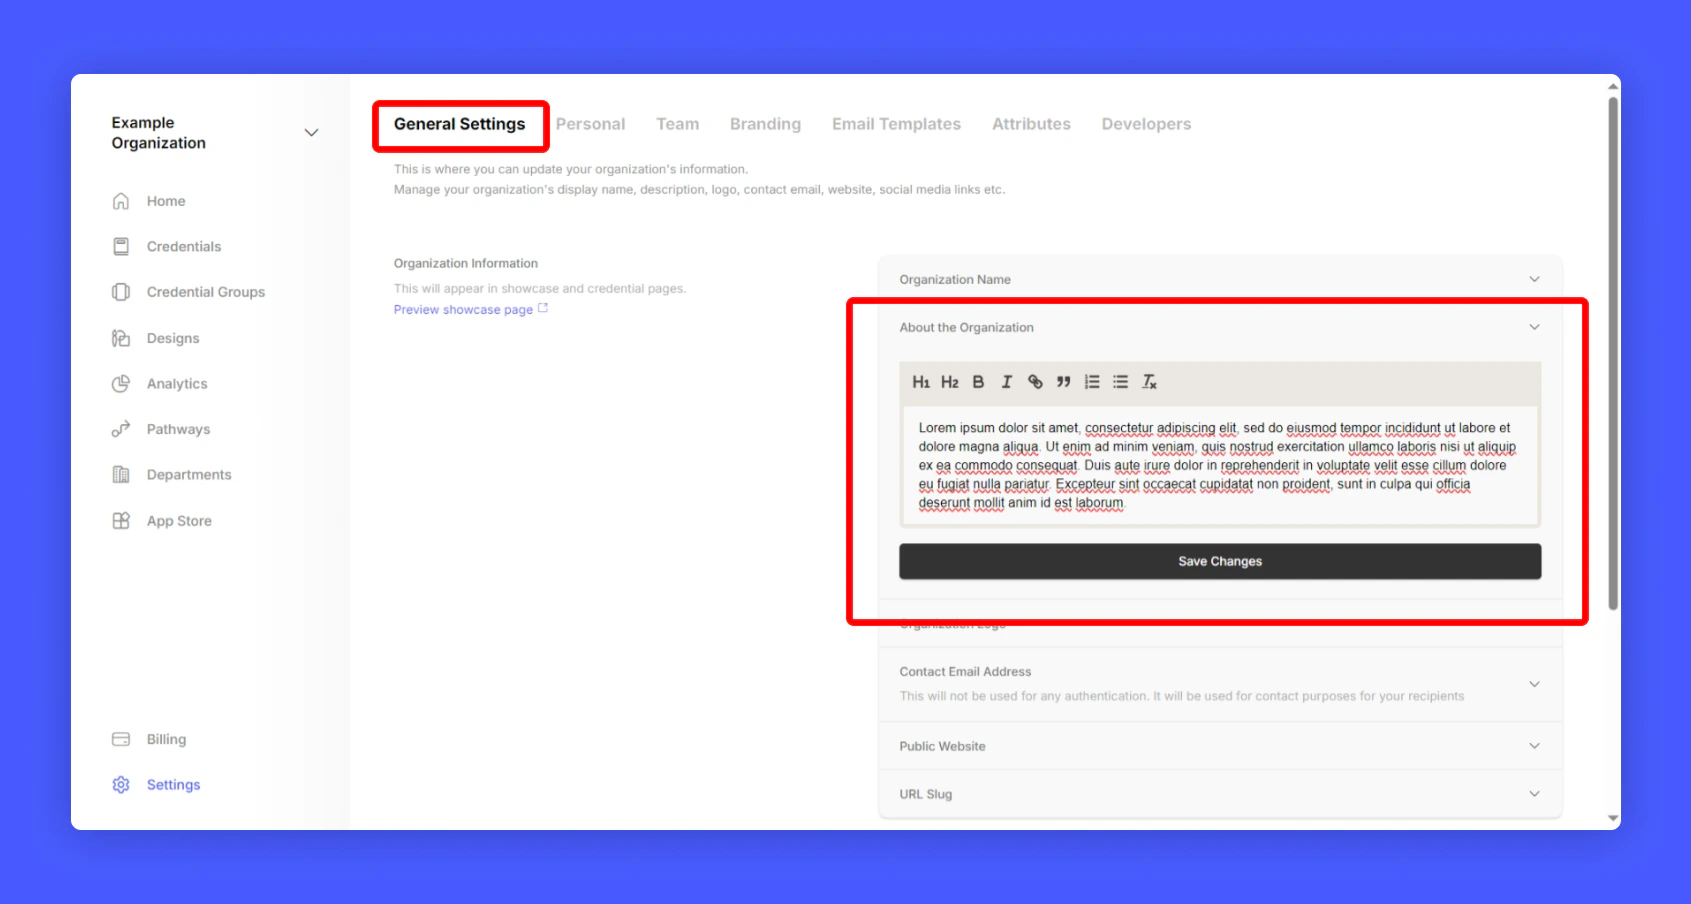
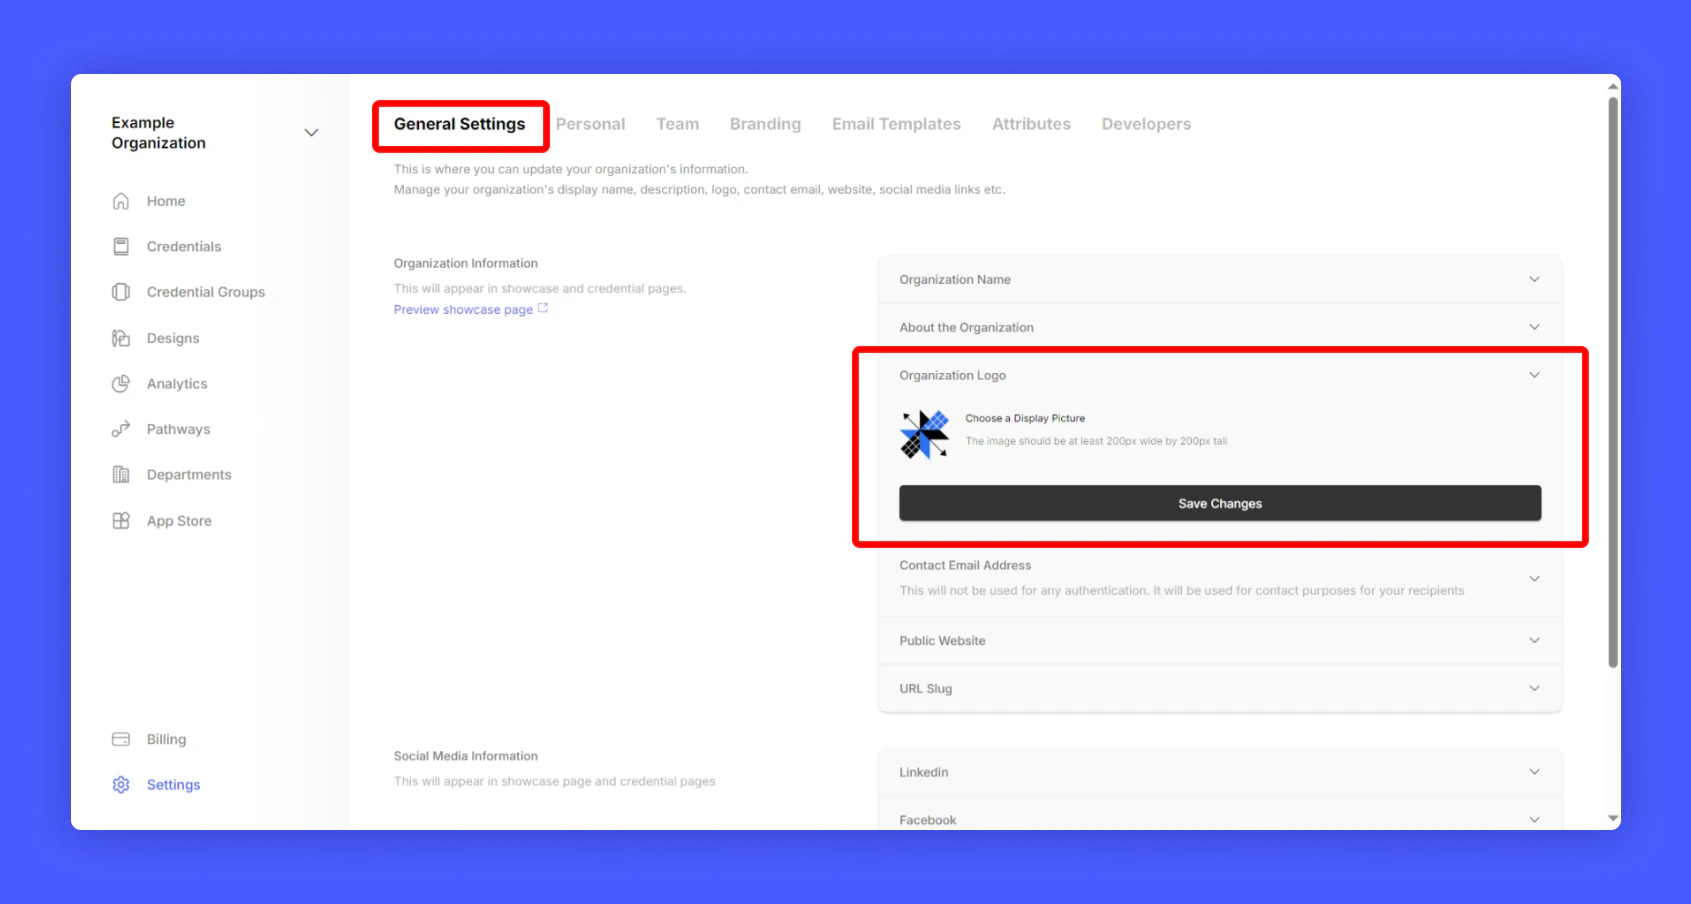
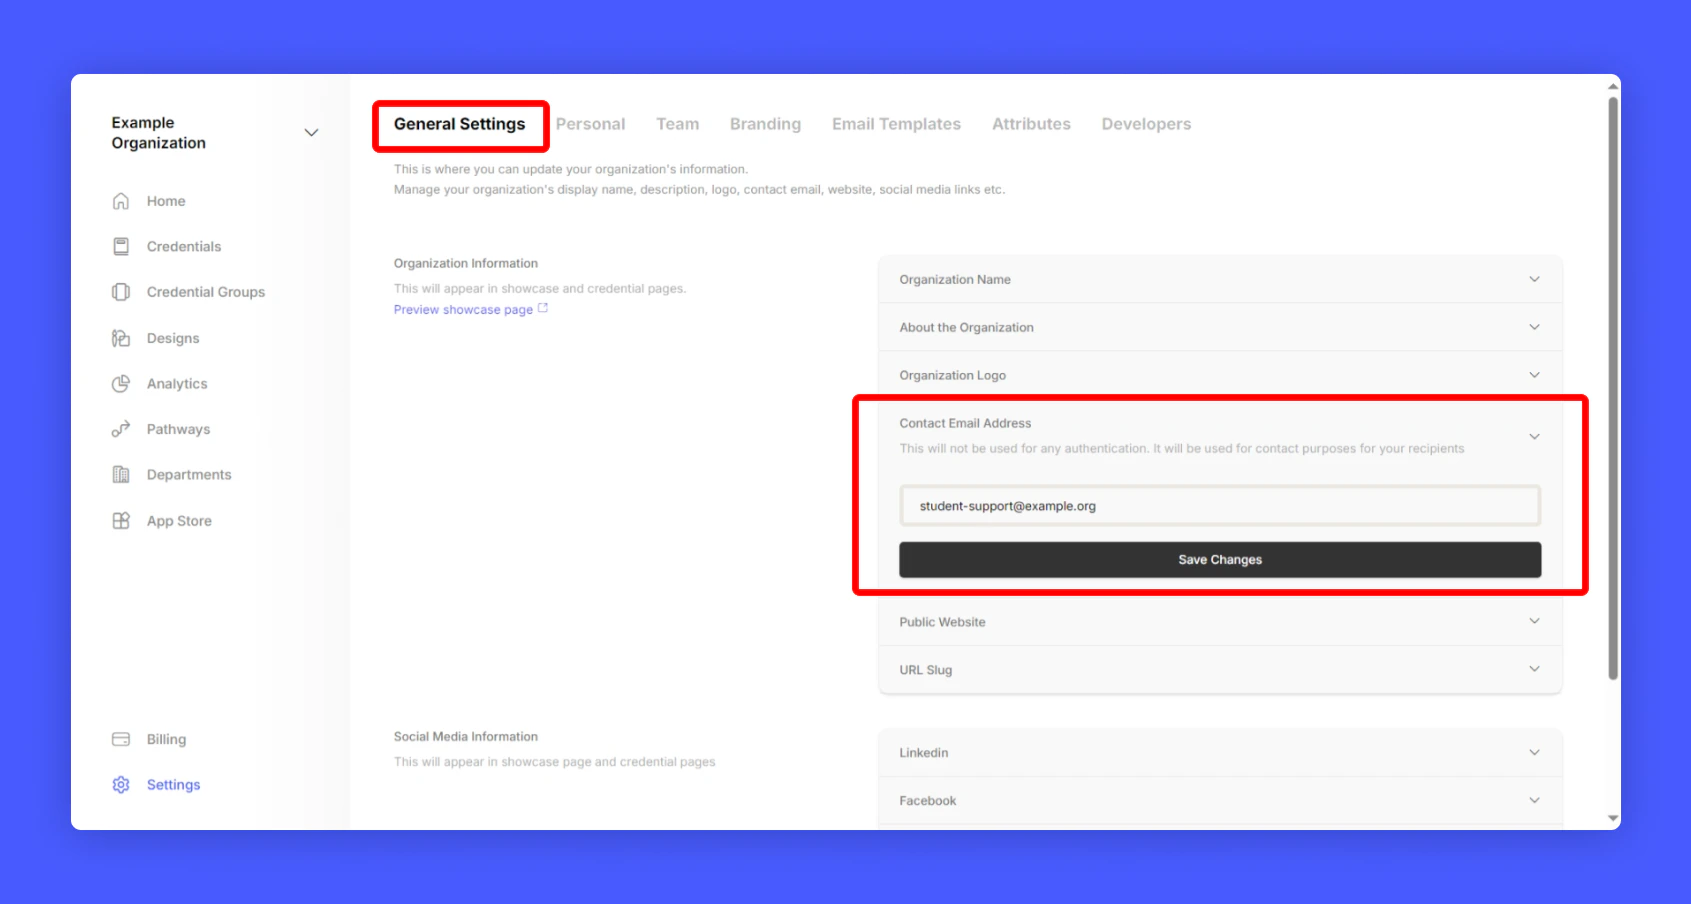
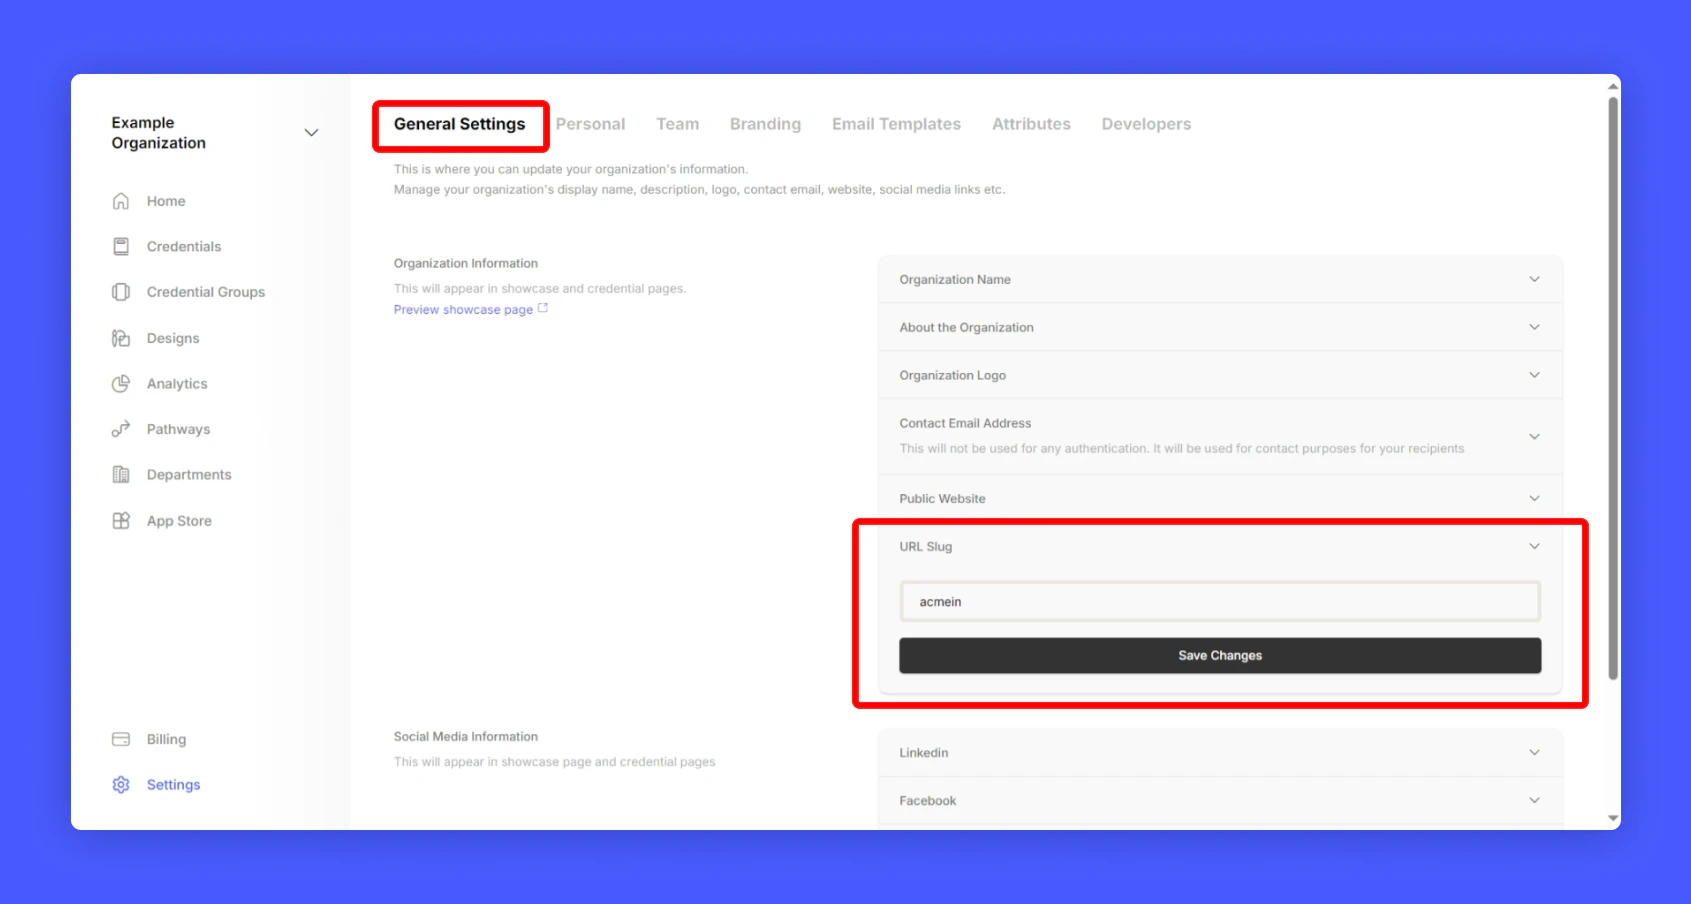
# Basic Account Setup

> Once the issuer account is setup, the account is read to be used to issue credentials. To fully utilize and enjoy all the added features of the hyperstack credential cloud platform, we encourage the users to setup the general settings, and issuer information.

<Steps>
  <Step title="Click Settings from your issuer account home page">
    <Frame>
      <img src="https://mintcdn.com/hyperstack/IJj3eNeM7esUzmVV/images/basic-account-setup-1.png?fit=max&auto=format&n=IJj3eNeM7esUzmVV&q=85&s=762c3f283ed4204b37558af226e316c1" alt="Screenshot of a deployment confirmation message that says All checks have passed." style={{ borderRadius: "0.5rem" }} width="1691" height="904" data-path="images/basic-account-setup-1.png" />
    </Frame>
  </Step>

  <Step title="On General Settings, Select Account Description and fill about section">
    <Frame>
      <img src="https://mintcdn.com/hyperstack/IJj3eNeM7esUzmVV/images/basic-account-setup-2.png?fit=max&auto=format&n=IJj3eNeM7esUzmVV&q=85&s=1b11b39d66950d0a02aacca4af3d0c20" alt="Screenshot of a deployment confirmation message that says All checks have passed." style={{ borderRadius: "0.5rem" }} width="1691" height="904" data-path="images/basic-account-setup-2.png" />
    </Frame>
  </Step>

  <Step
    title="Next click Profile Picture and upload Account Display picture

"
  >
    <Frame>
      <img src="https://mintcdn.com/hyperstack/IJj3eNeM7esUzmVV/images/basic-account-setup-3.png?fit=max&auto=format&n=IJj3eNeM7esUzmVV&q=85&s=2ddfd27c191ce151e04c976e7be5f37f" alt="Screenshot of a deployment confirmation message that says All checks have passed." style={{ borderRadius: "0.5rem" }} width="1691" height="904" data-path="images/basic-account-setup-3.png" />
    </Frame>
  </Step>

  <Step title=" Add a support contact email under Contact Email Address section, This email will be used for any support related queries raised by your students/recipients.">
    <Frame>
      <img src="https://mintcdn.com/hyperstack/IJj3eNeM7esUzmVV/images/basic-account-setup-4.png?fit=max&auto=format&n=IJj3eNeM7esUzmVV&q=85&s=7e0f844227e27780443994acd823c3da" alt="Screenshot of a deployment confirmation message that says All checks have passed." style={{ borderRadius: "0.5rem" }} width="1691" height="904" data-path="images/basic-account-setup-4.png" />
    </Frame>
  </Step>

  <Step title="Setup recognizable account Page URL under URL Slug section">
    <Frame>
      <img src="https://mintcdn.com/hyperstack/IJj3eNeM7esUzmVV/images/basic-account-setup-5.png?fit=max&auto=format&n=IJj3eNeM7esUzmVV&q=85&s=ec94f9e3317de2e1c0a8b61333255a75" alt="Screenshot of a deployment confirmation message that says All checks have passed." style={{ borderRadius: "0.5rem" }} width="1691" height="904" data-path="images/basic-account-setup-5.png" />
    </Frame>
  </Step>

  <Step title="Under Social Media Information and fill-up all your social media accounts">
    <Frame>
      <img src="https://mintcdn.com/hyperstack/IJj3eNeM7esUzmVV/images/basic-account-setup-6.png?fit=max&auto=format&n=IJj3eNeM7esUzmVV&q=85&s=cc87950473fe6ee4cdf497ddc5de6e45" alt="Screenshot of a deployment confirmation message that says All checks have passed." style={{ borderRadius: "0.5rem" }} width="1691" height="904" data-path="images/basic-account-setup-6.png" />
    </Frame>
  </Step>
</Steps>

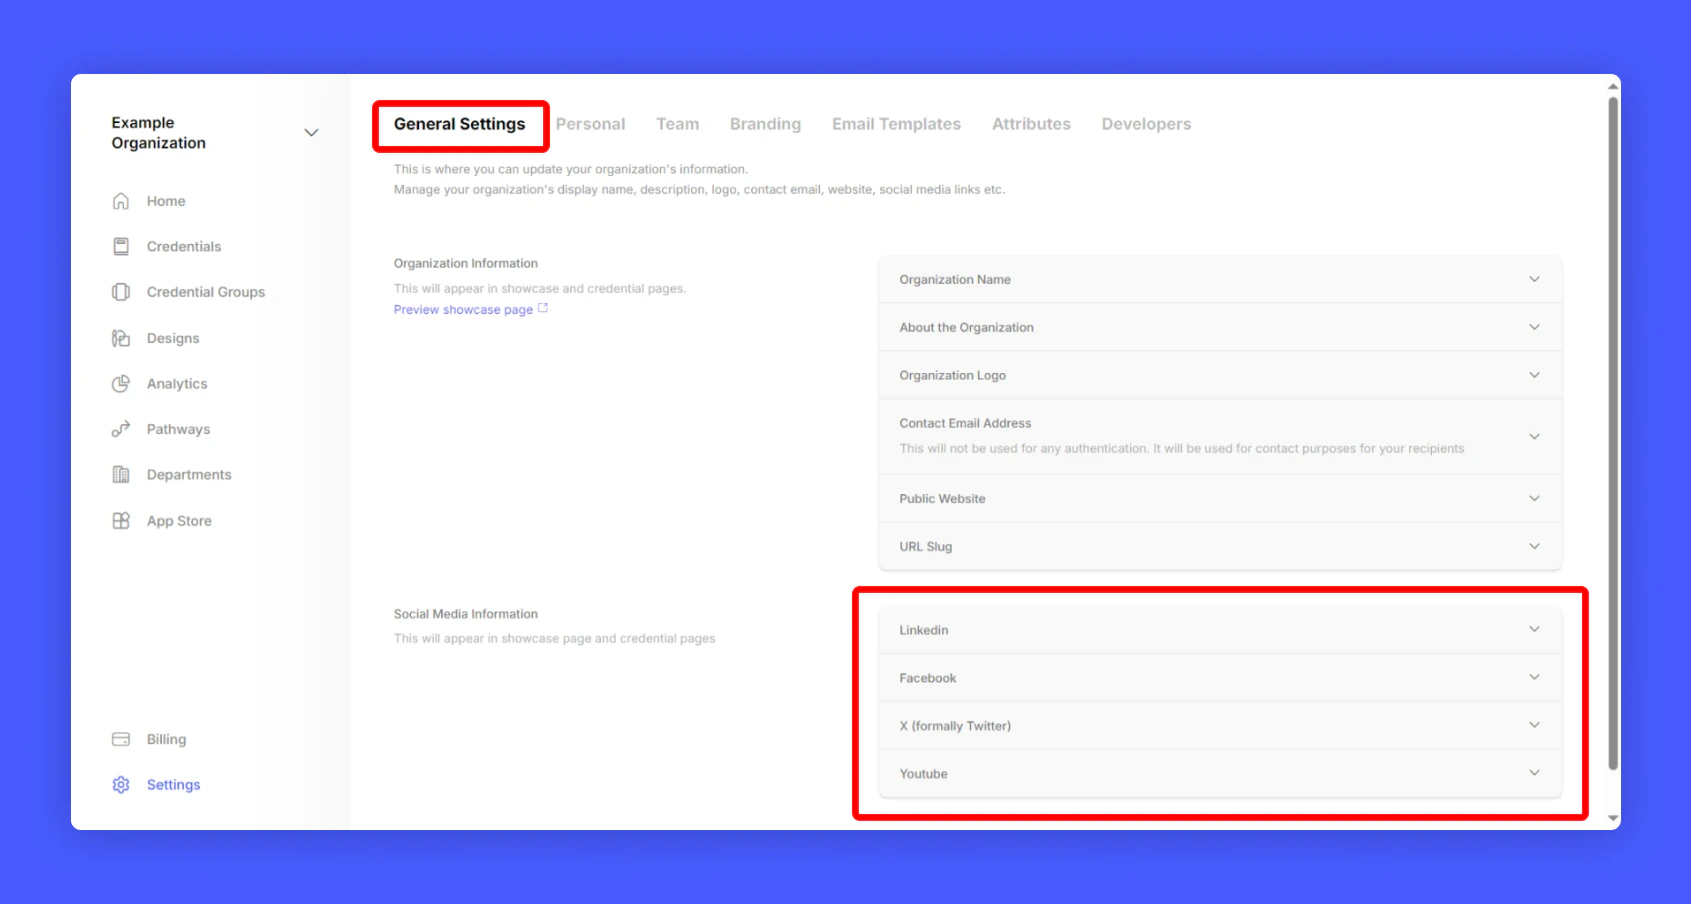
Do you want your recipients to add their Credentials to their LinkedIn profile? Follow the steps below:

<Card title="9. Social Media Integration" icon="image" href="/tutorials/customization-and-branding/social-media-integration">
  Hyperstack lets recipients add certifications to their profiles with one click. To link your LinkedIn company page to certifications, provide your LinkedIn organization ID.
</Card>
