

- Map each Tally form to a credential group.
- Pick which questions give the name and the email on the credential. Any question works, hidden fields too.
- Add a rule, so only some responses issue a credential. For example: Score is at least 15.
- See every response on the Logs tab, with the credential it issued or the reason it issued nothing.
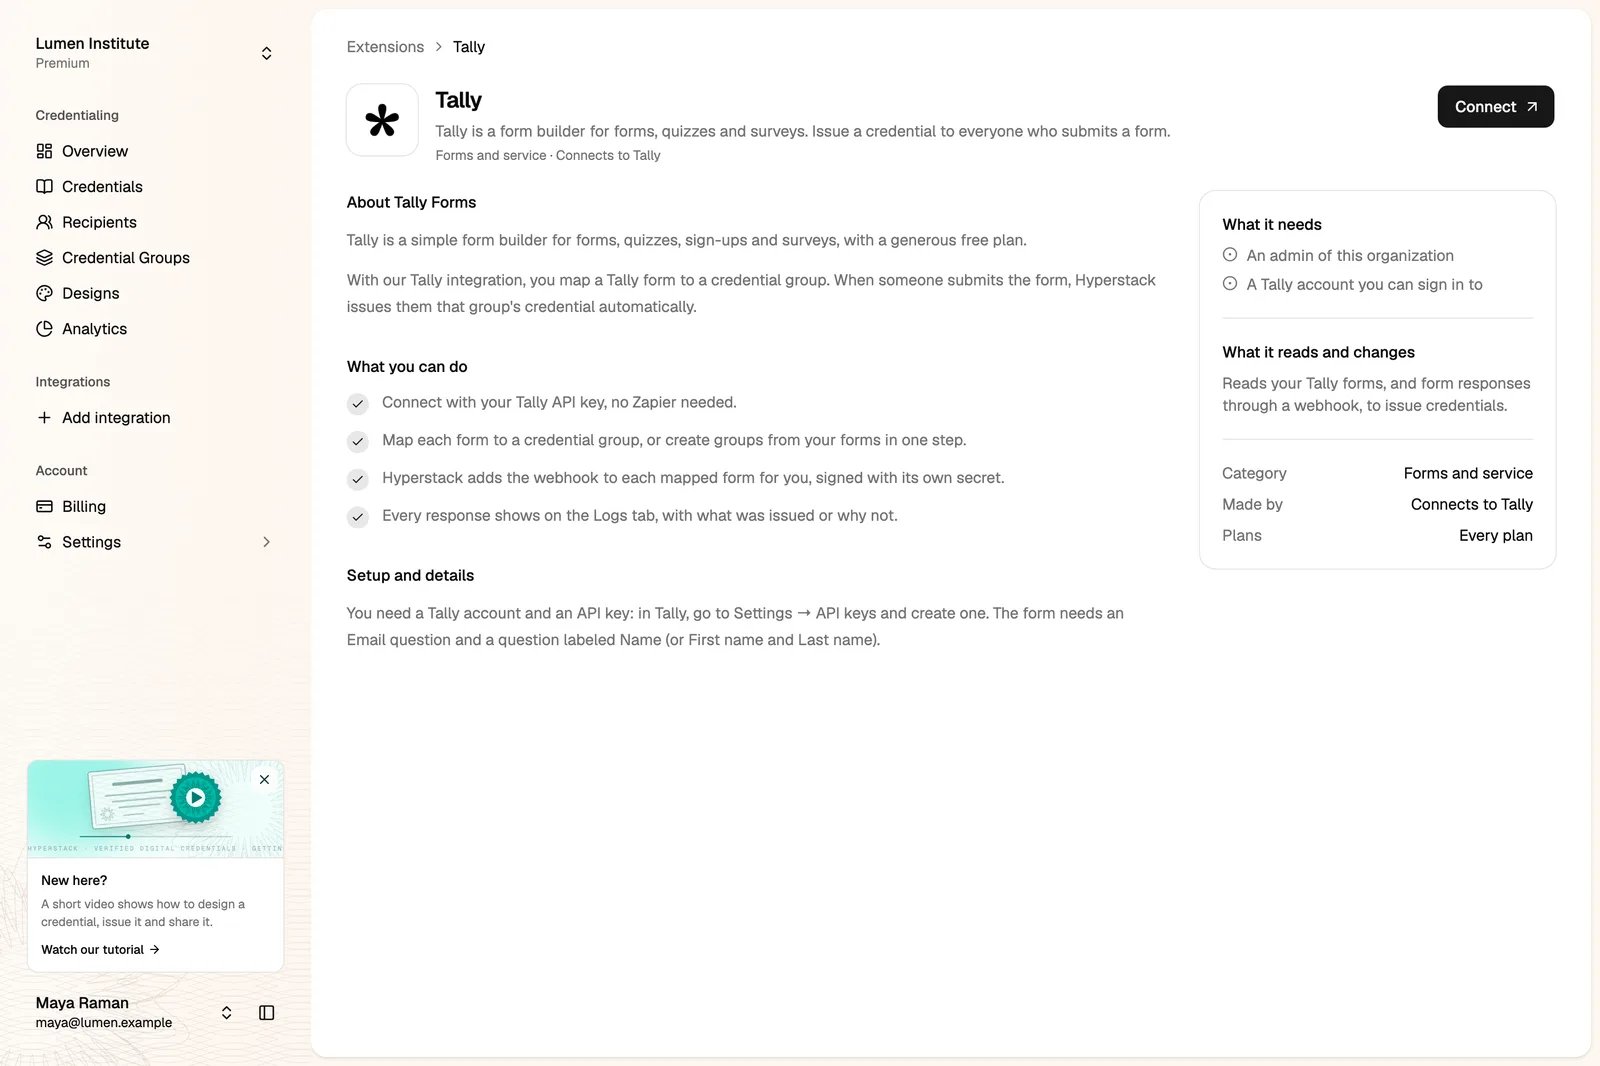
Before you start
- Hyperstack: any plan. You must be an administrator of the organization.
- Tally: any plan, free included. API keys and webhooks are free in Tally.
- At least one credential group with its design, or let Sync forms create them for you.
Step 1: Create an API key in Tally
1
Open Settings → API keys
Sign in to Tally and open Settings → API keys.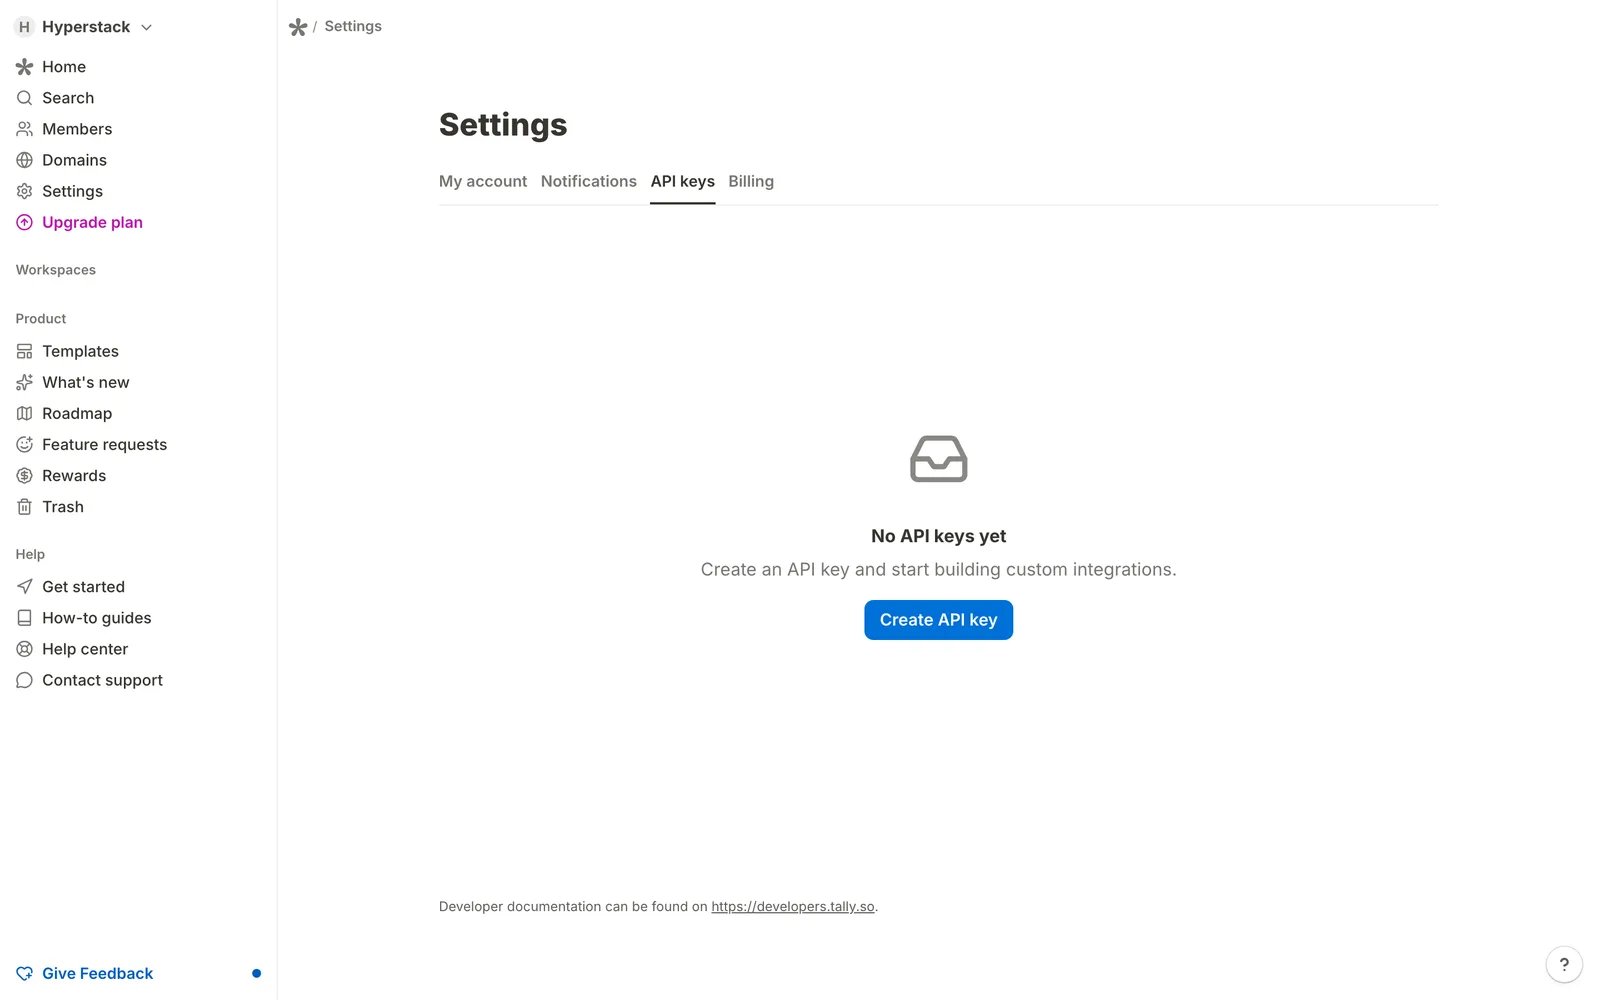
2
Create the key
Click Create API key, name it Hyperstack, and click Create.
3
Copy the key
Click the eye to show the key, then copy it. Tally shows the key only once.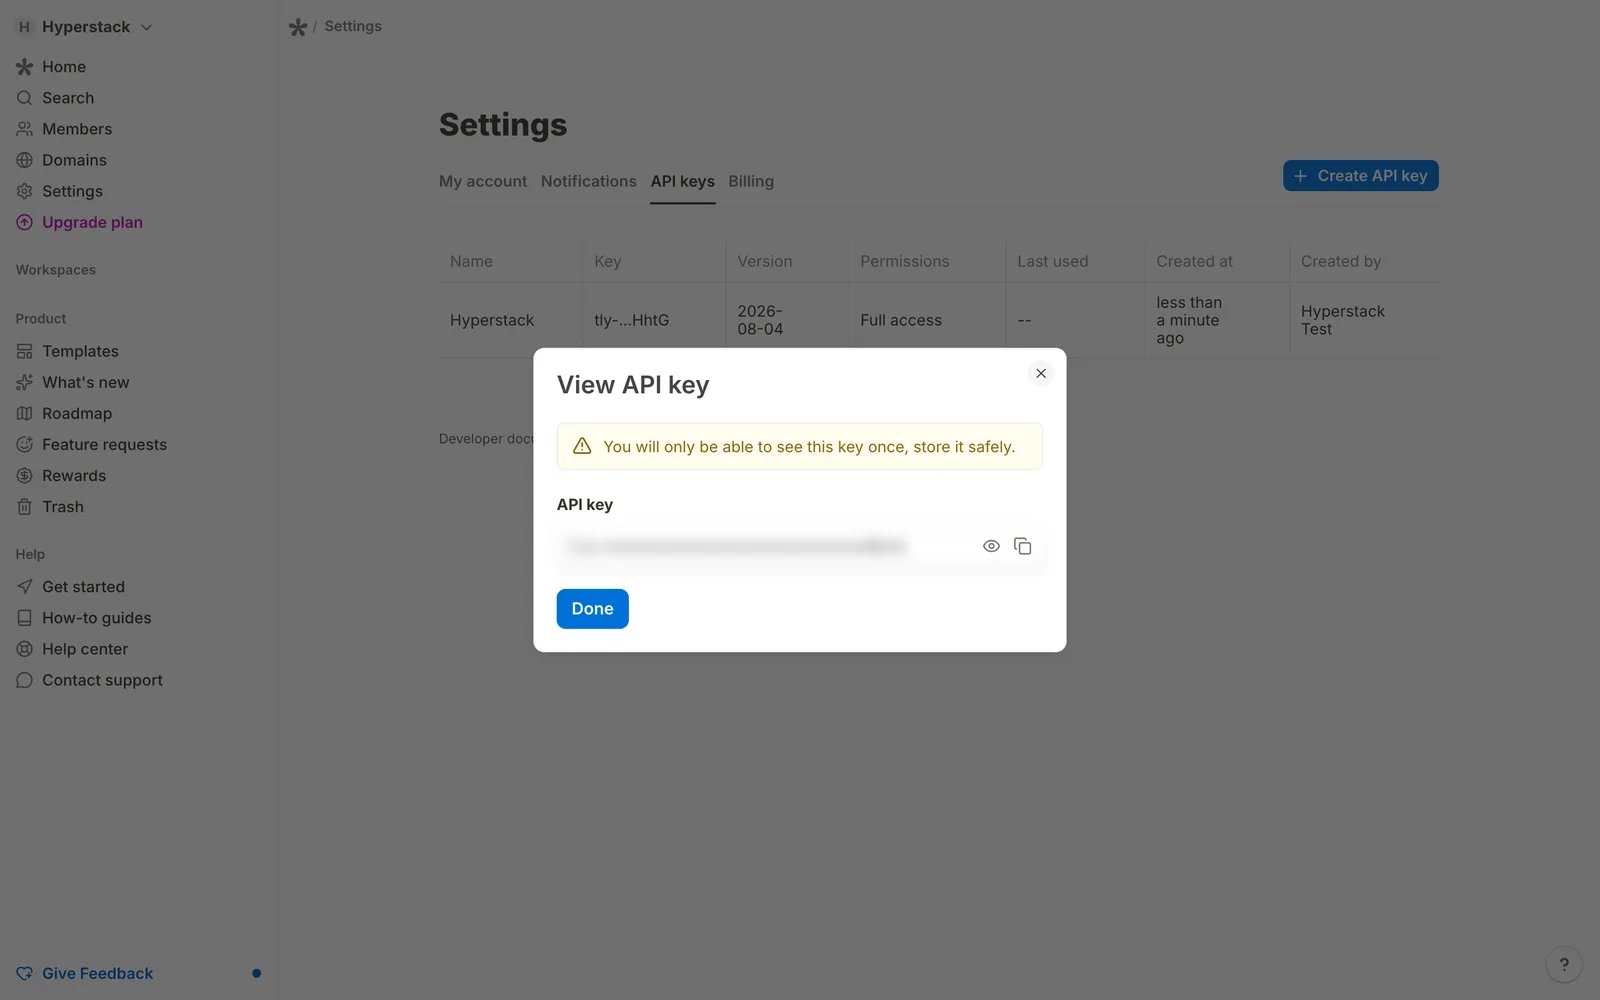
Step 2: Connect Tally to Hyperstack
1
Open the Tally extension
In the Studio, click Add integration, then Tally, then Connect.
2
Paste the key
Paste the key into Tally API key and click Connect Tally. Hyperstack checks the key with Tally before it saves anything.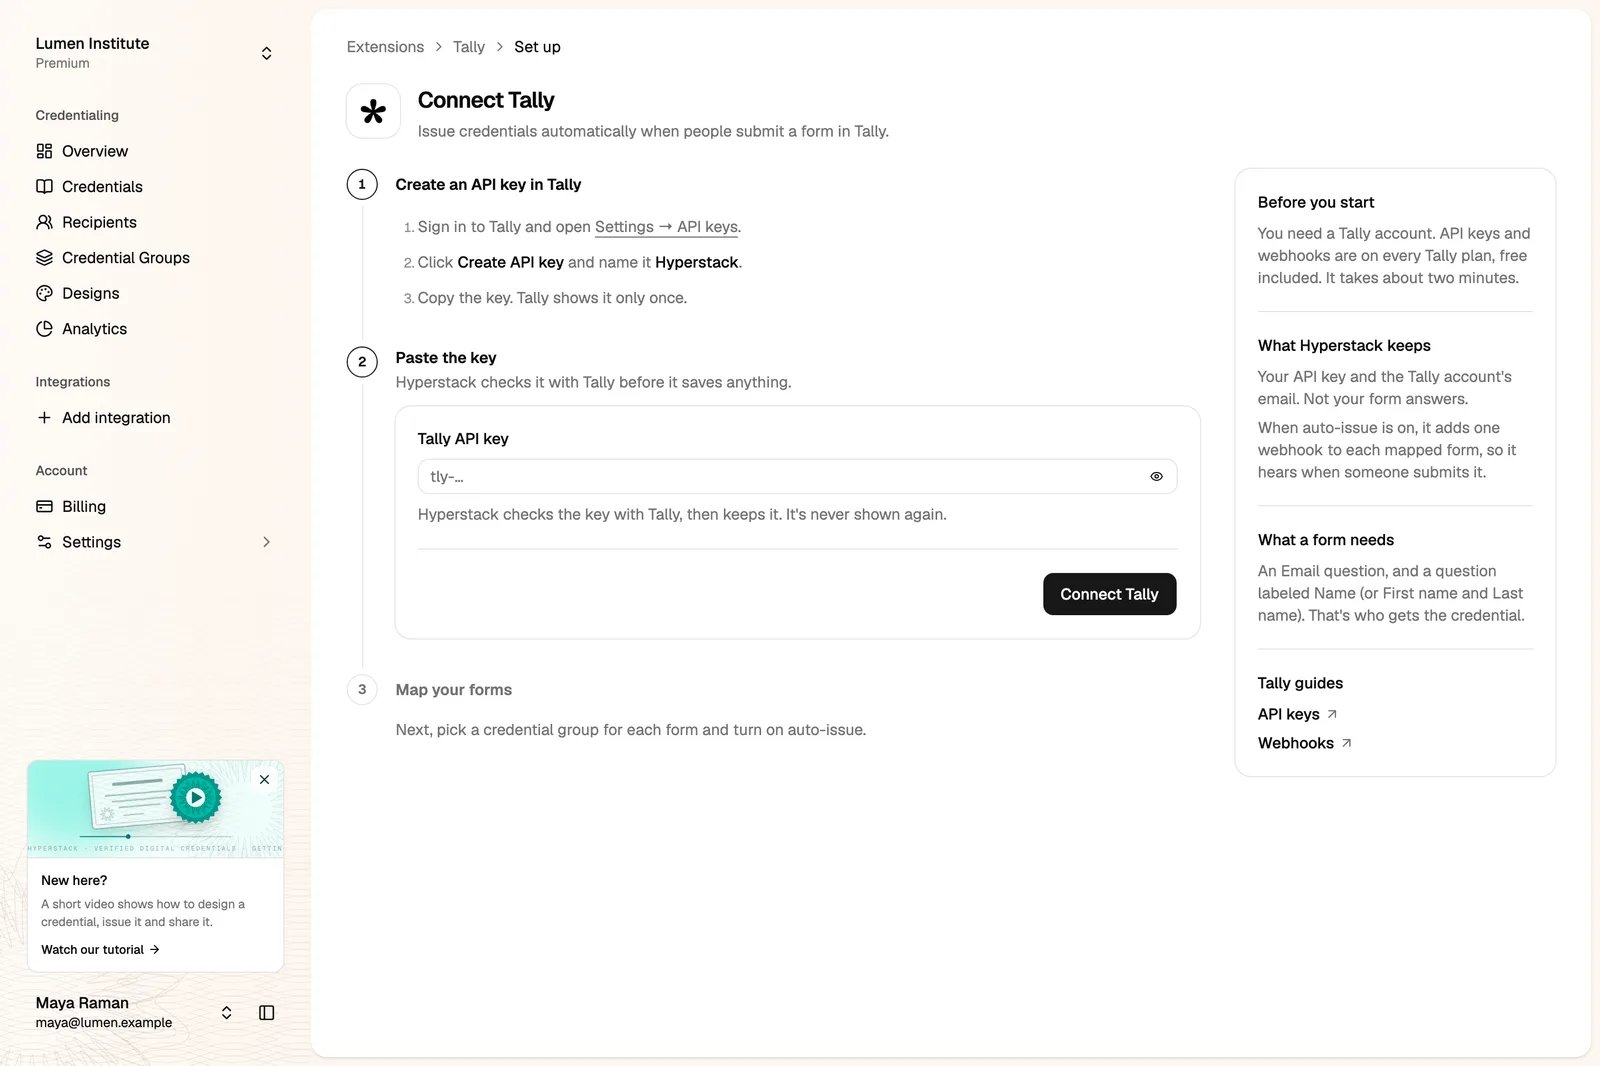
3
Open your forms
The page says Tally is connected. Click Map forms.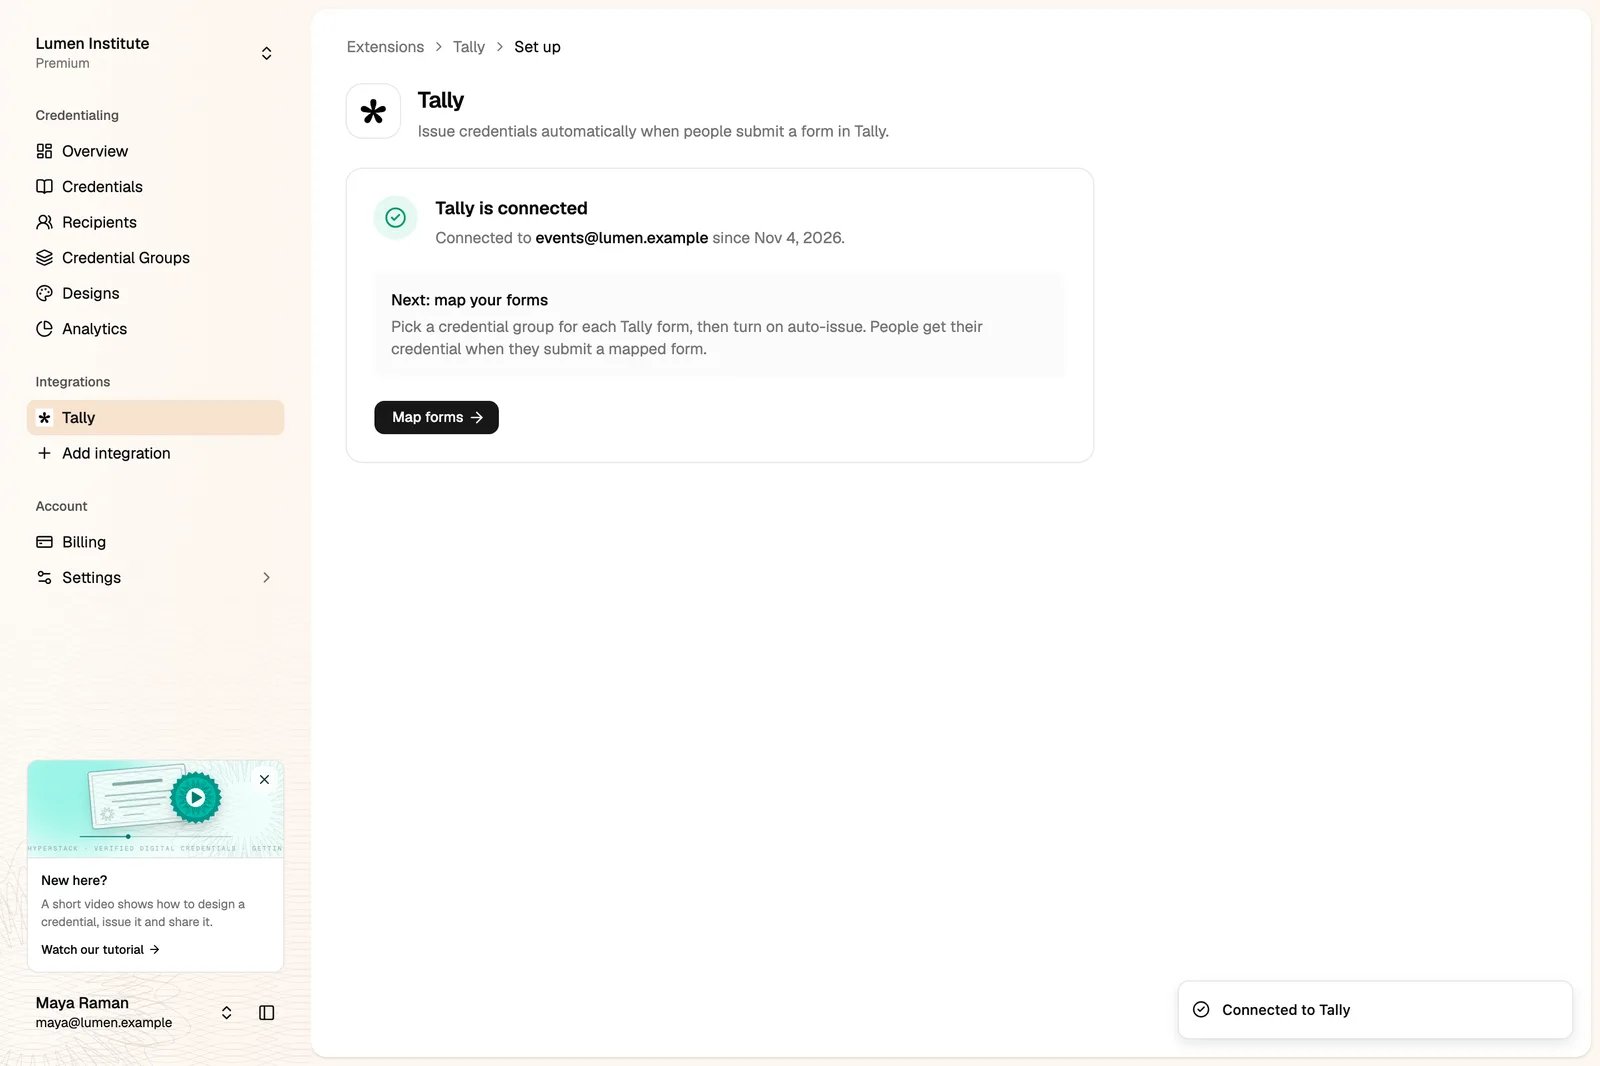
Step 3: Map your forms to credential groups
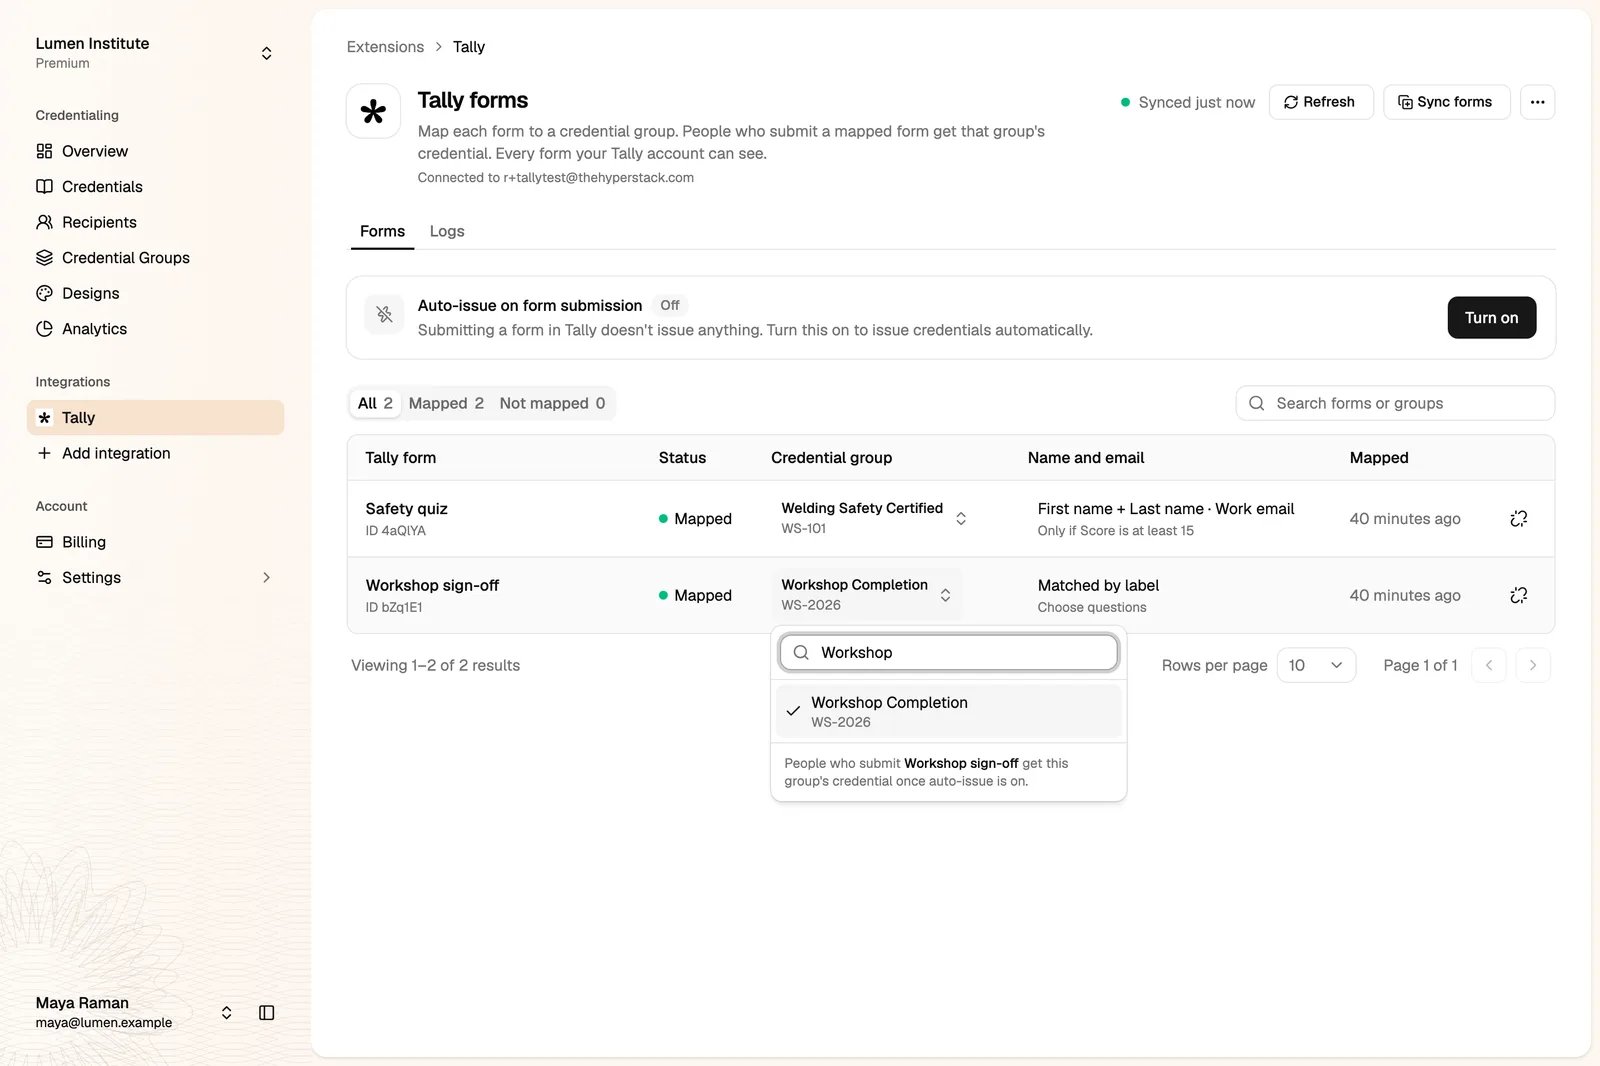
The Tally forms page lists every form of your Tally account.- To map one form, click Choose group on its row, type to search, and pick a credential group.
- To map many forms at once, click Sync forms. Hyperstack creates a credential group for each form that is not mapped yet, named after the form, with the design you pick.
Step 4: Pick the name, the email and an optional rule
Each mapped form has a Name and email column. It says Matched by label until you pick. Then Hyperstack reads an Email question and a question named Name or Full name (or First name and Last name). To pick the questions yourself, click the button in the Name and email column.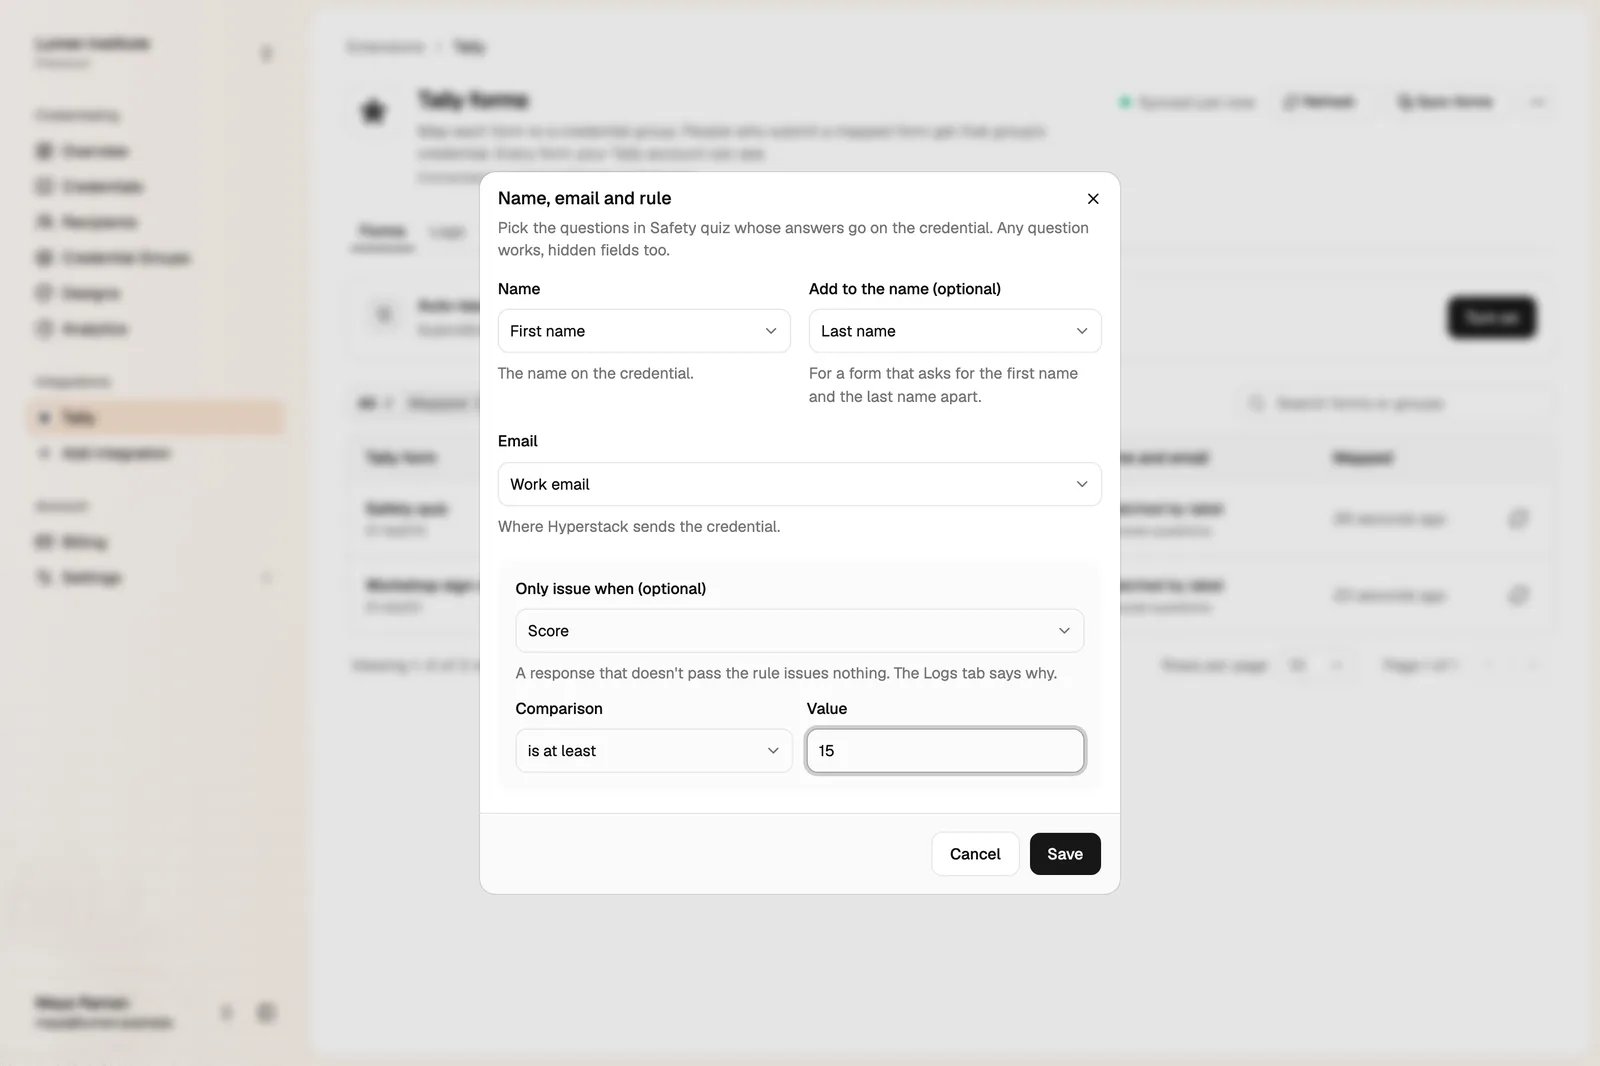
- Name: the question whose answer is the name on the credential.
- Add to the name (optional): a second question added after the first one, for a form that asks for the first name and the last name separately.
- Email: the question whose answer is the email address. Hyperstack sends the credential there. A hidden field works too, so you can put the email in the form’s link.
- Only issue when (optional): pick a question, a comparison and a value.
For a dropdown or multiple-choice question, Hyperstack compares the text of the option.
Click Save. The column shows what you picked, for example First name + Last name · Work email and Only if Score is at least 15.
Step 5: Turn on auto-issue
Click Turn on under Auto-issue on form submission. Hyperstack adds one webhook to each mapped form in Tally.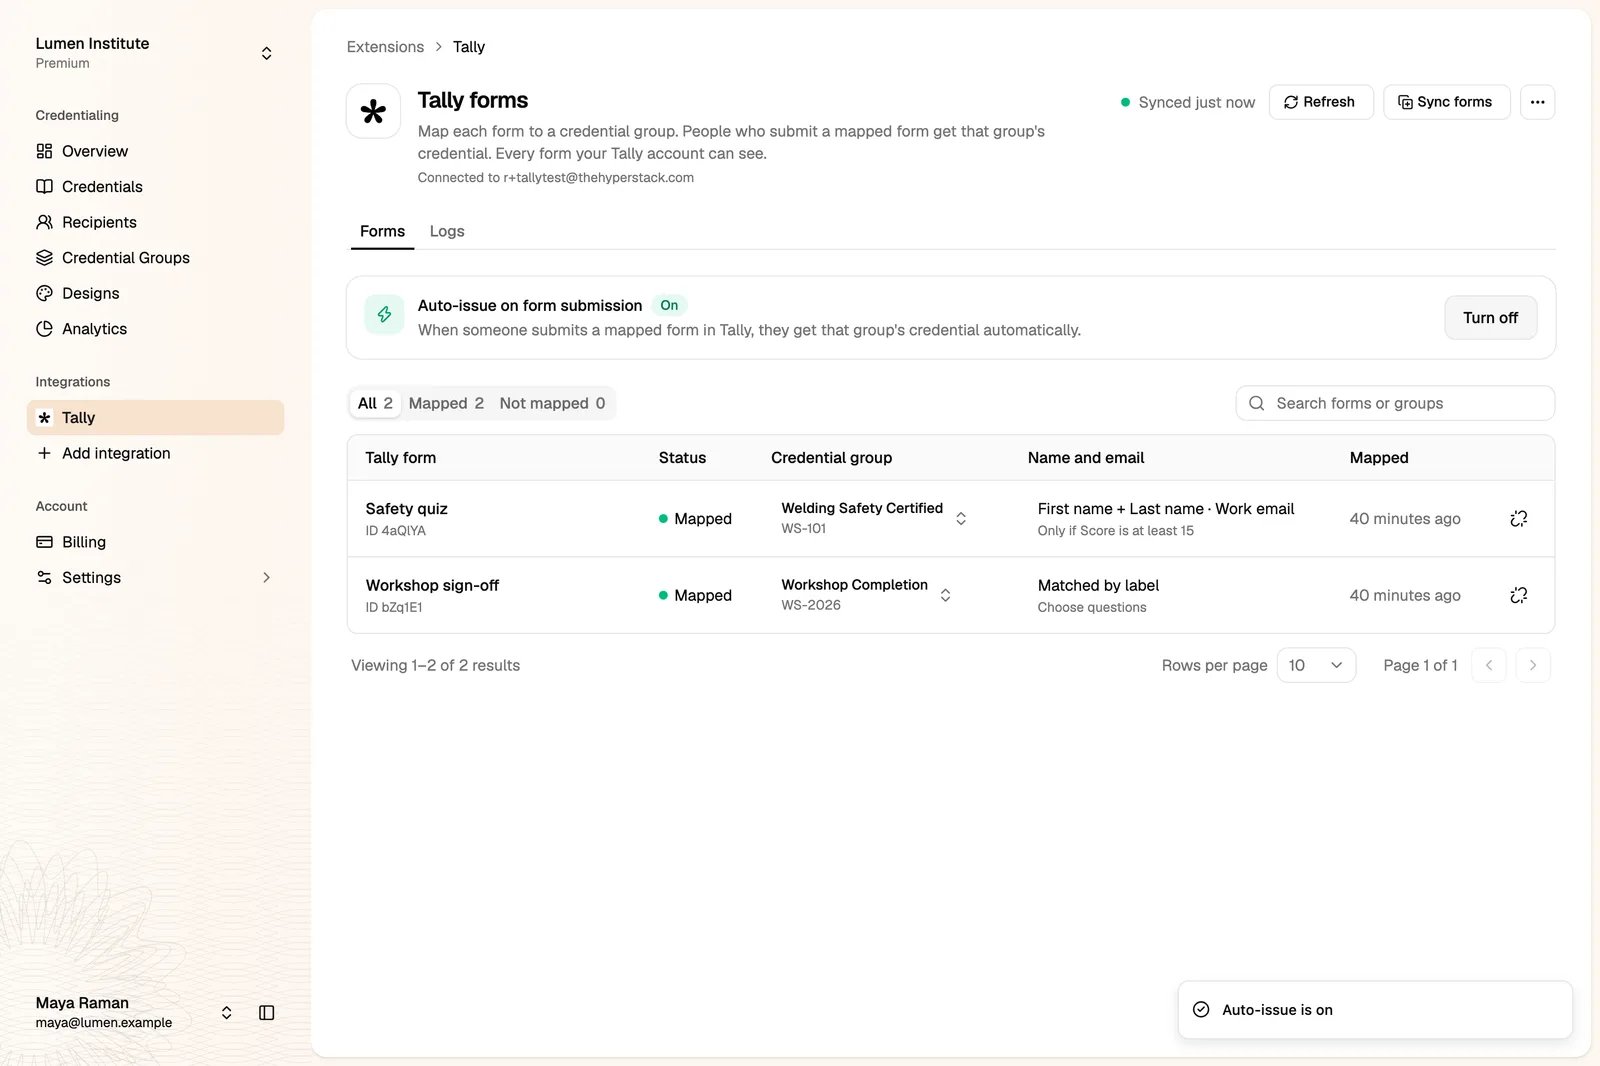
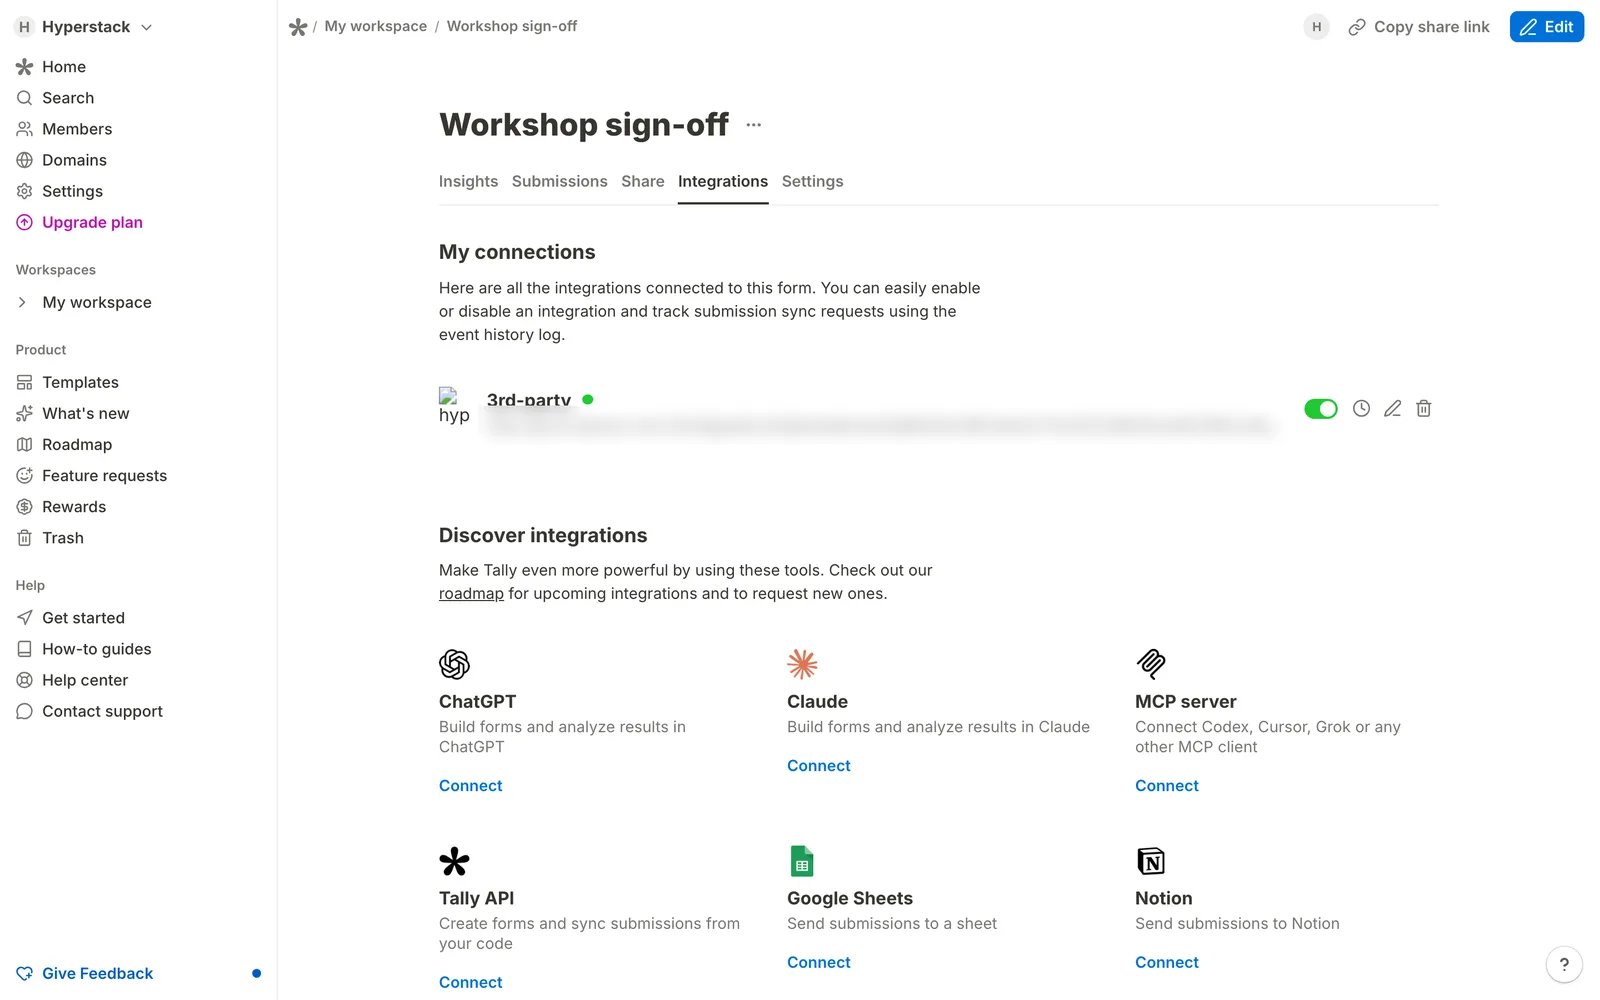
Check what happened: the Logs tab
The Logs tab lists every response that Tally sends, for 90 days.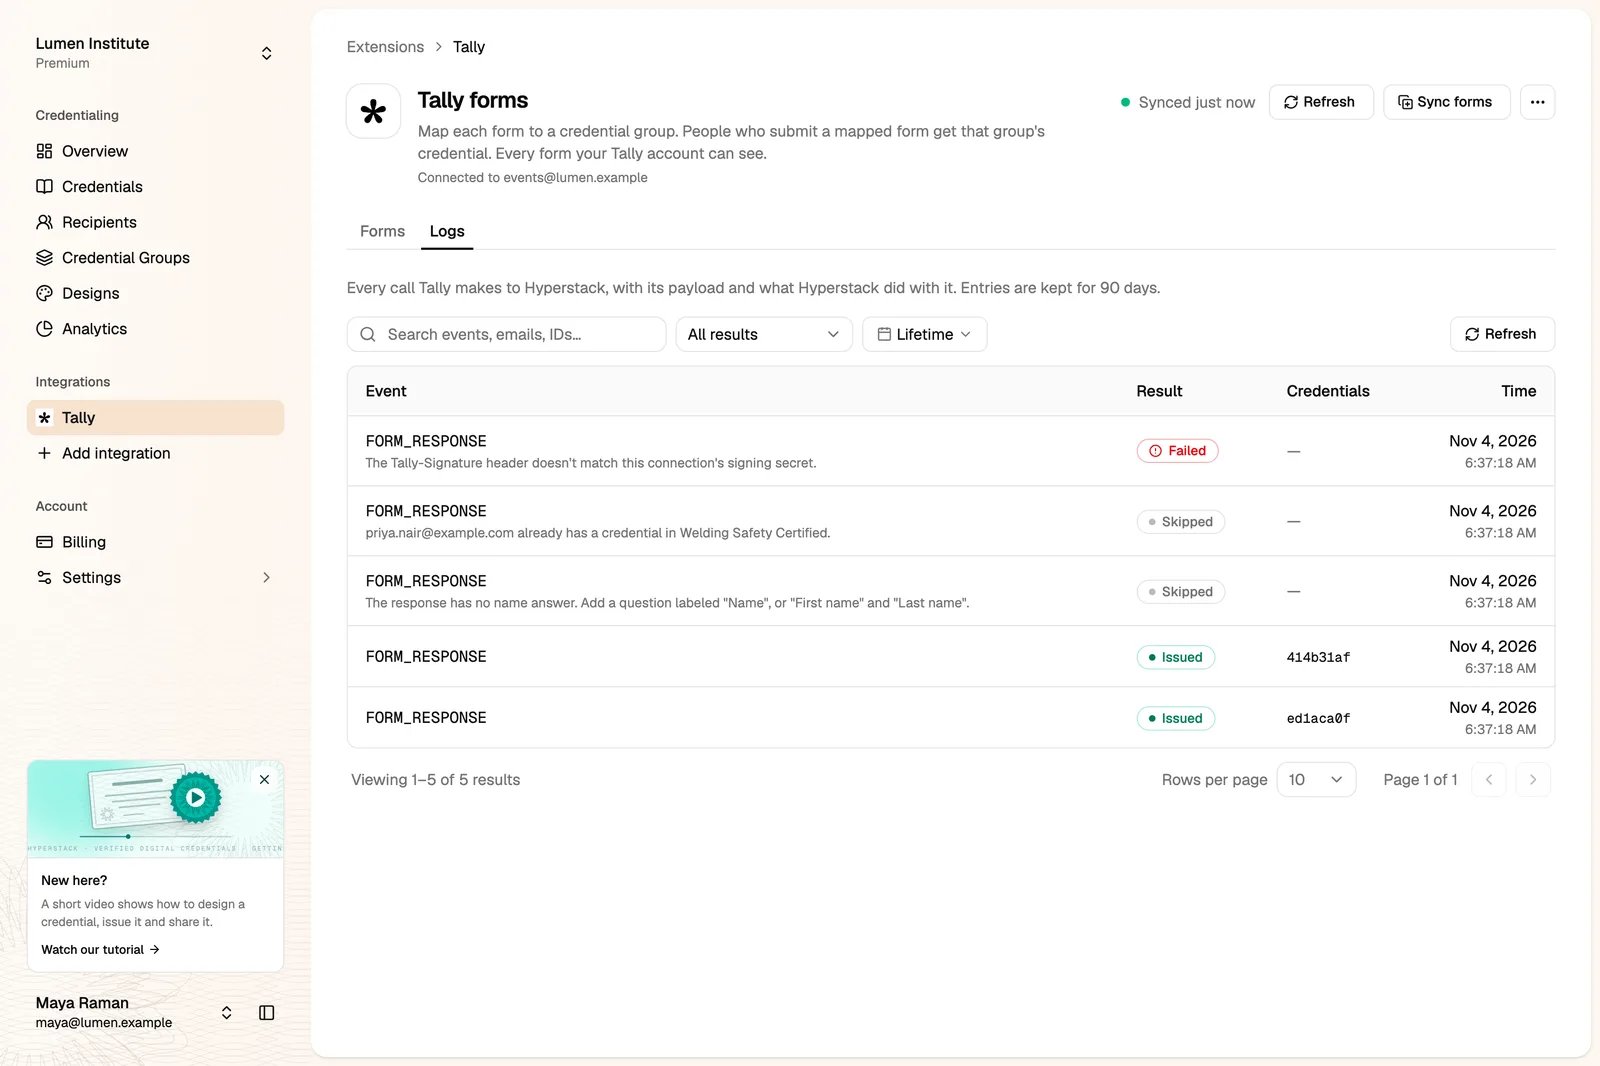
- Issued: a credential was created. Its ID shows in the Credentials column.
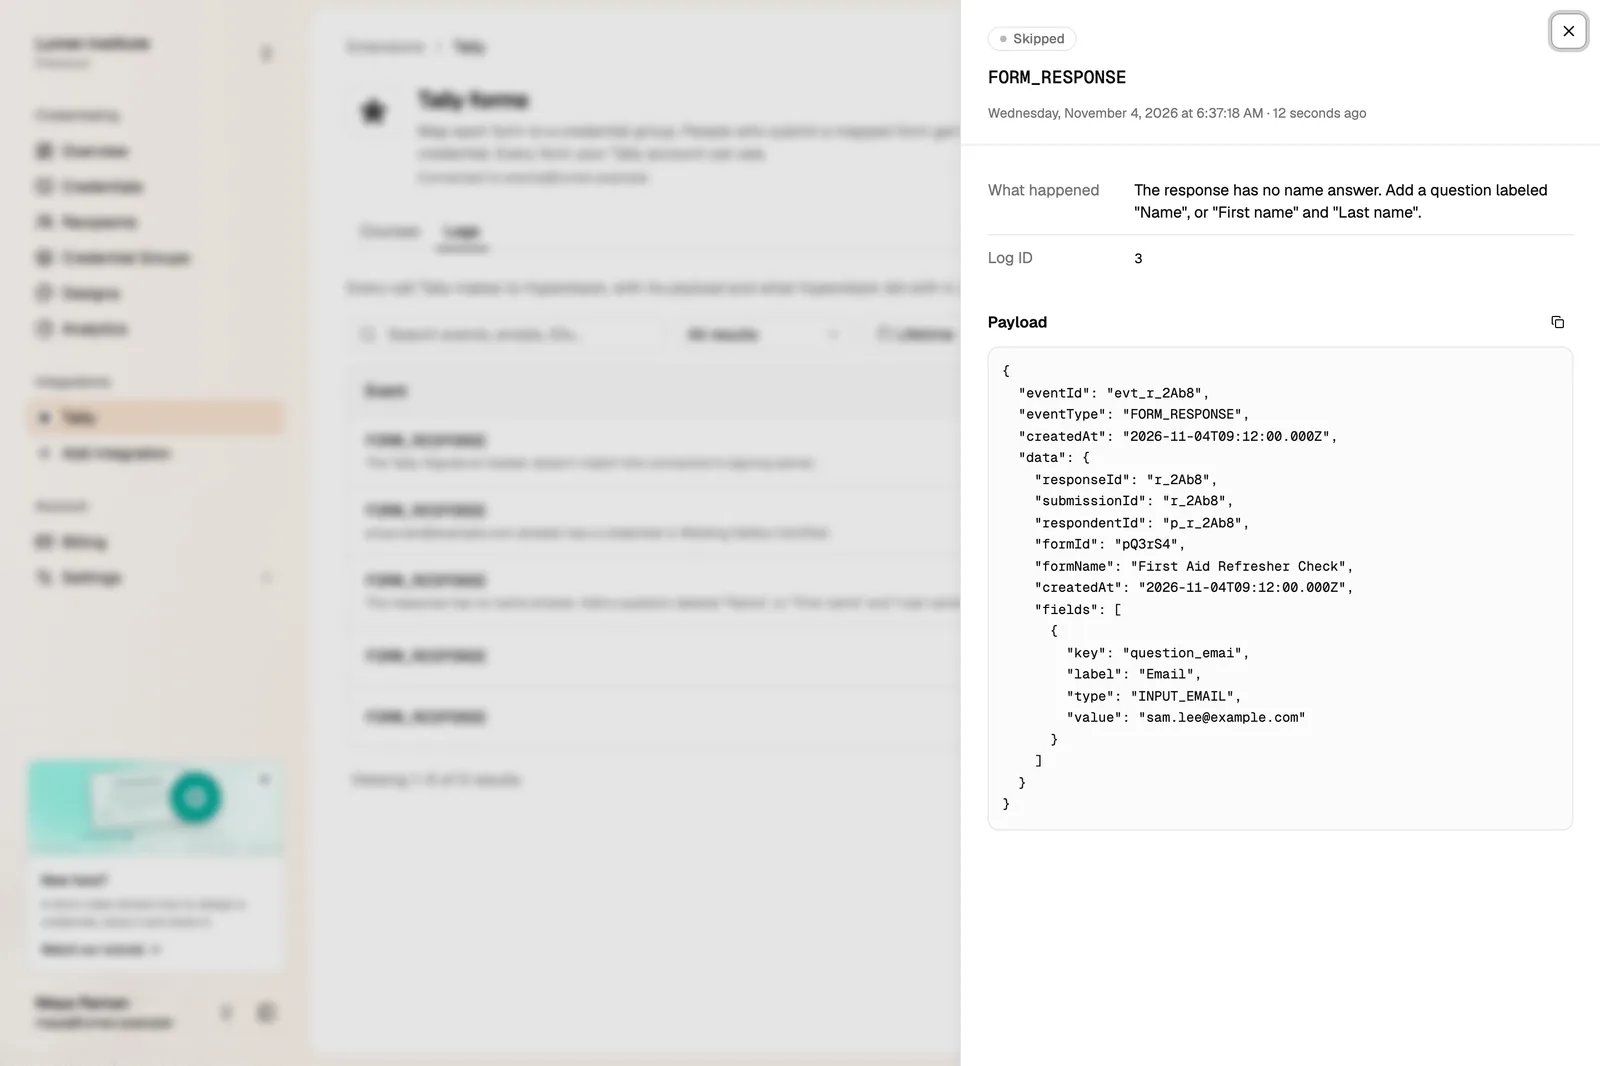
- Skipped: nothing was issued, and the line says why. For example: the rule wasn’t met, the email answer isn’t an email address, or the person already has a credential in that group.
- Failed: the call was refused, for example because its signature didn’t match.
Good to know
- One credential per email per group. If a person submits the form again, nothing new is issued.
- What Hyperstack keeps: your API key and the Tally account’s email. A credential keeps only the form, the response ID and the time. Hyperstack doesn’t copy the form answers into the credential.
- Security: each webhook is signed with a secret that only Hyperstack and Tally know. Hyperstack refuses a call with a wrong signature.
- Turn off auto-issue to stop issuing but keep your mappings. Hyperstack removes the webhooks from your forms.
Disconnect Tally
Click the ⋯ button at the top right of the Tally page, then Disconnect Tally. Hyperstack removes its webhooks from your forms in Tally and deletes your mappings. Credentials you already issued stay as they are.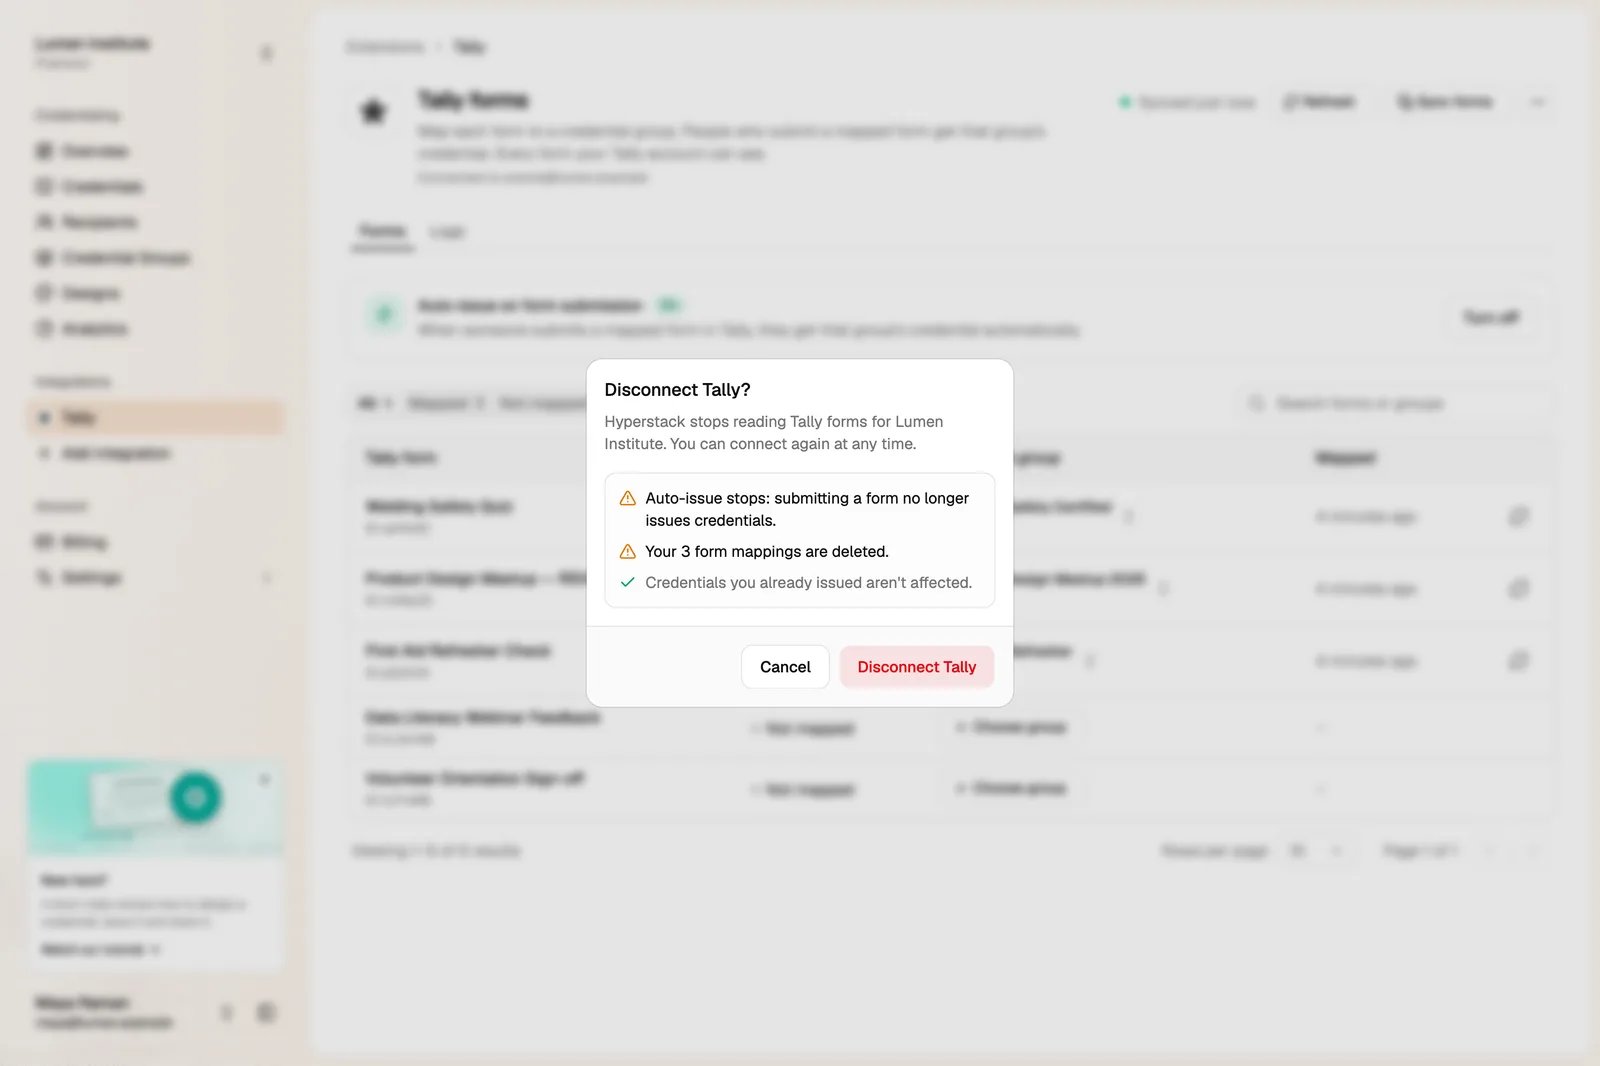
Troubleshooting
Questions or problems: support@thehyperstack.com.