

You need the Credential issuer or Administrator role to create groups.
Create a group
1
Go to Credential Groups and click Create group
You can also click Create Credential Group on the dashboard.
2
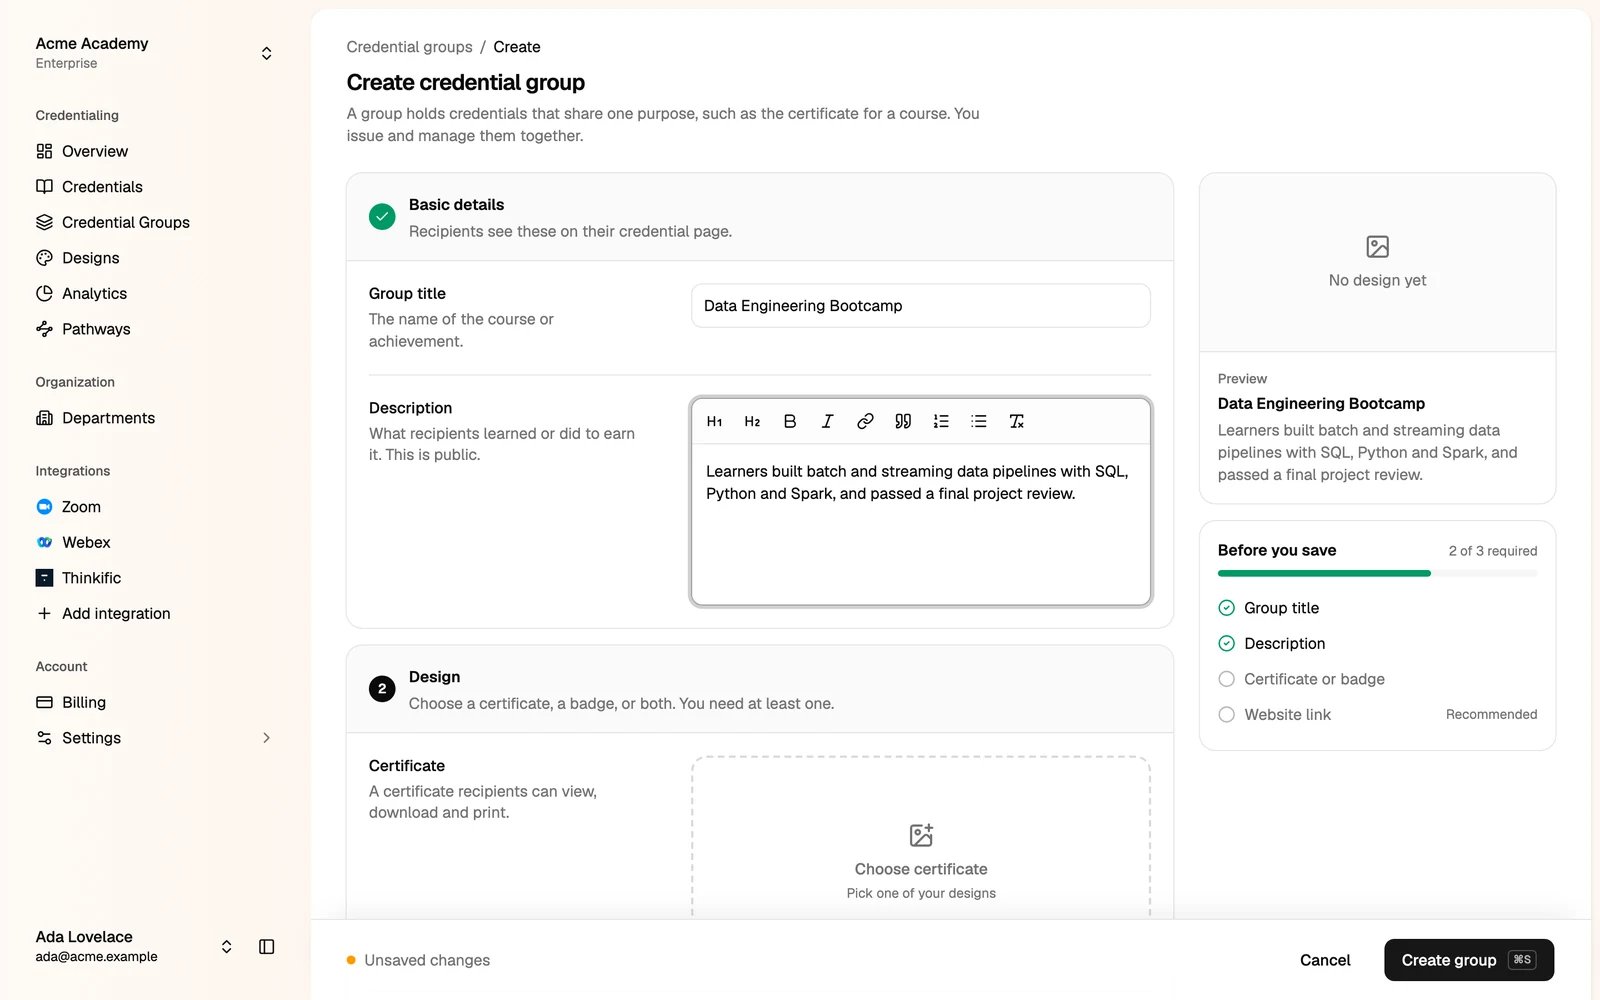
Fill in the basic details
- Group title: the name of the course or achievement, for example Data Engineering Bootcamp.
- Description: what recipients learned or did to earn it. This is public.
3
Choose the design
Under Design, click Choose certificate, Choose badge, or both. You need at least one.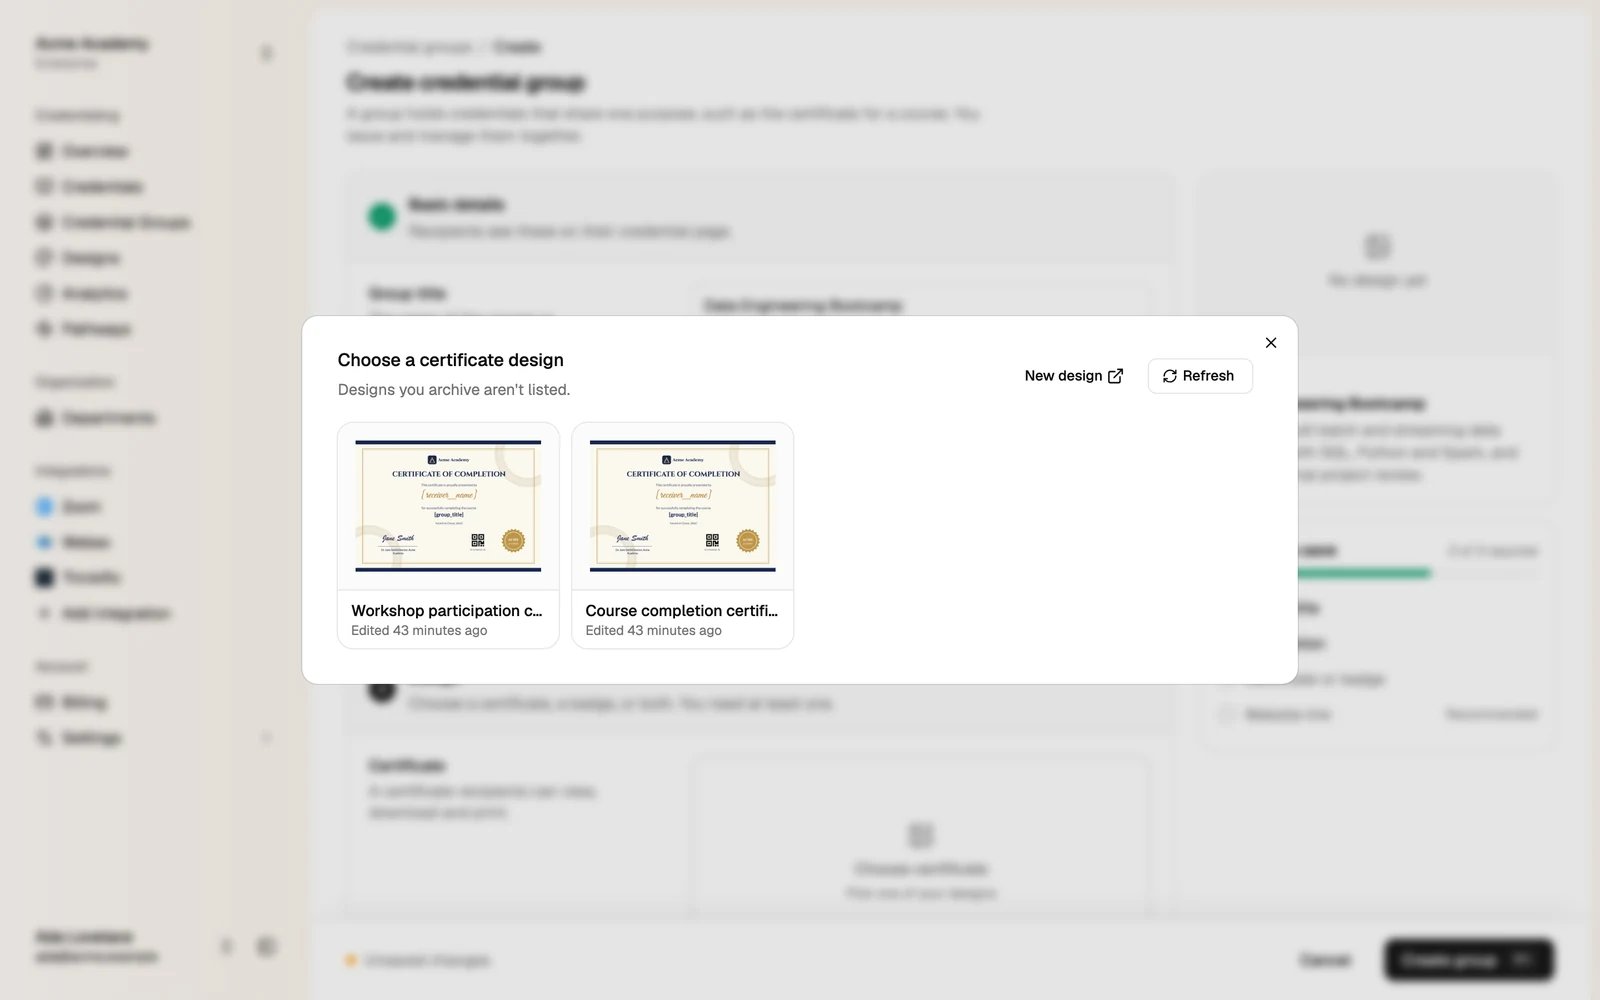
4
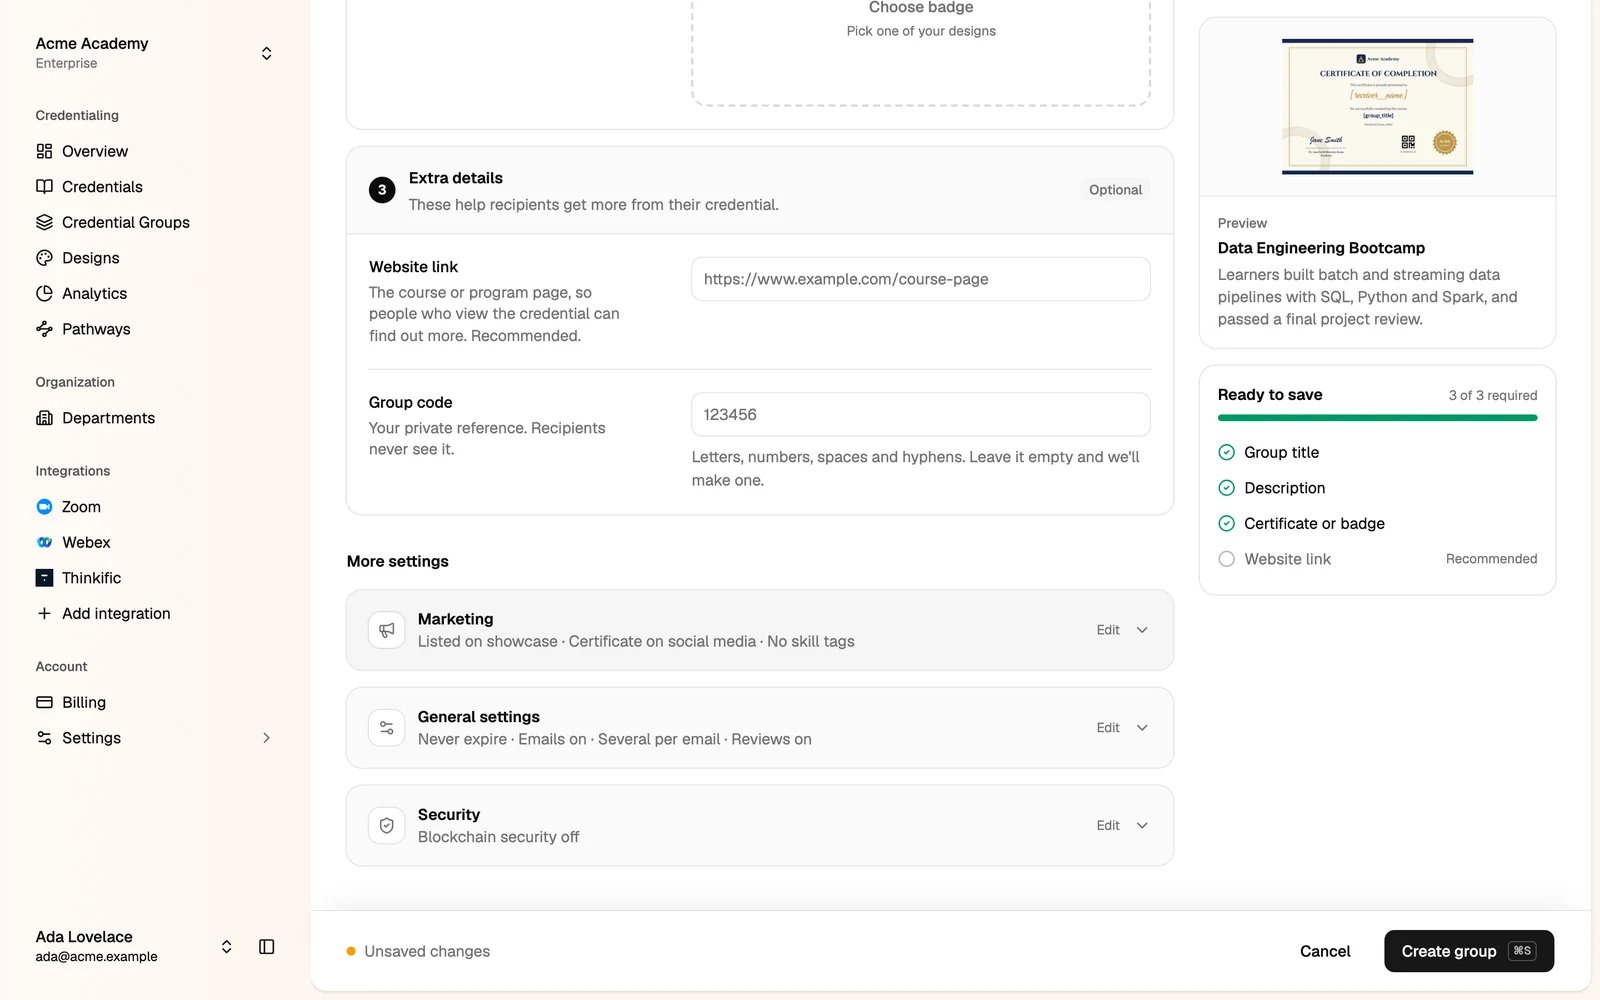
Add the extra details (optional)
- Website link: the course or program page. People who view the credential can open it to find out more. We recommend it.
- Group code: your private reference, for example
DE-2026. Recipients never see it. Leave it empty and the Studio makes one.
5
Check More settings
The defaults suit most groups. Click a row to open it. See Group settings below.
6
Click Create group
You can also press ⌘ + S (or Ctrl + S).
Group settings
Marketing
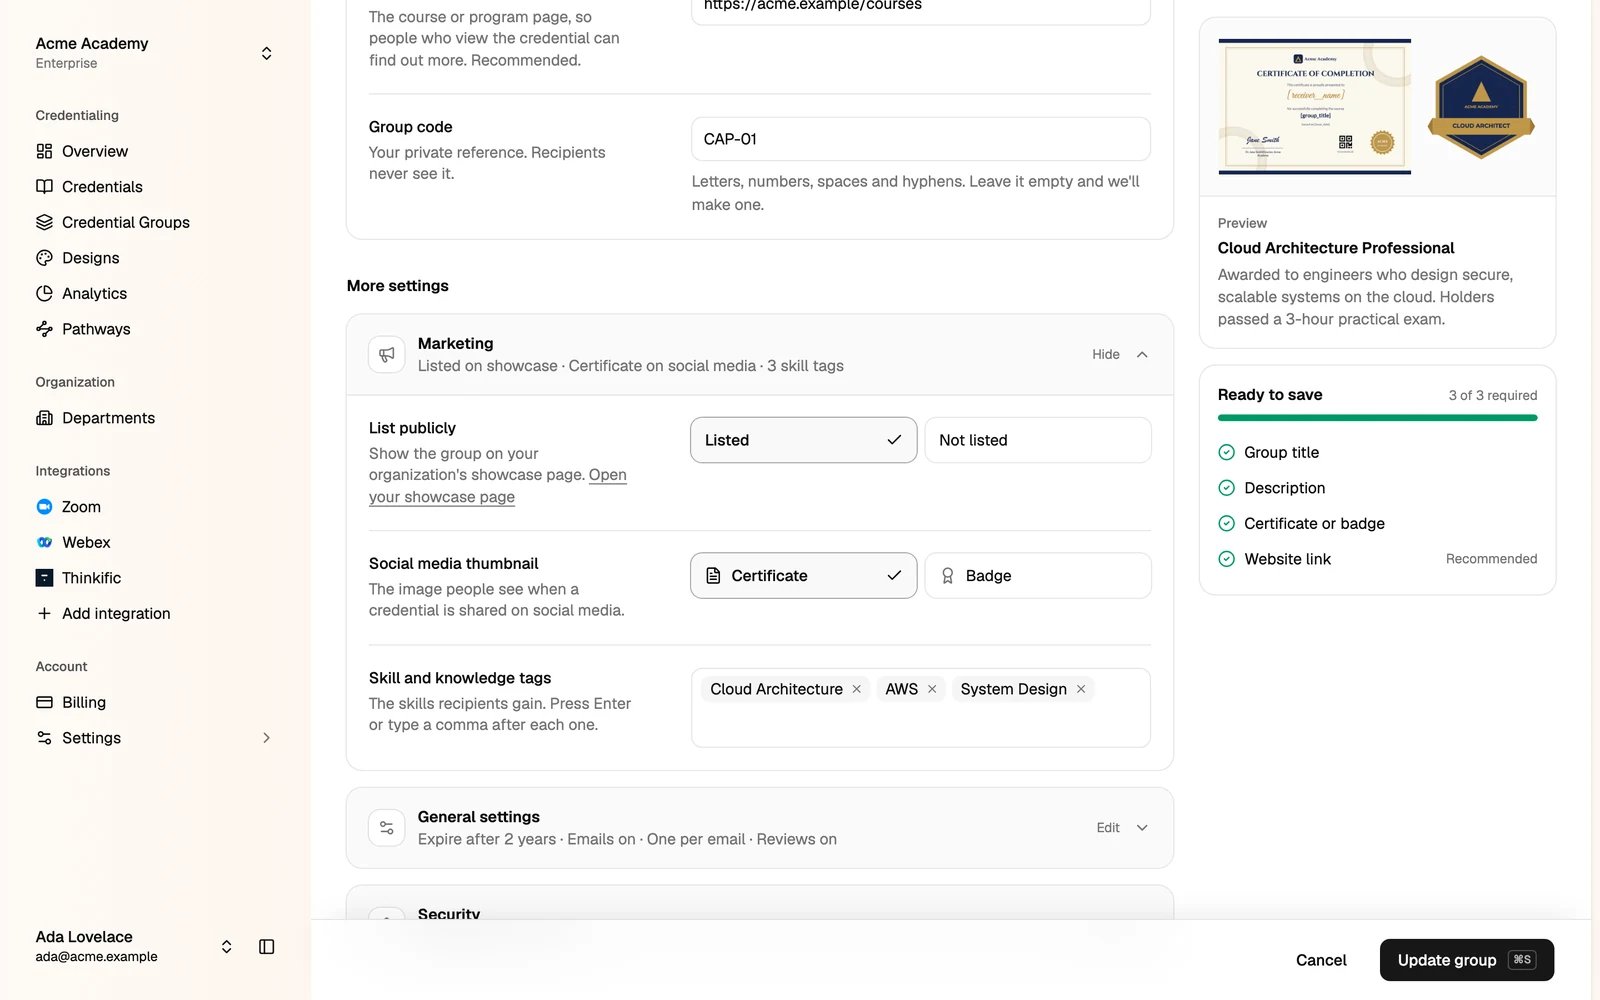
- List publicly: show the group on your showcase page.
- Social media thumbnail: the image people see when a credential is shared, the certificate or the badge.
- Skill and knowledge tags: the skills recipients gain. Press Enter or type a comma after each one. They appear on the credential page.
General settings
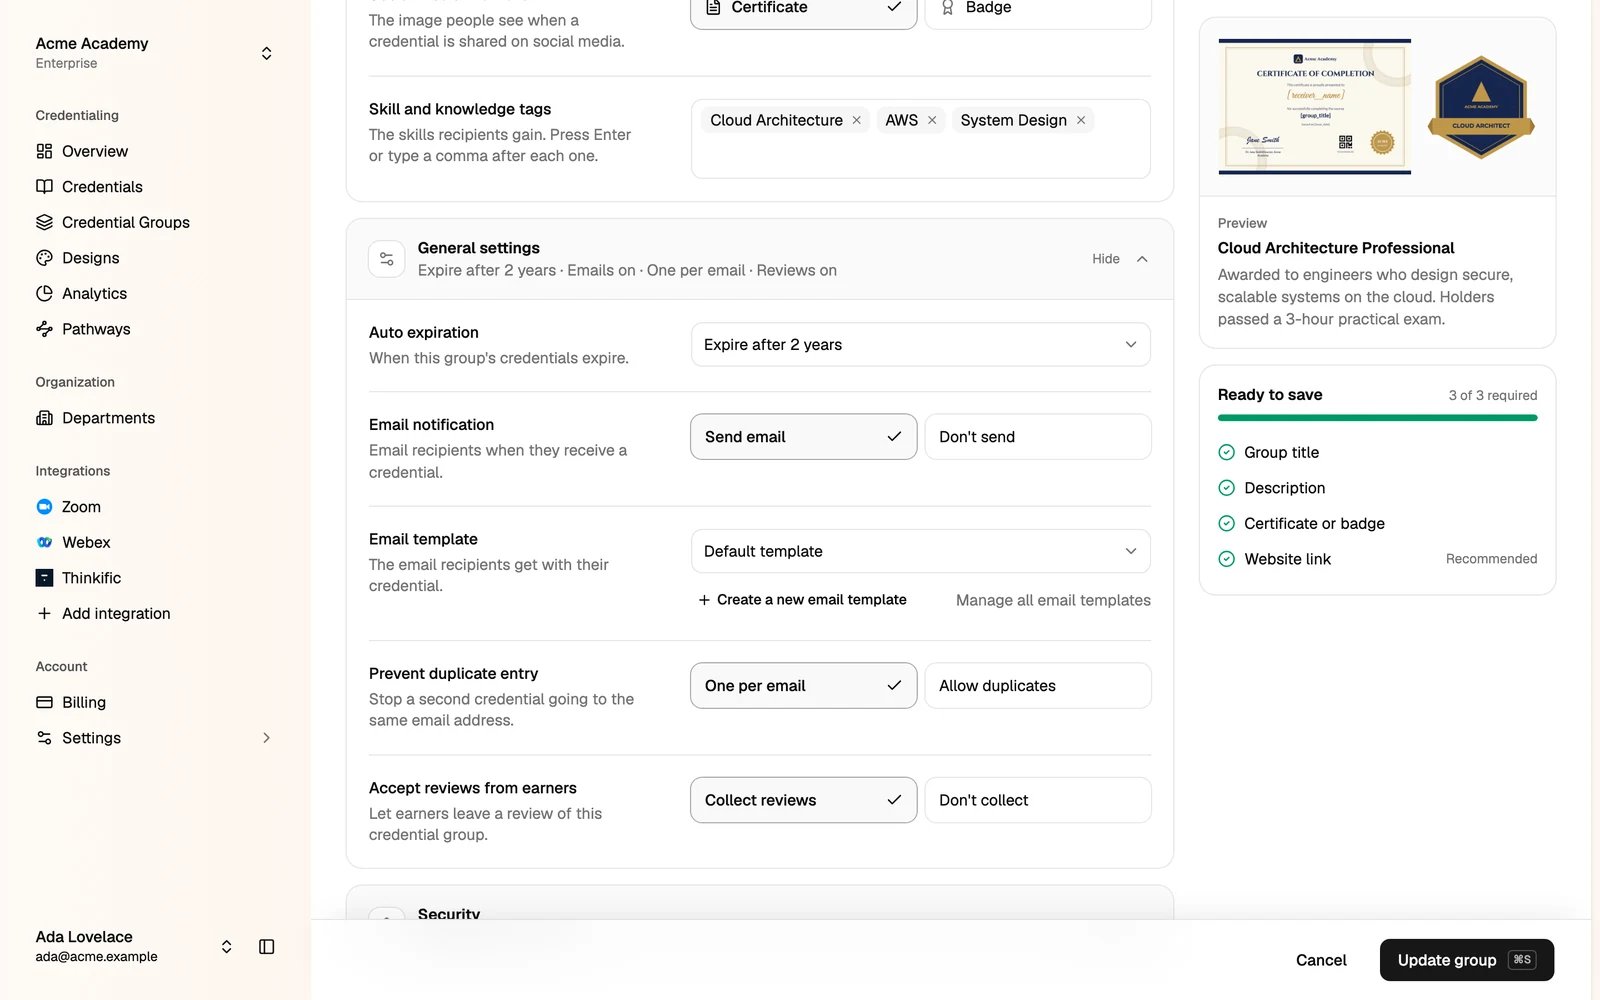
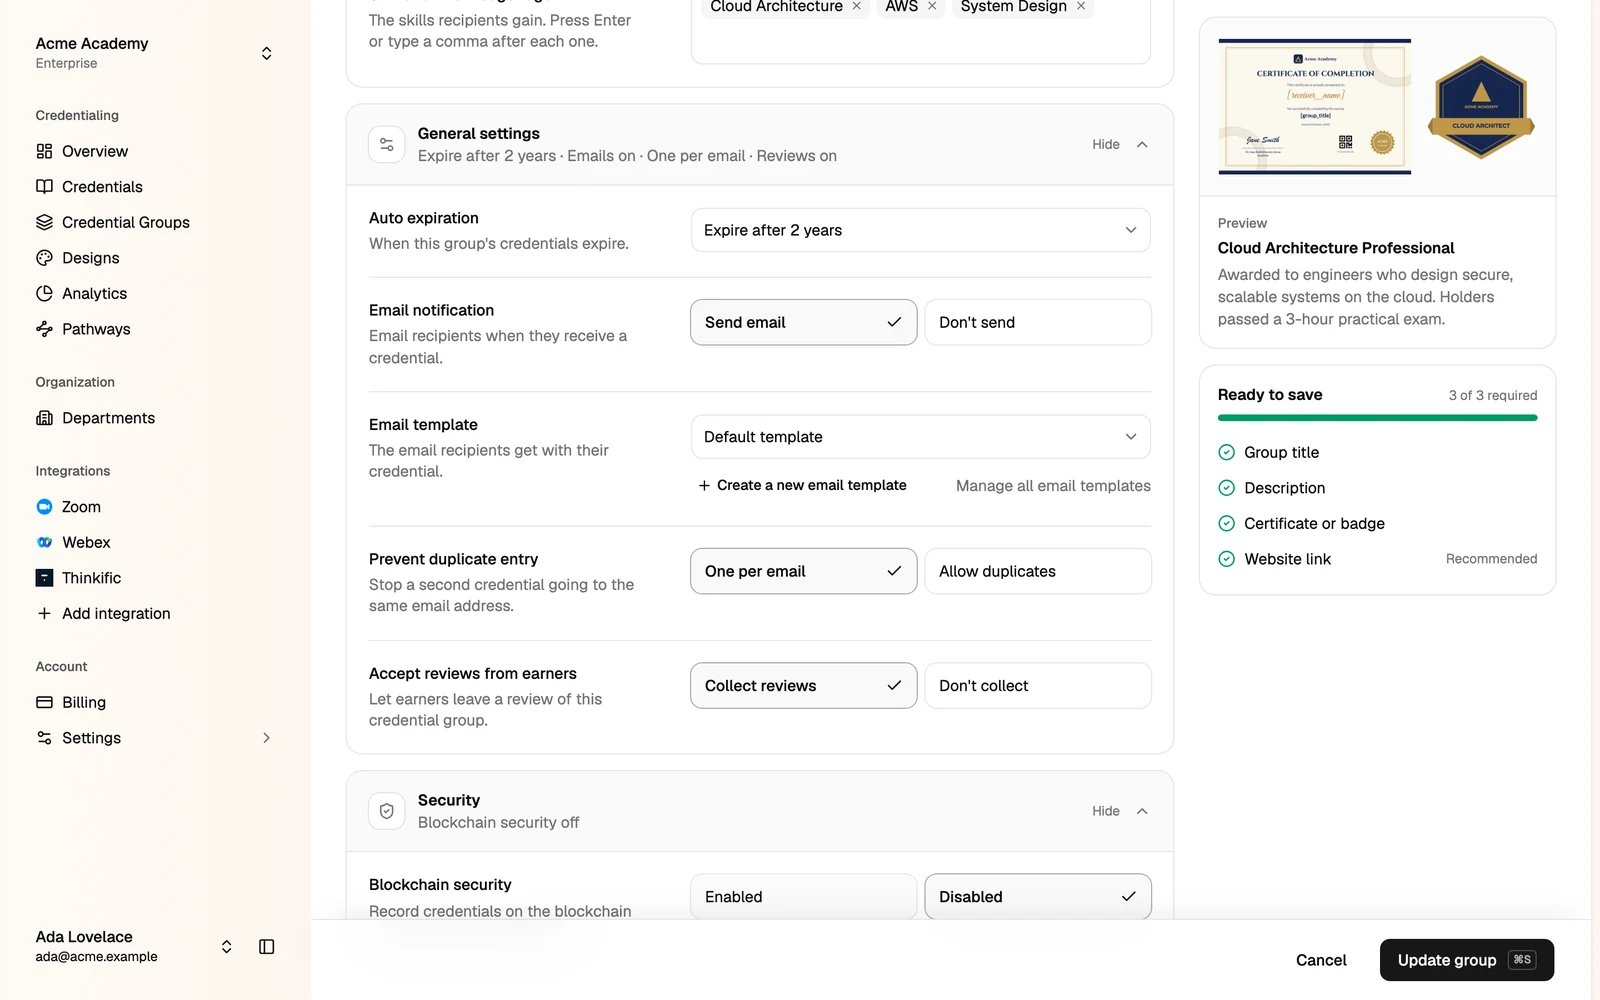
- Auto expiration: when the group’s credentials expire, from Never expire to a number of years. You can still change the expiry date when you issue.
- Email notification: email recipients when they receive a credential, or not.
- Email template: the email recipients get. See Email templates.
- Prevent duplicate entry: One per email stops a second credential going to the same email address. Allow duplicates lets one person get more than one.
- Accept reviews from earners: let recipients review the group. See Student reviews.
Security
- Blockchain security: record the group’s credentials on the blockchain, so nobody can change them.
Manage your groups
Go to Credential Groups to see all your groups, with their code, key (identifier) and how many credentials each one holds. Click a group to change it.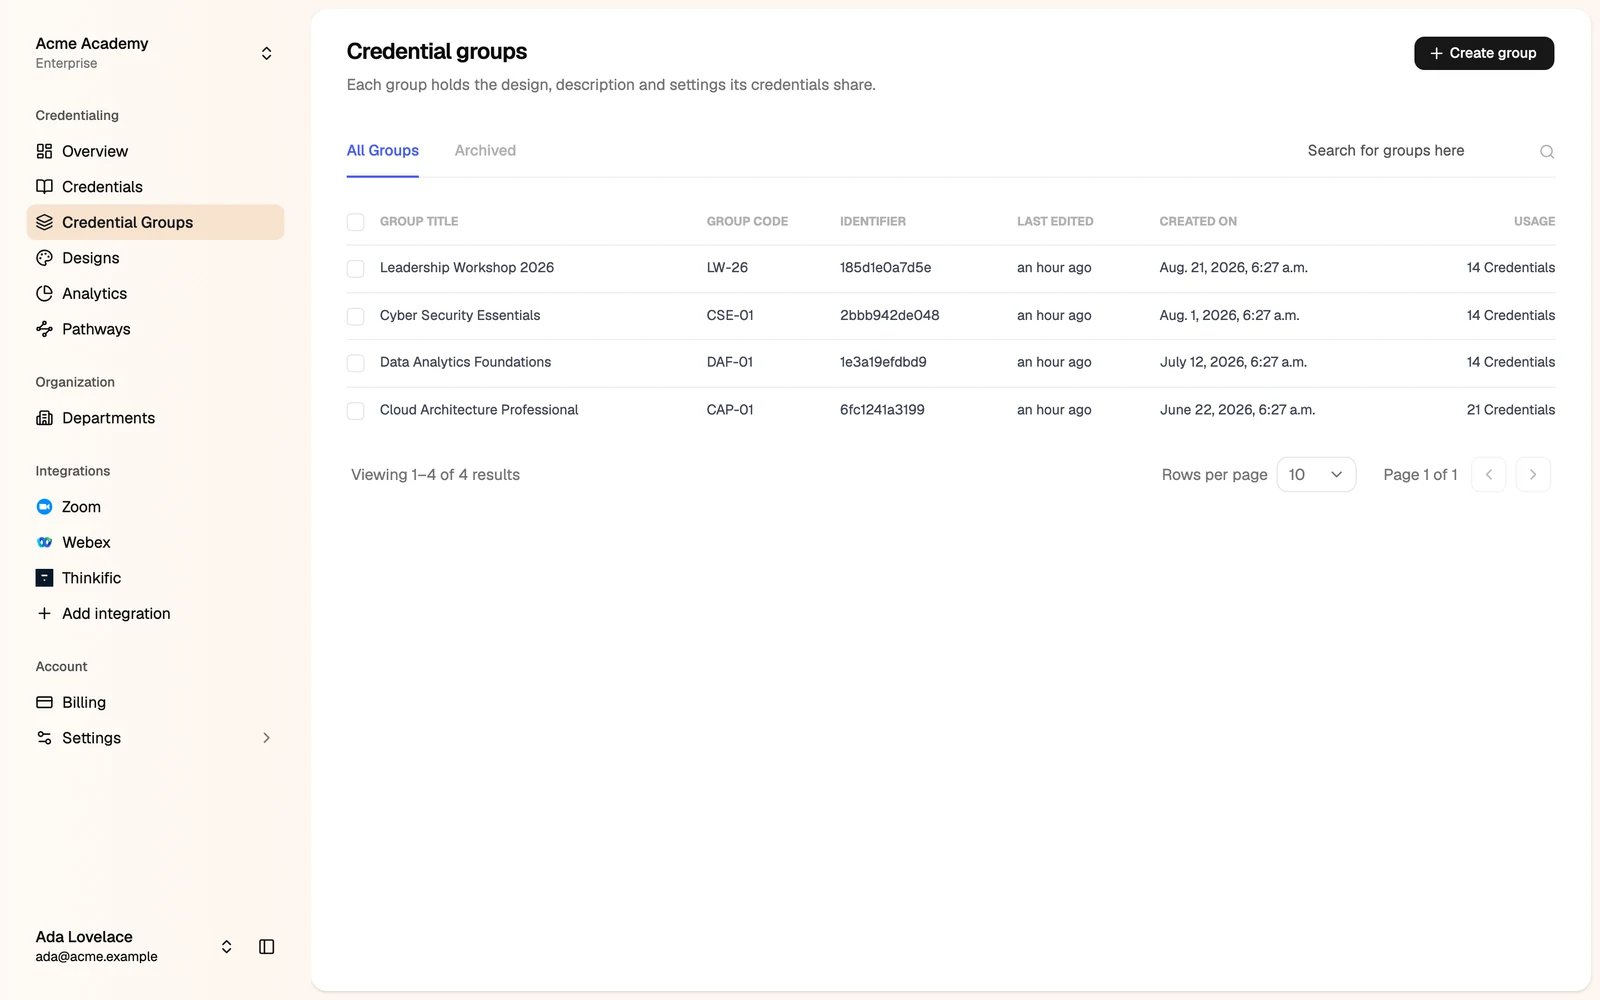
- Issue credentials opens the issue flow with this group selected.
- Duplicate copies the group, or the group and its designs. See Duplicate a credential group.
Next step
Issue credentials
Add recipients to your group and publish their credentials.