

- Create the credentials. They wait under review. Nothing is emailed and no credits are used yet.
- Publish them. Each recipient gets their email and their credential goes live.
You need the Credential issuer or Administrator role to issue credentials.
Create the credentials
1
Click Create credentials
Go to Credentials and click Create credentials, or click Create / Issue New credentials on the dashboard.
2
Choose a credential group
Click the group to issue from. Search by title or group code if you have many groups.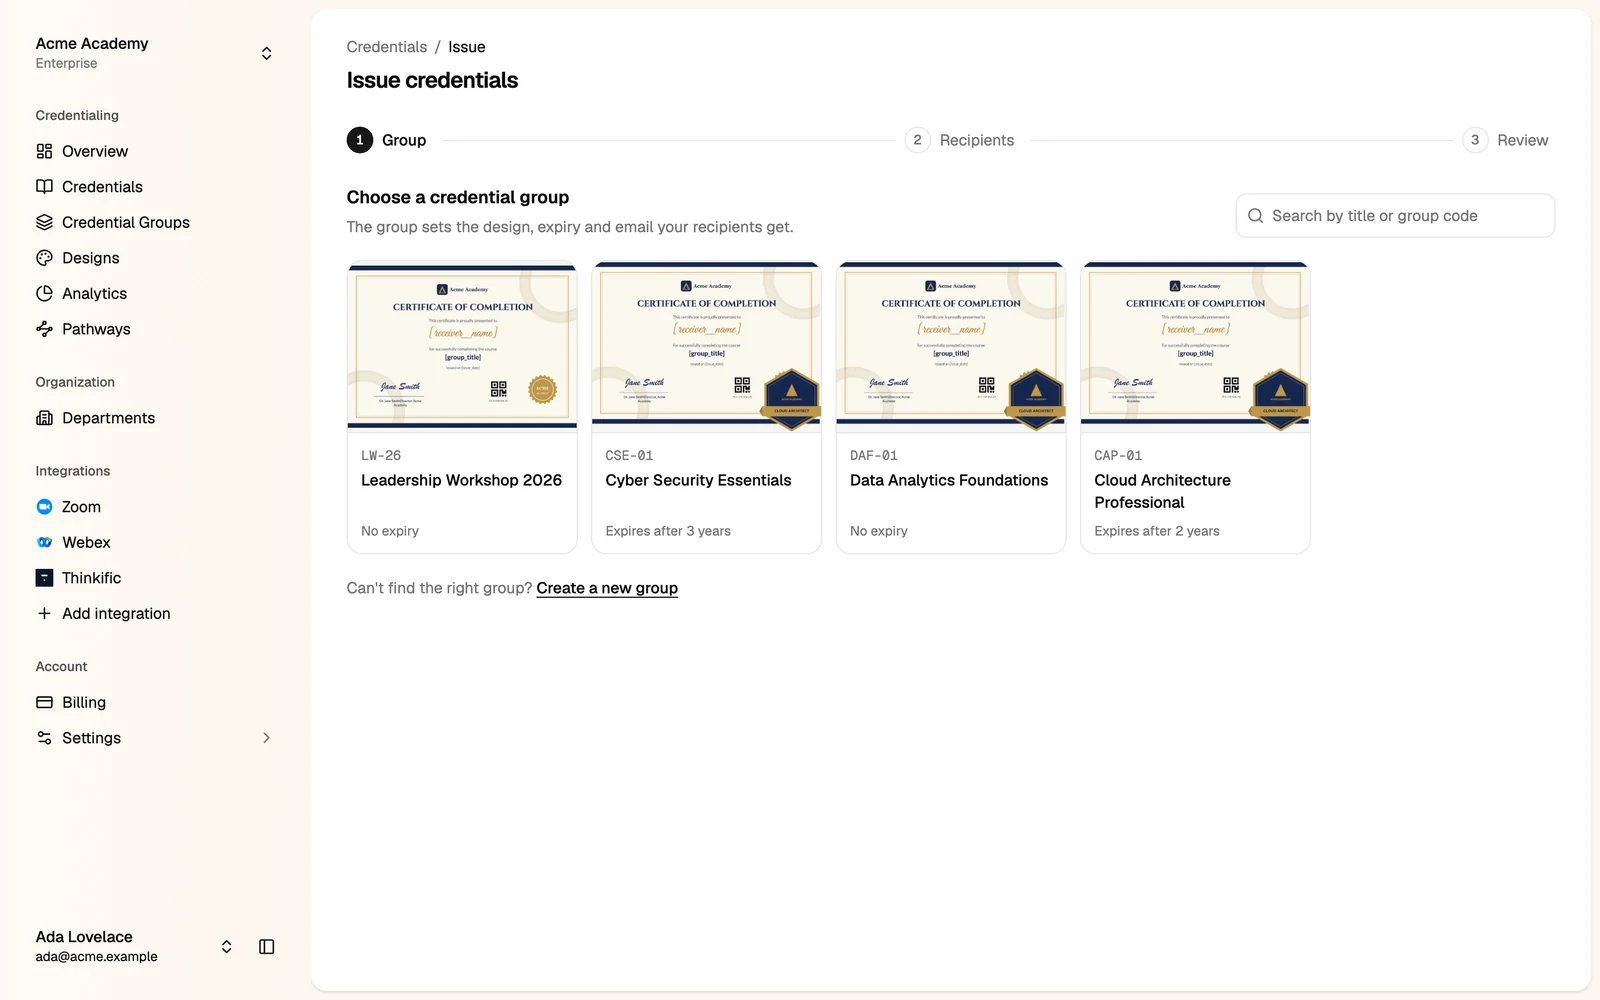
3
Add your recipients
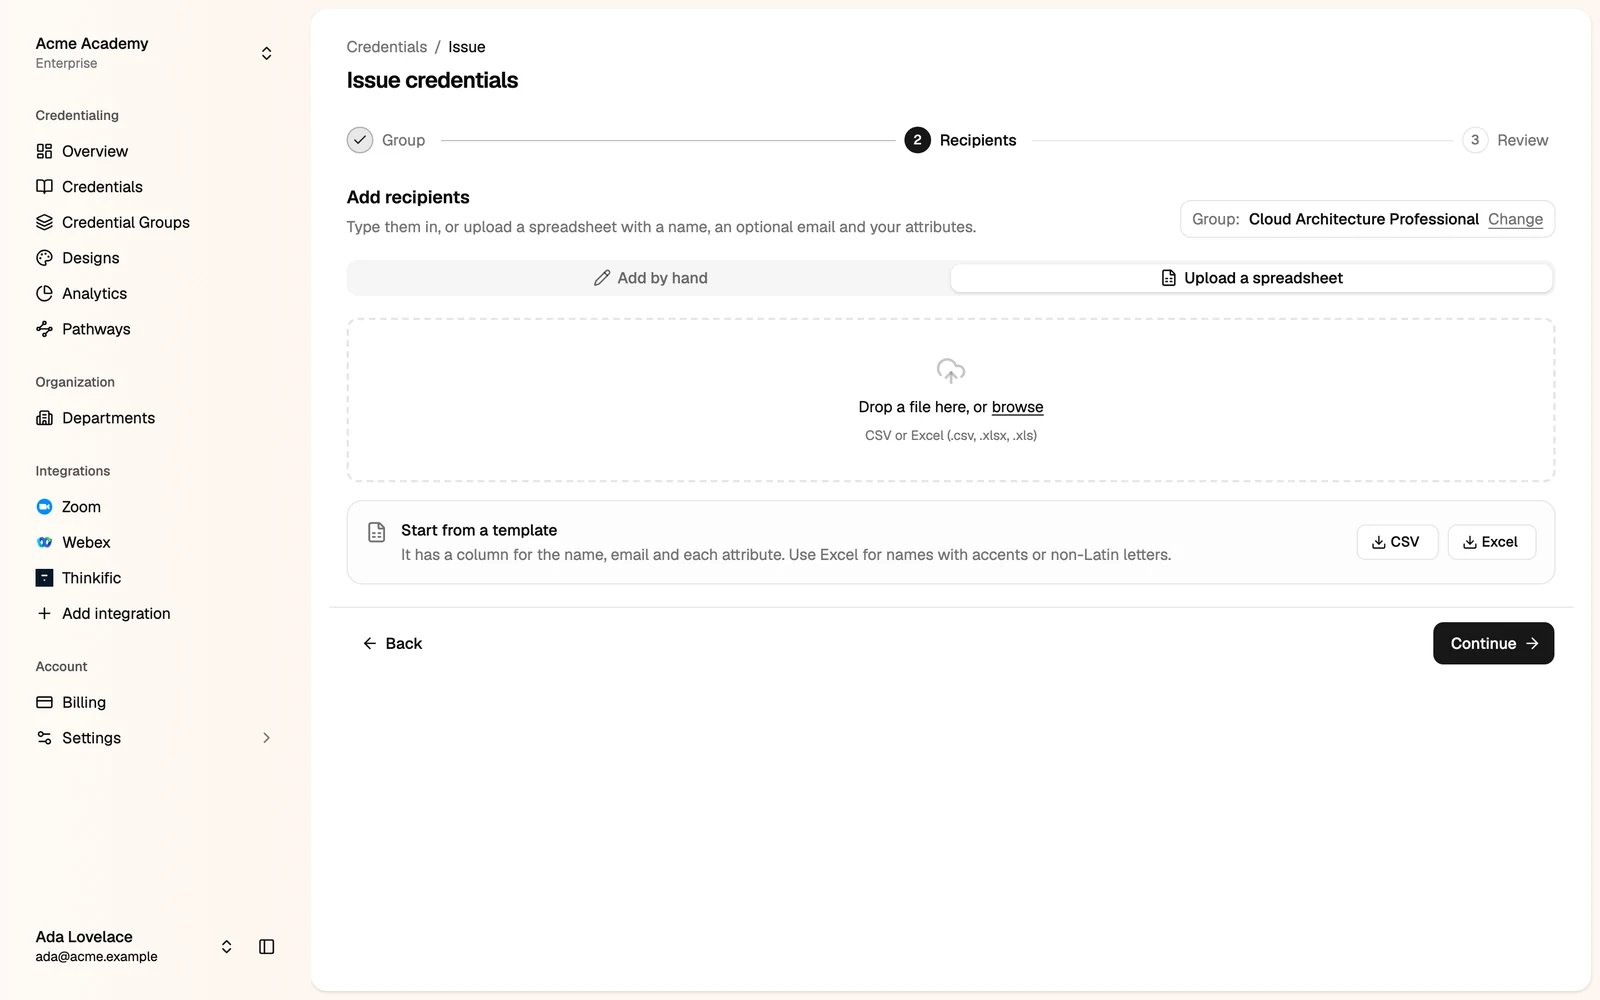
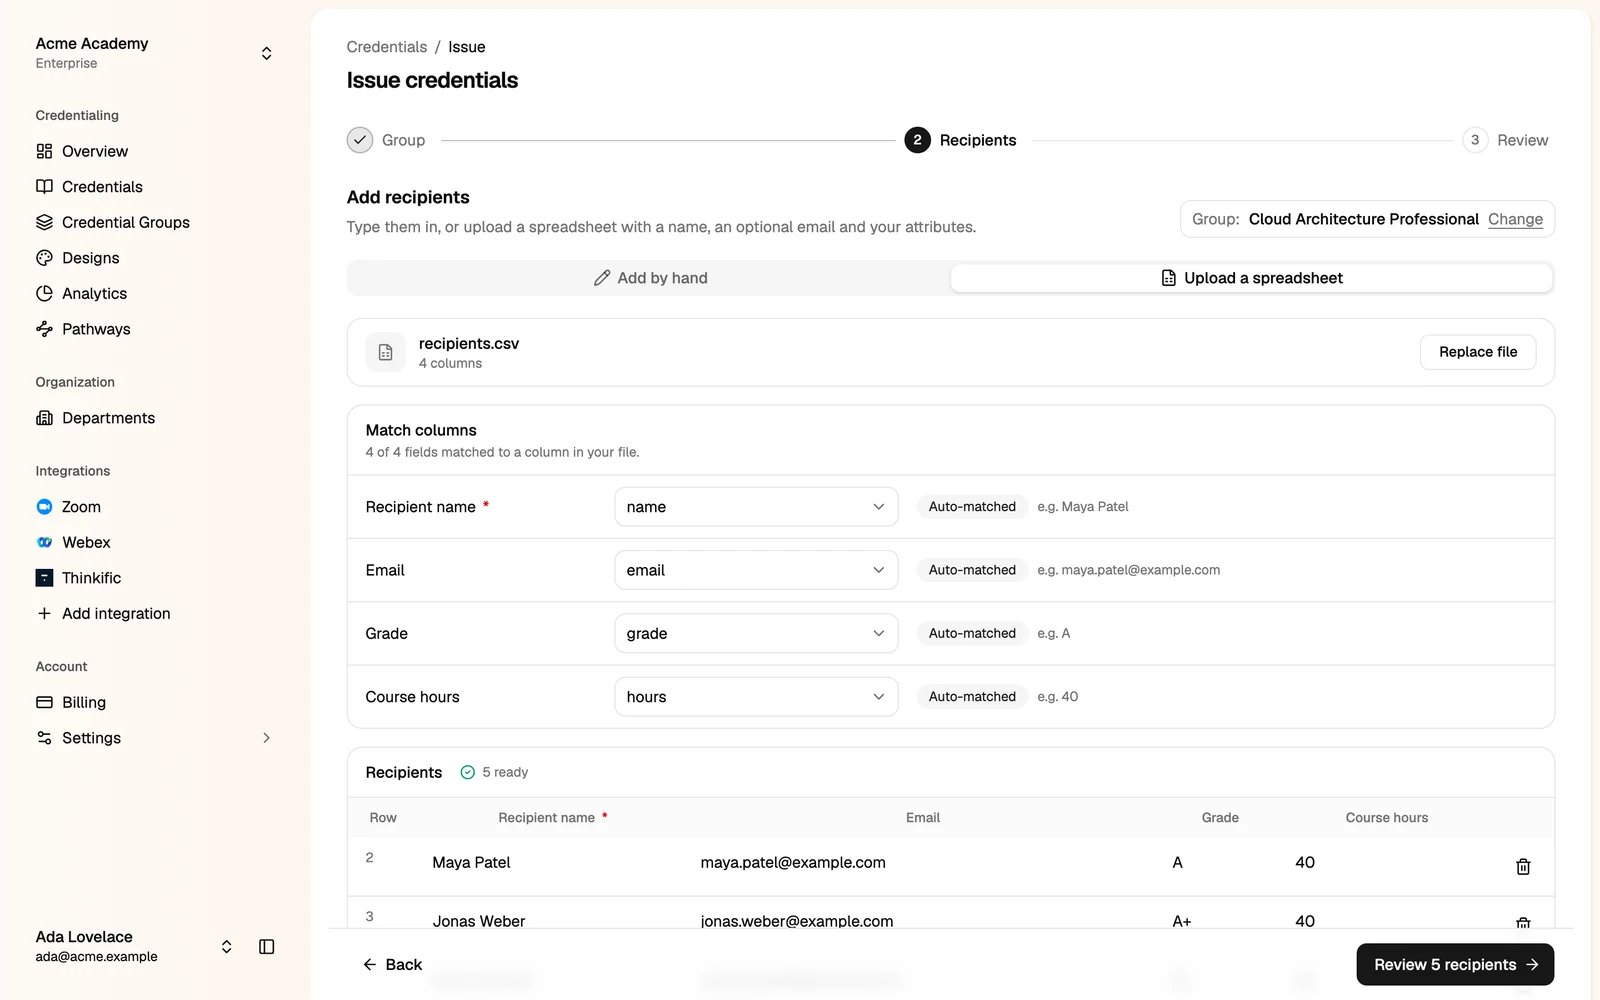
Each recipient needs a name. The email is optional (see Issue without an email). If your group’s design uses custom attributes, each one gets its own column.Click Review to continue.
- Add by hand
- Upload a spreadsheet
Type each recipient’s name and email. Click Add recipient for another row.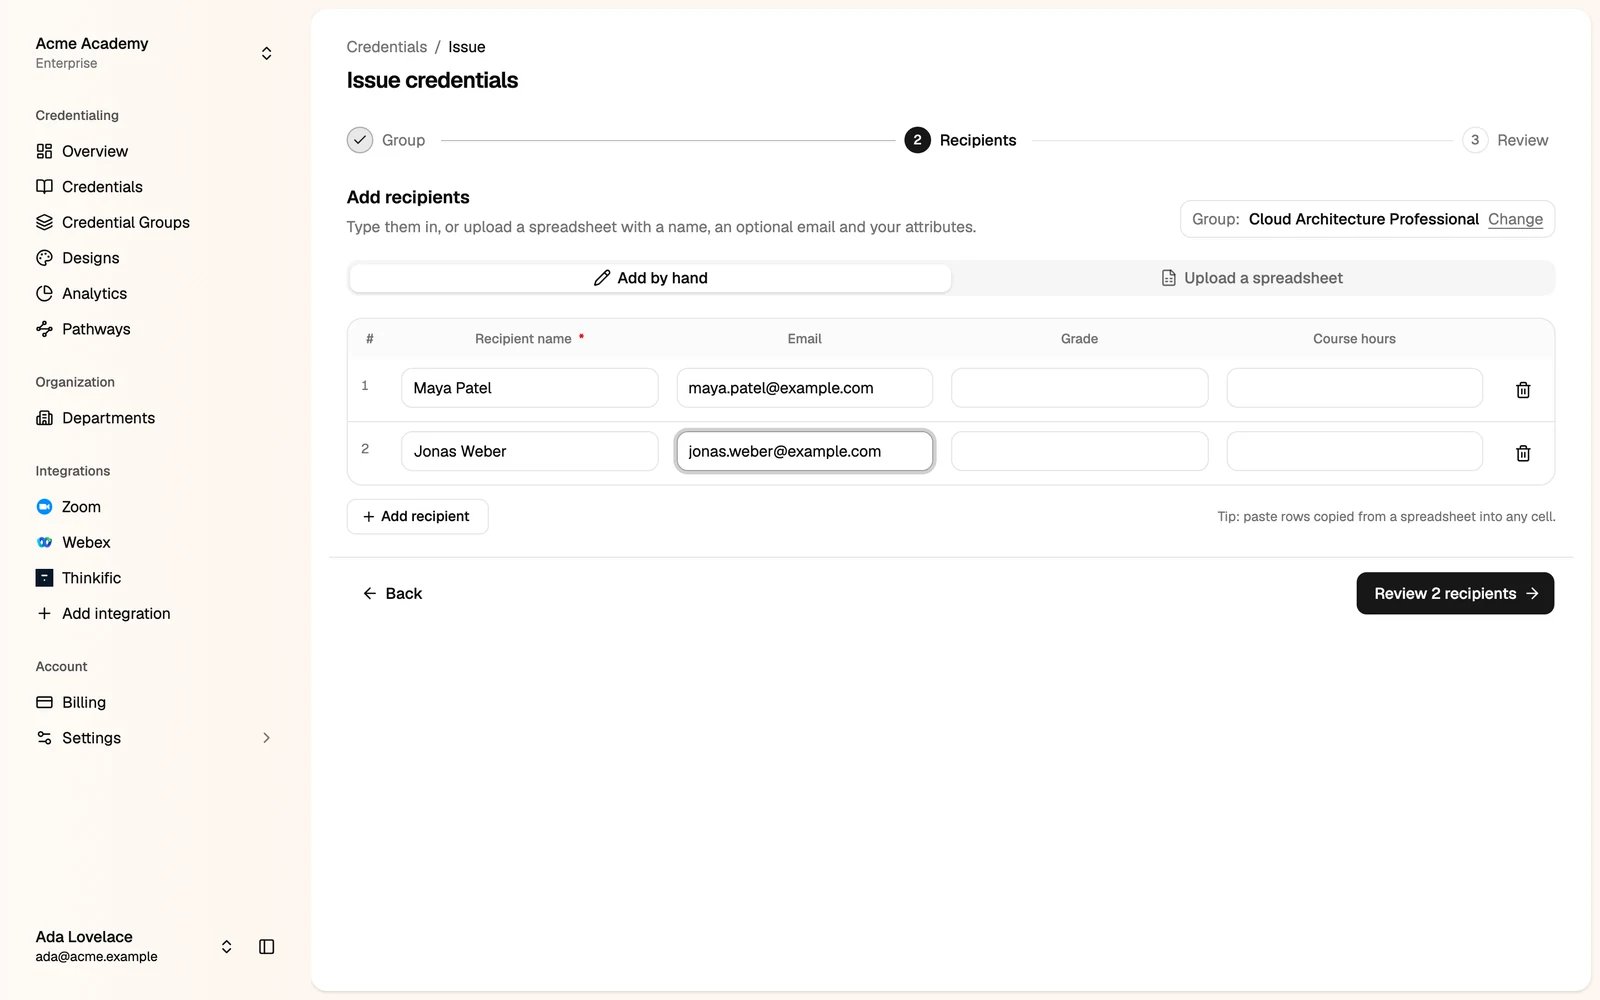
4
Review and create
Check the details. You can still change: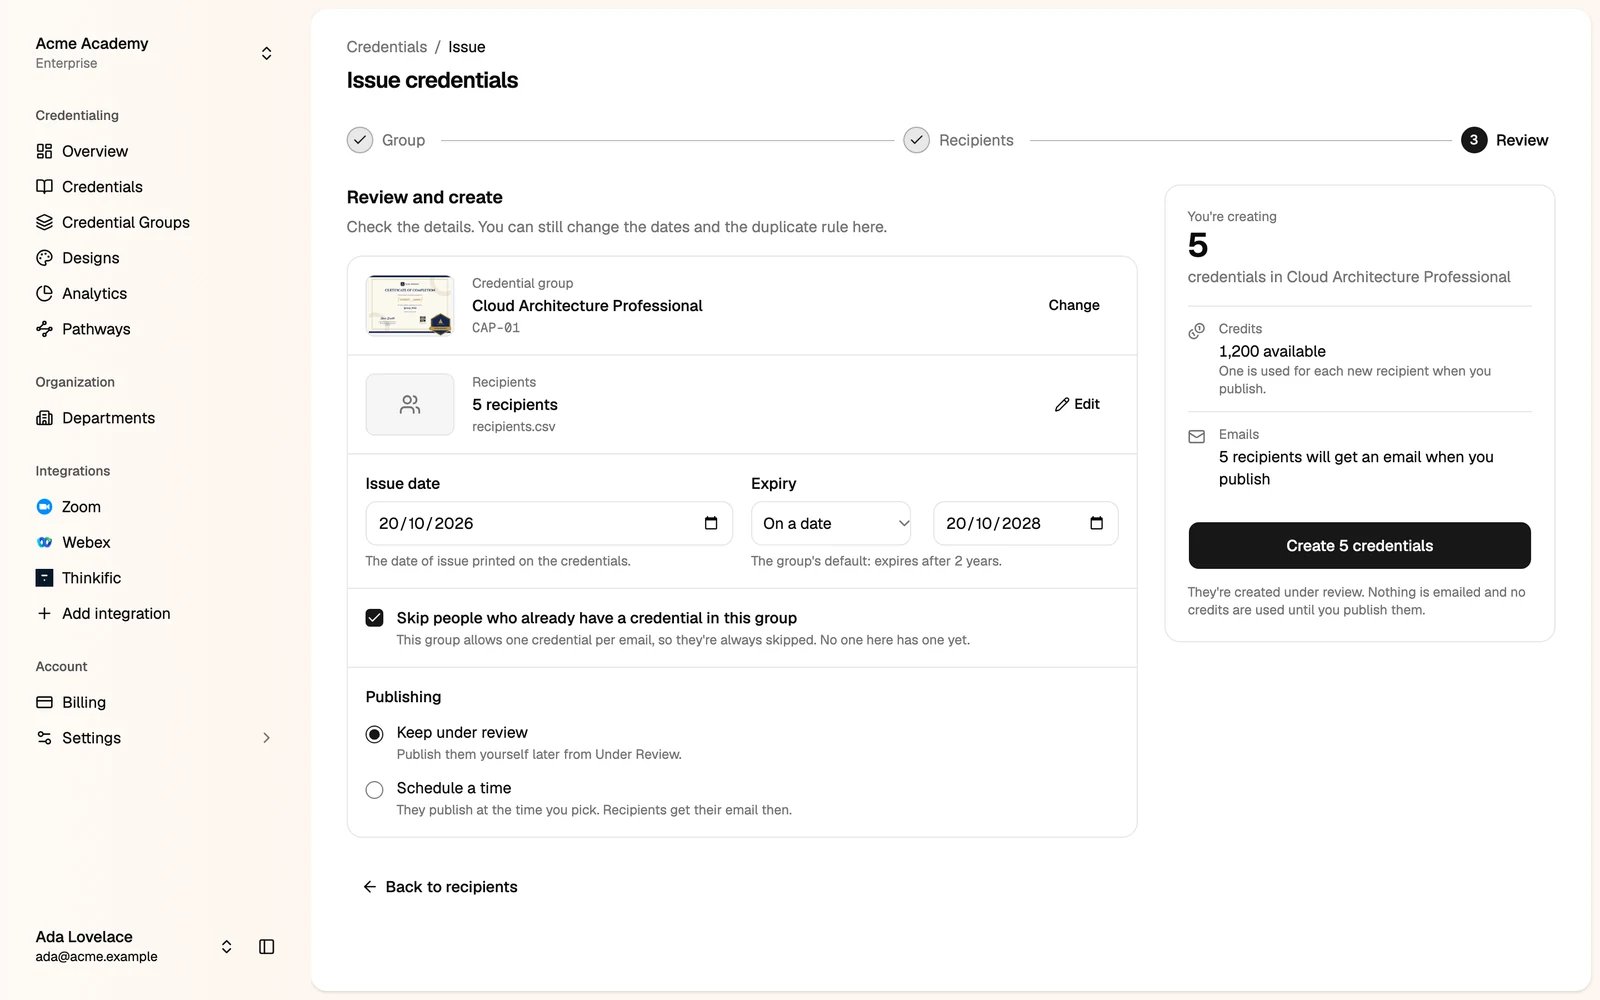
- Issue date: the date printed on the credentials.
- Expiry: the group’s default, a date, or Never.
- Skip people who already have a credential in this group. A group with One per email always skips them.
- Publishing: Keep under review to publish them yourself later, or Schedule a time to publish them automatically.
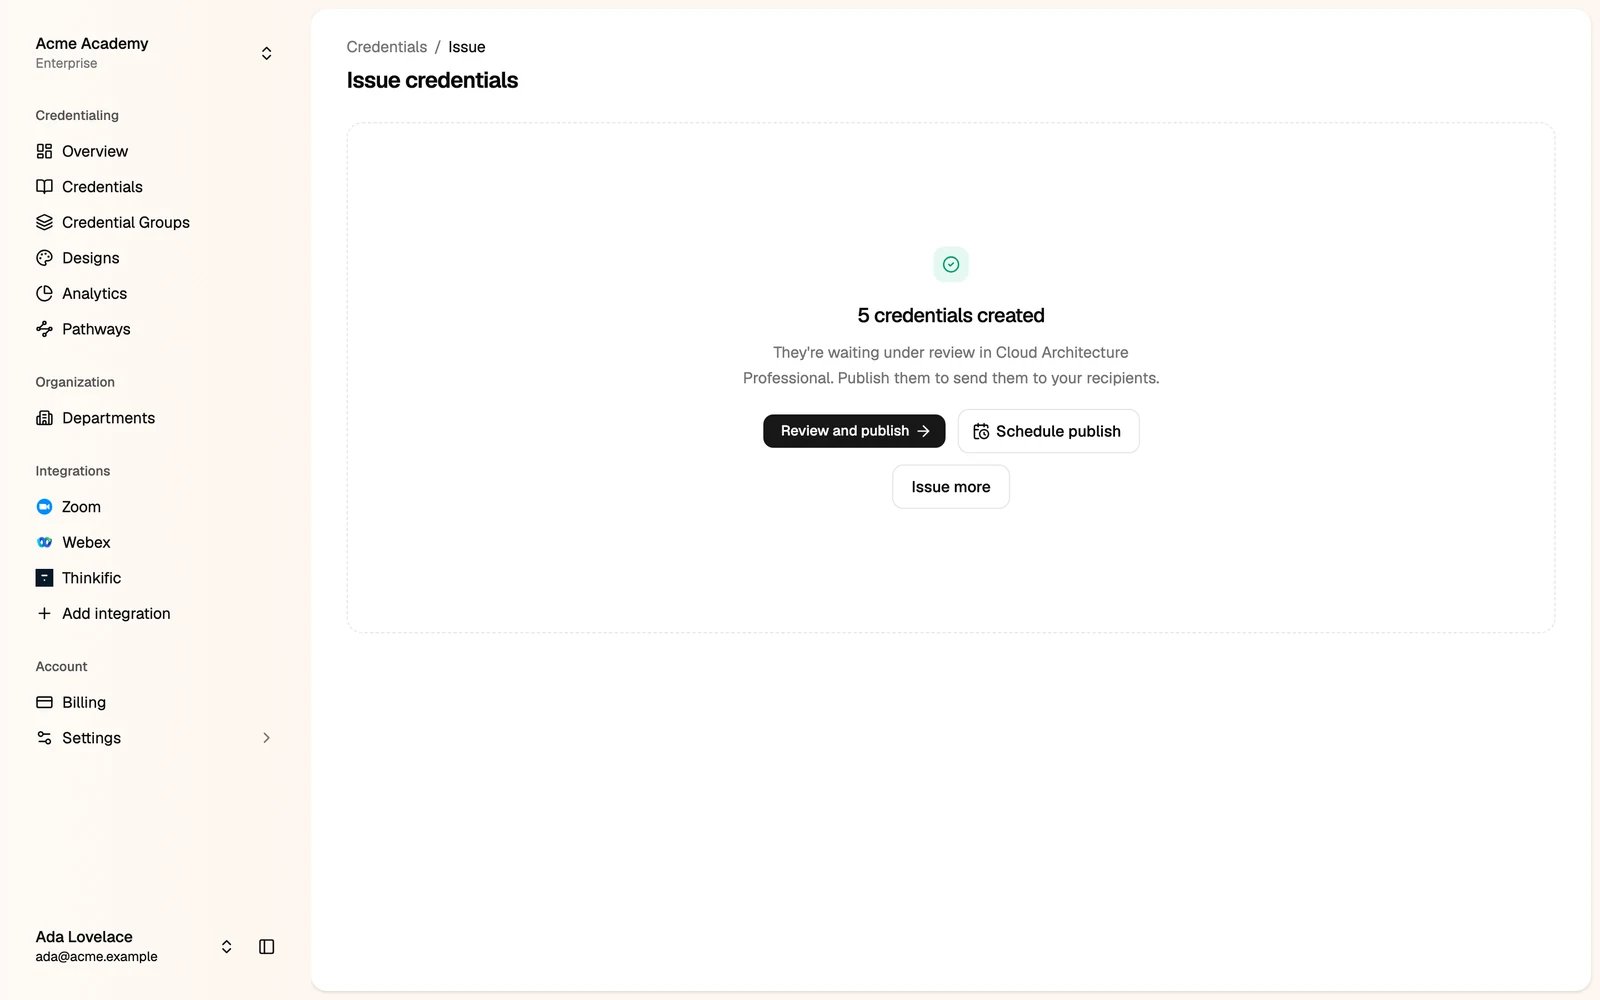
Review the credentials
Click Review and publish, or go to Credentials → Under Review.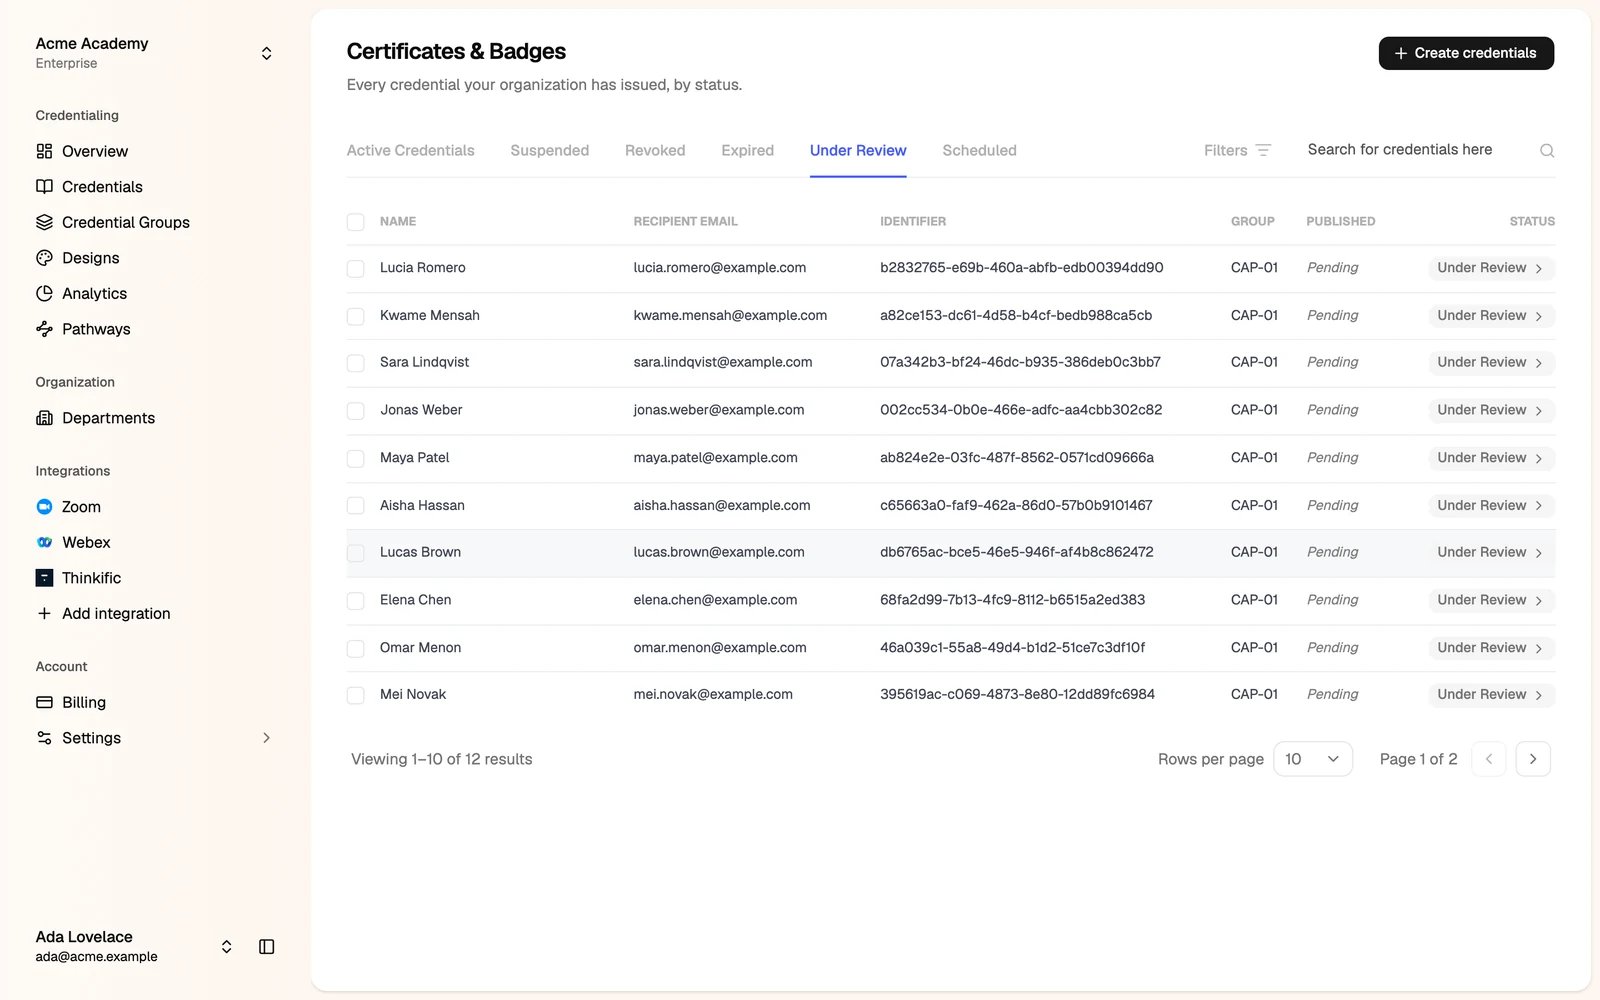
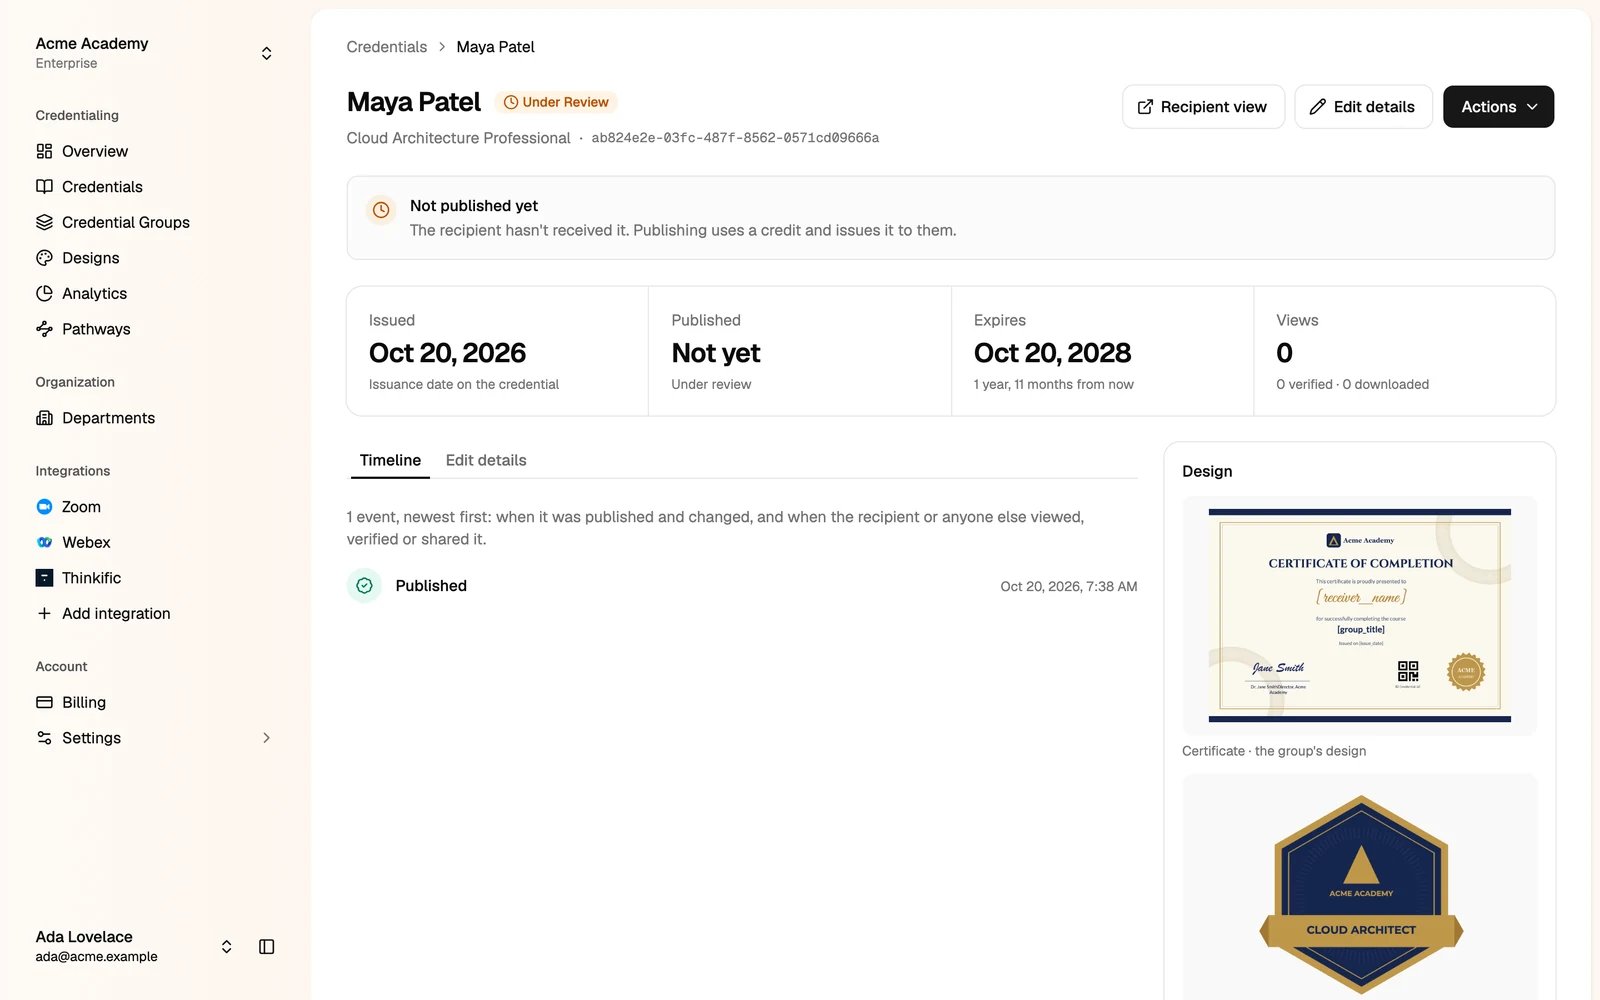
Publish
Select the credentials, then click Publish Now. To publish one credential, open it and click Actions → Publish now.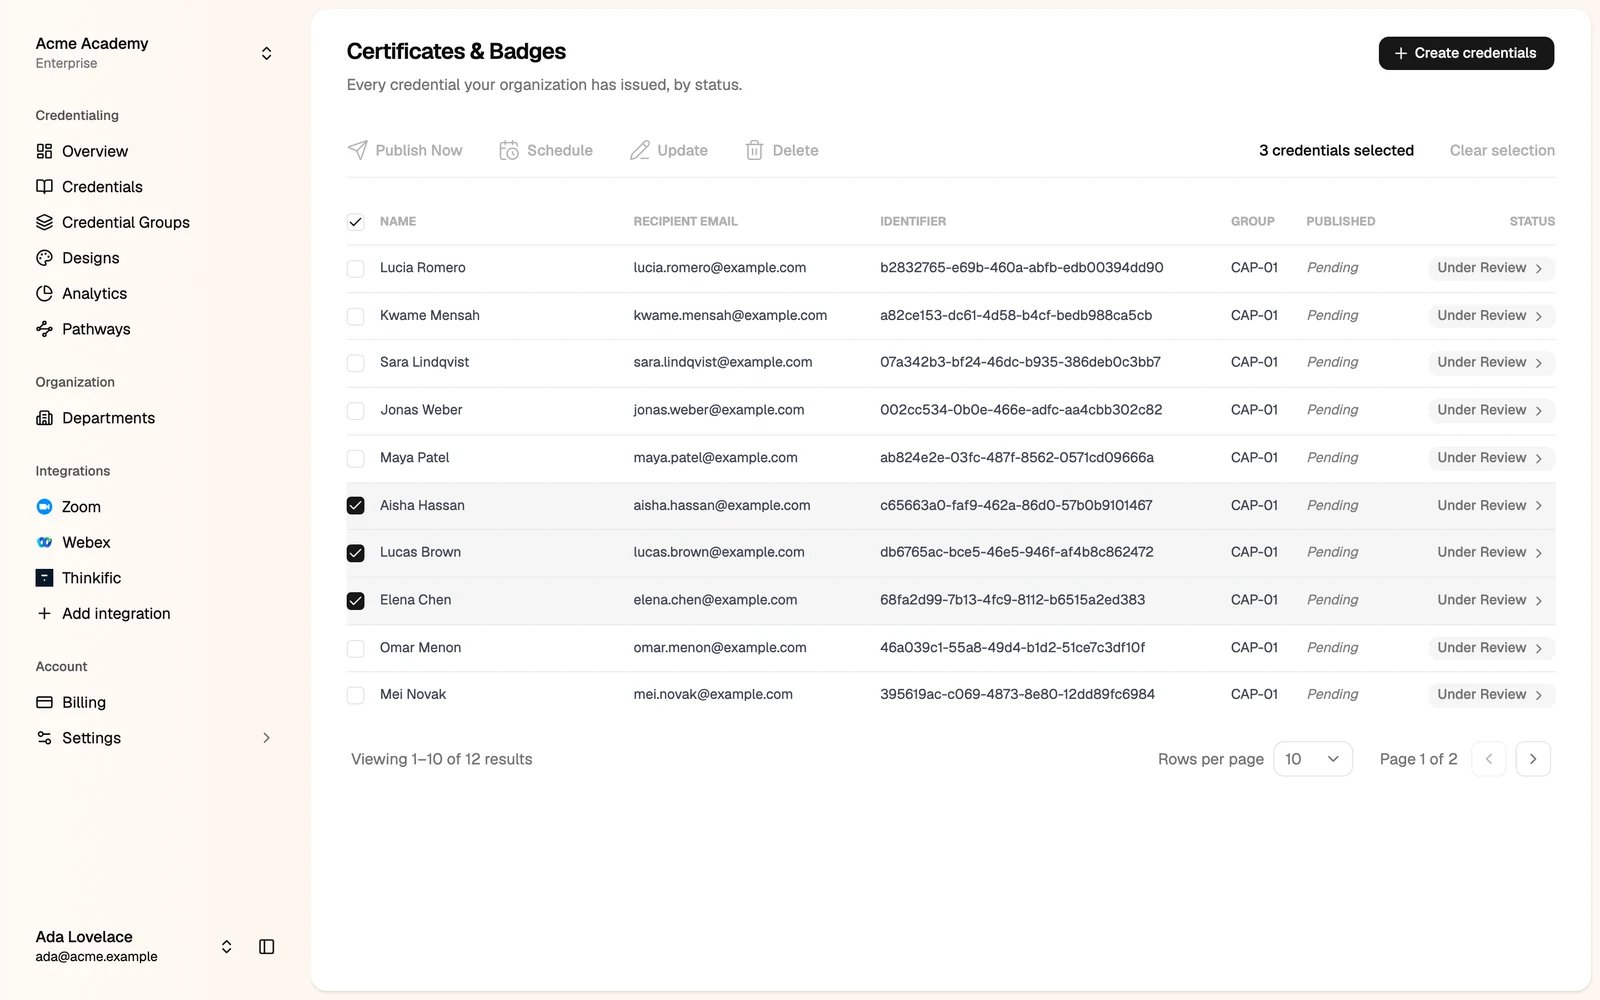
Credits: publishing uses one credit for each new recipient. A recipient (by email) who is already covered uses none. You can see your credits on the review step and on the Billing page.
Schedule a publish
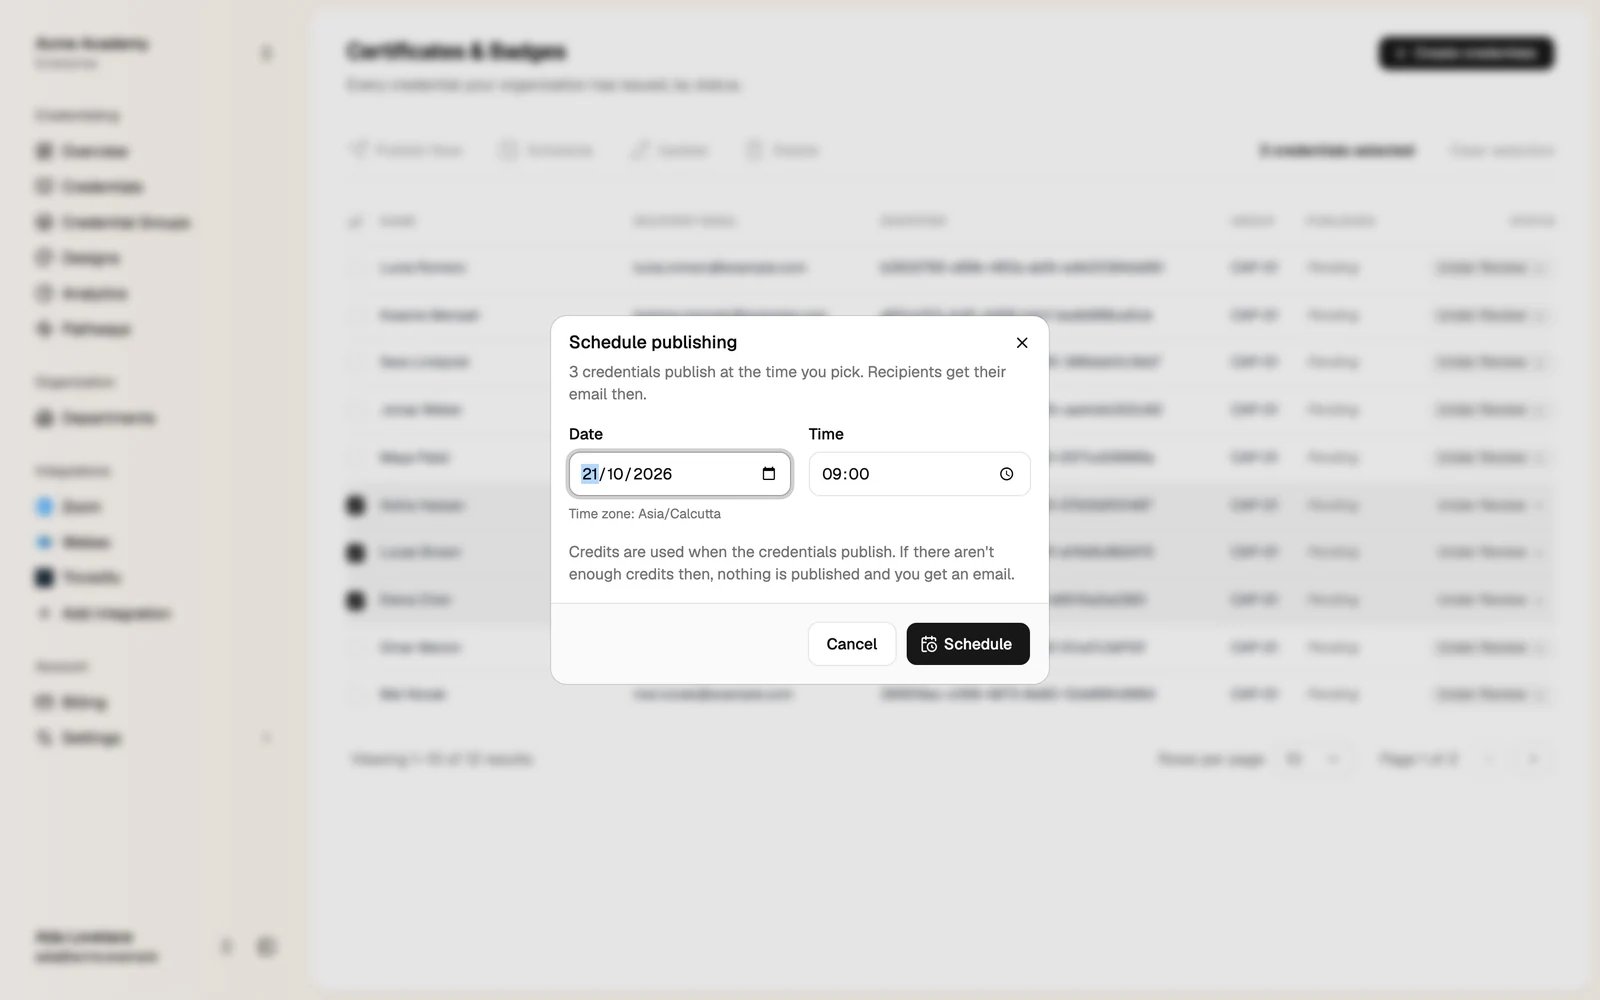
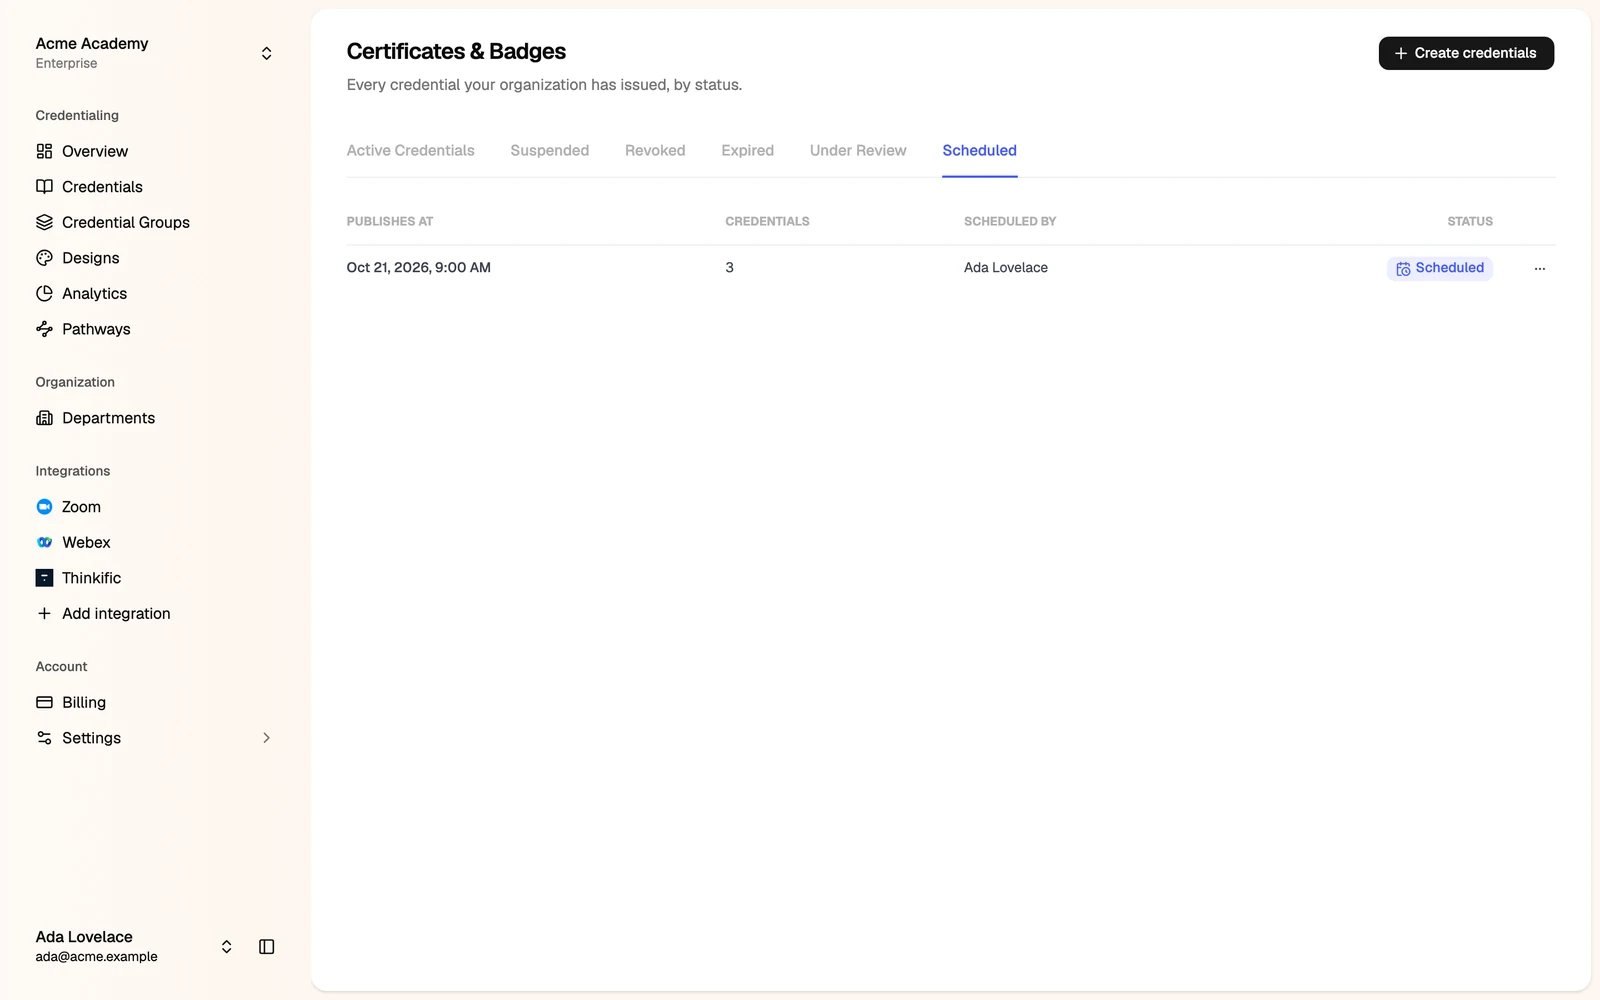
You can publish credentials later at a time you pick, for example on the last day of a course.- On the review step, choose Schedule a time and pick the date and time.
- Or select credentials under review and click Schedule.
Next step
Manage credentials
Find, edit, export, resend, suspend and revoke your credentials.