

[receiver_name] are filled in with each recipient’s details when you issue.
You need the Designer or Administrator role to create and change designs.
Create a design
1
Go to Designs and click New design
The Designs page lists your certificates and badges. Use the tabs to filter them, or search by name.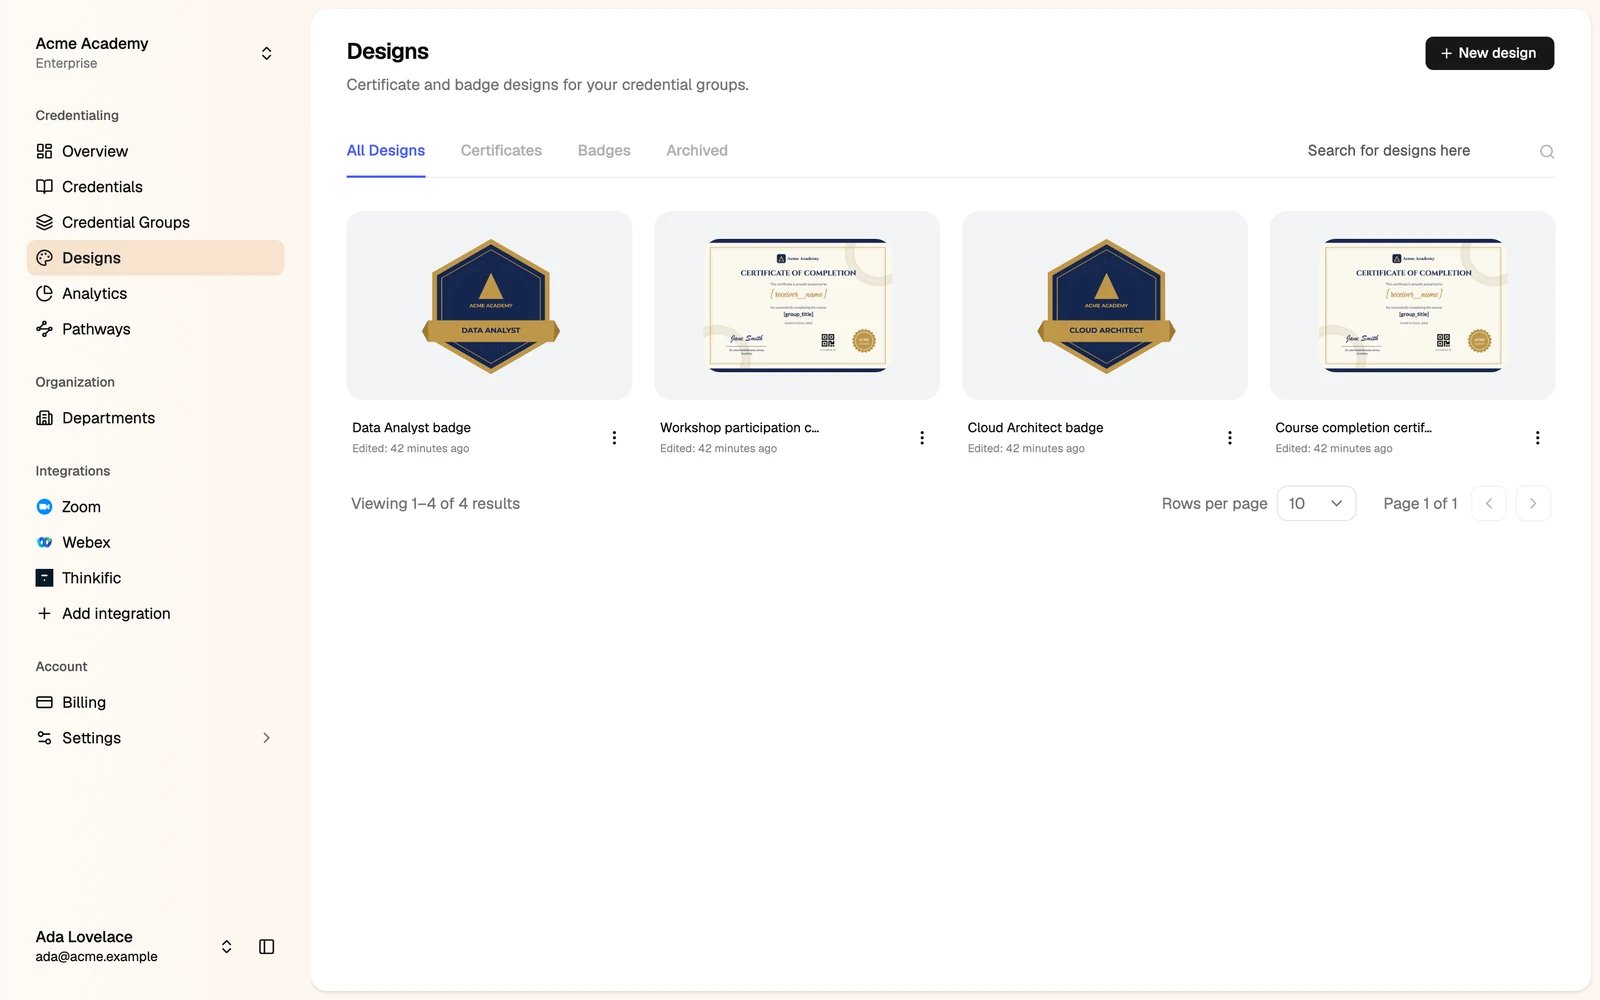
2
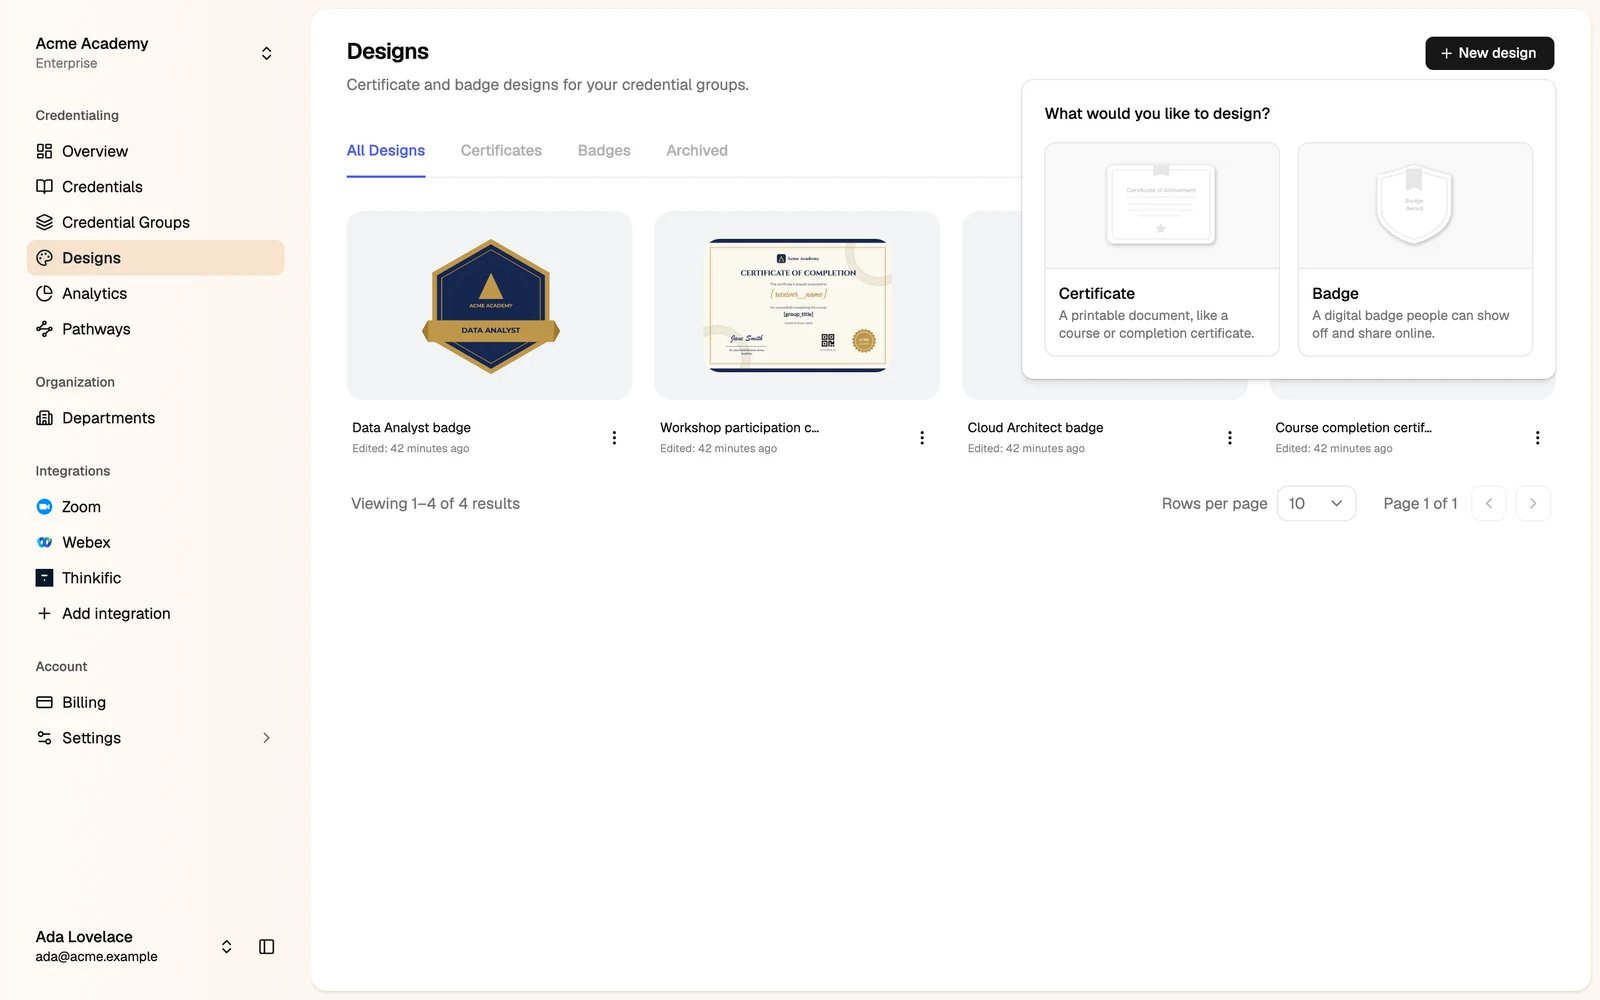
Choose Certificate or Badge
- Certificate: a printable document, like a course or completion certificate.
- Badge: a digital badge people can show off and share online.
The design editor
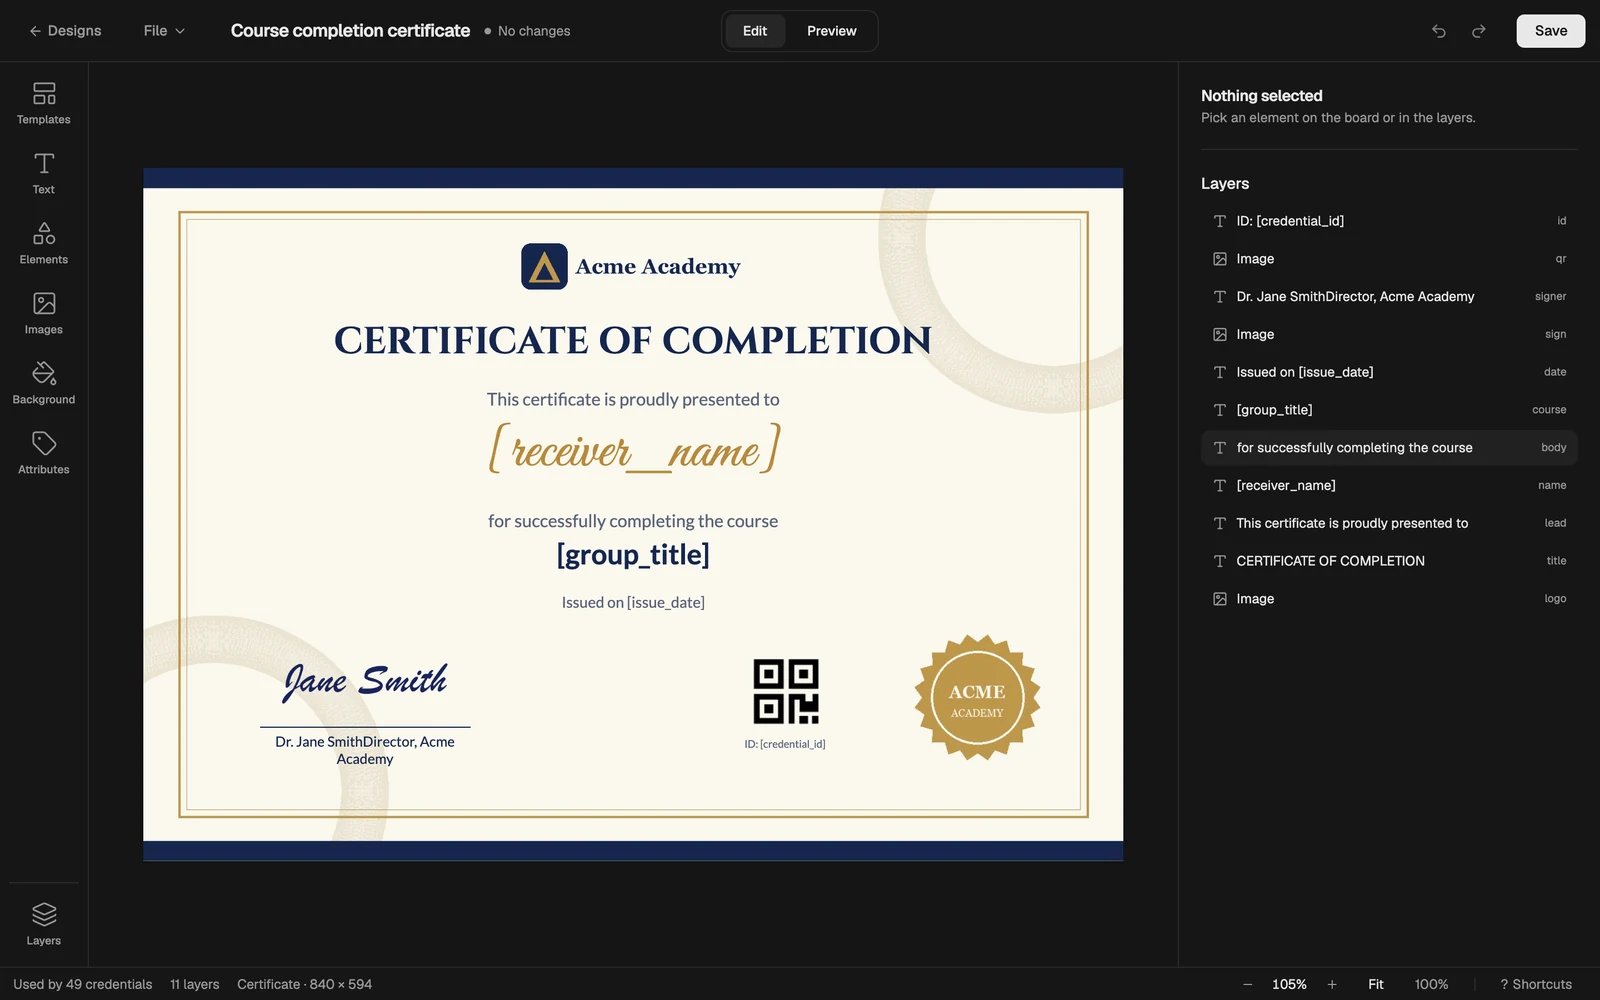
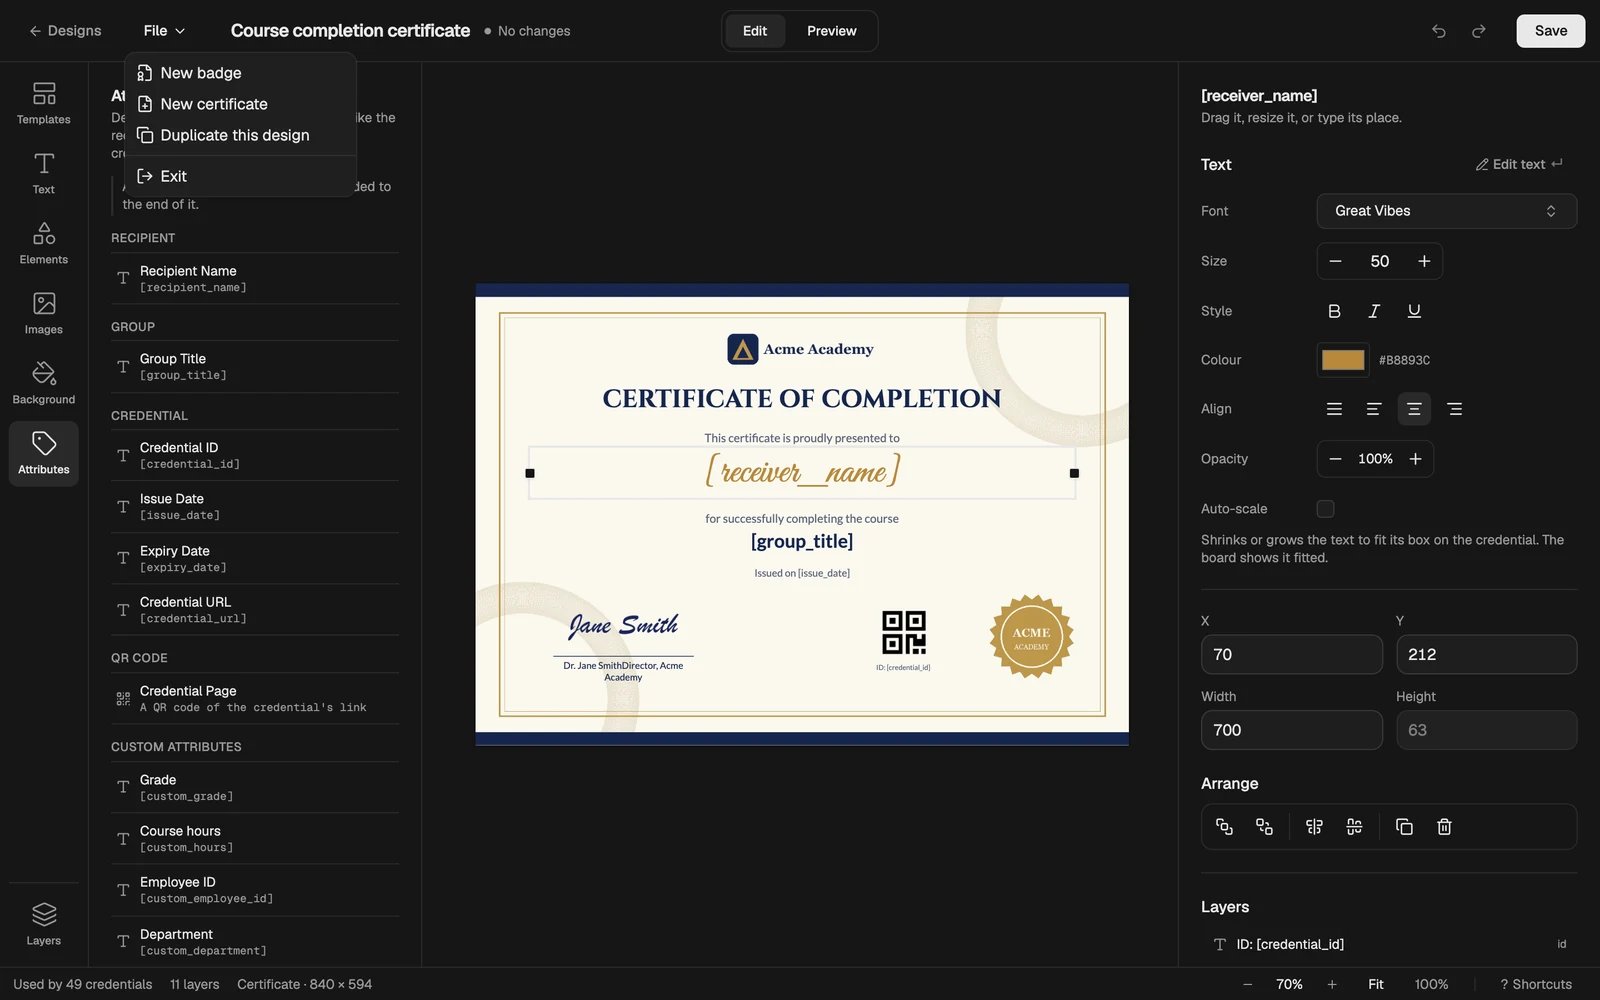
- Top bar: go back to Designs, the File menu, the design name, Edit and Preview, undo and redo, and Save.
- Tools (left): Templates, Text, Elements, Images, Background and Attributes. A badge also has Shapes and Ribbons.
- Board (middle): click an element to select it. Drag it to move it, and drag its handles to resize it.
- Inspector and layers (right): the settings of the selected element, and a list of every element on the board.
- Status bar (bottom): how many credentials use the design, its size, the zoom, and Shortcuts.
Start from a template
Click Templates to start from a public template or from one of your own designs. A template replaces what is on the board. Your design keeps its own name.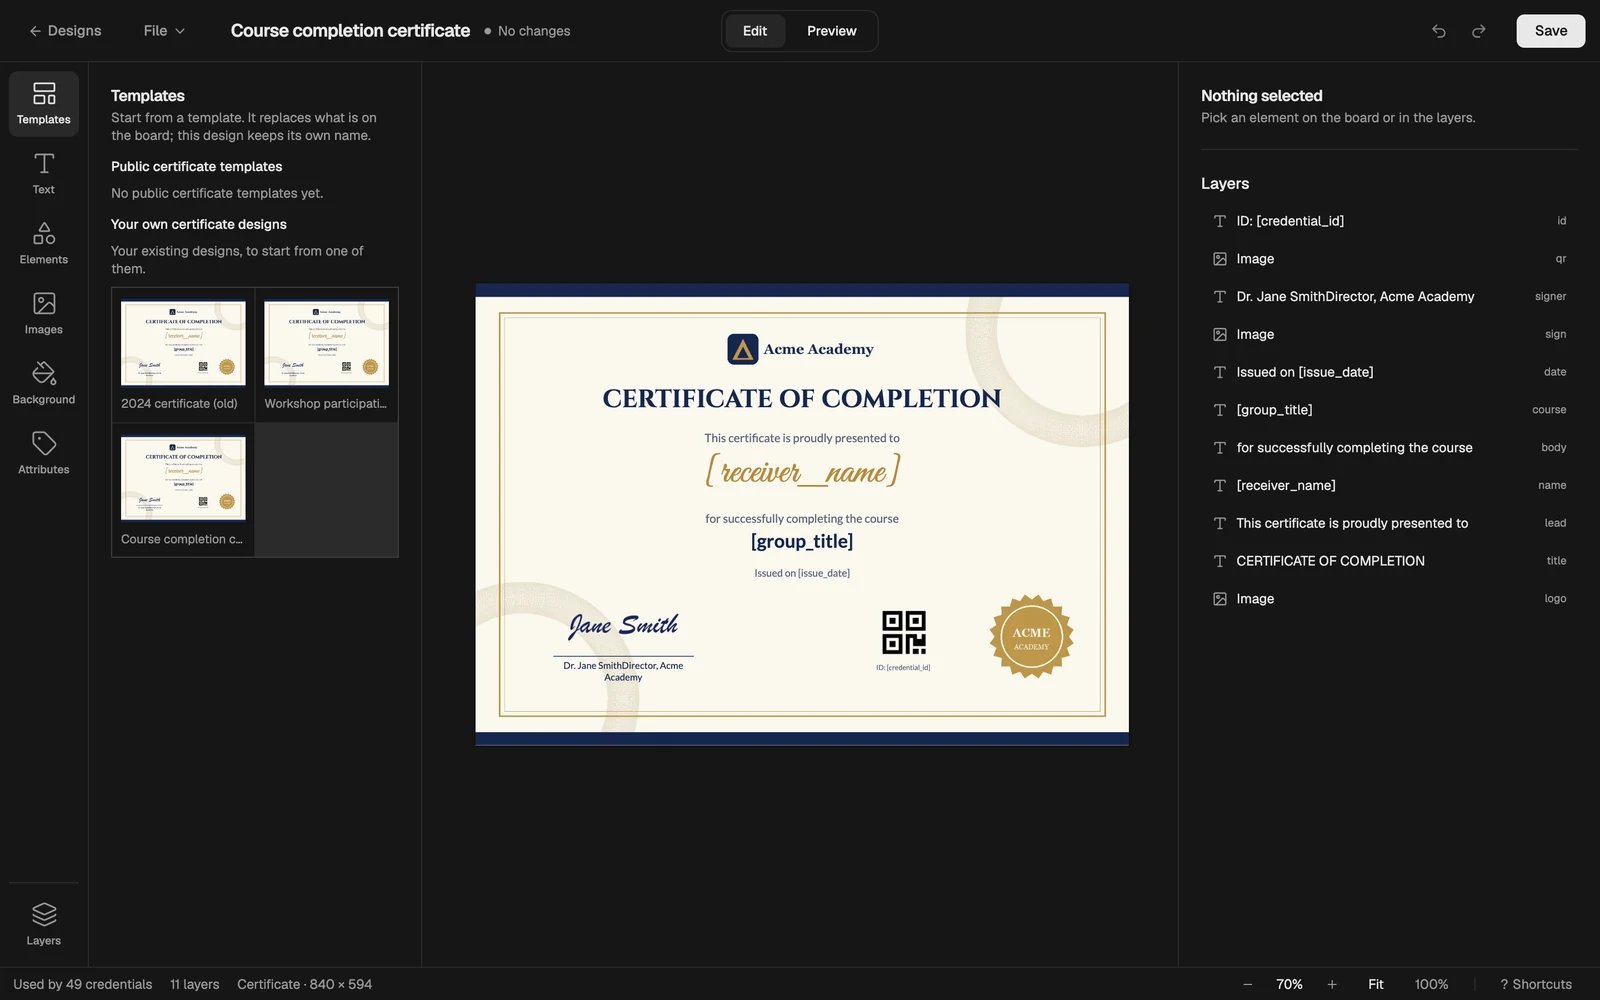
Set the background and paper size
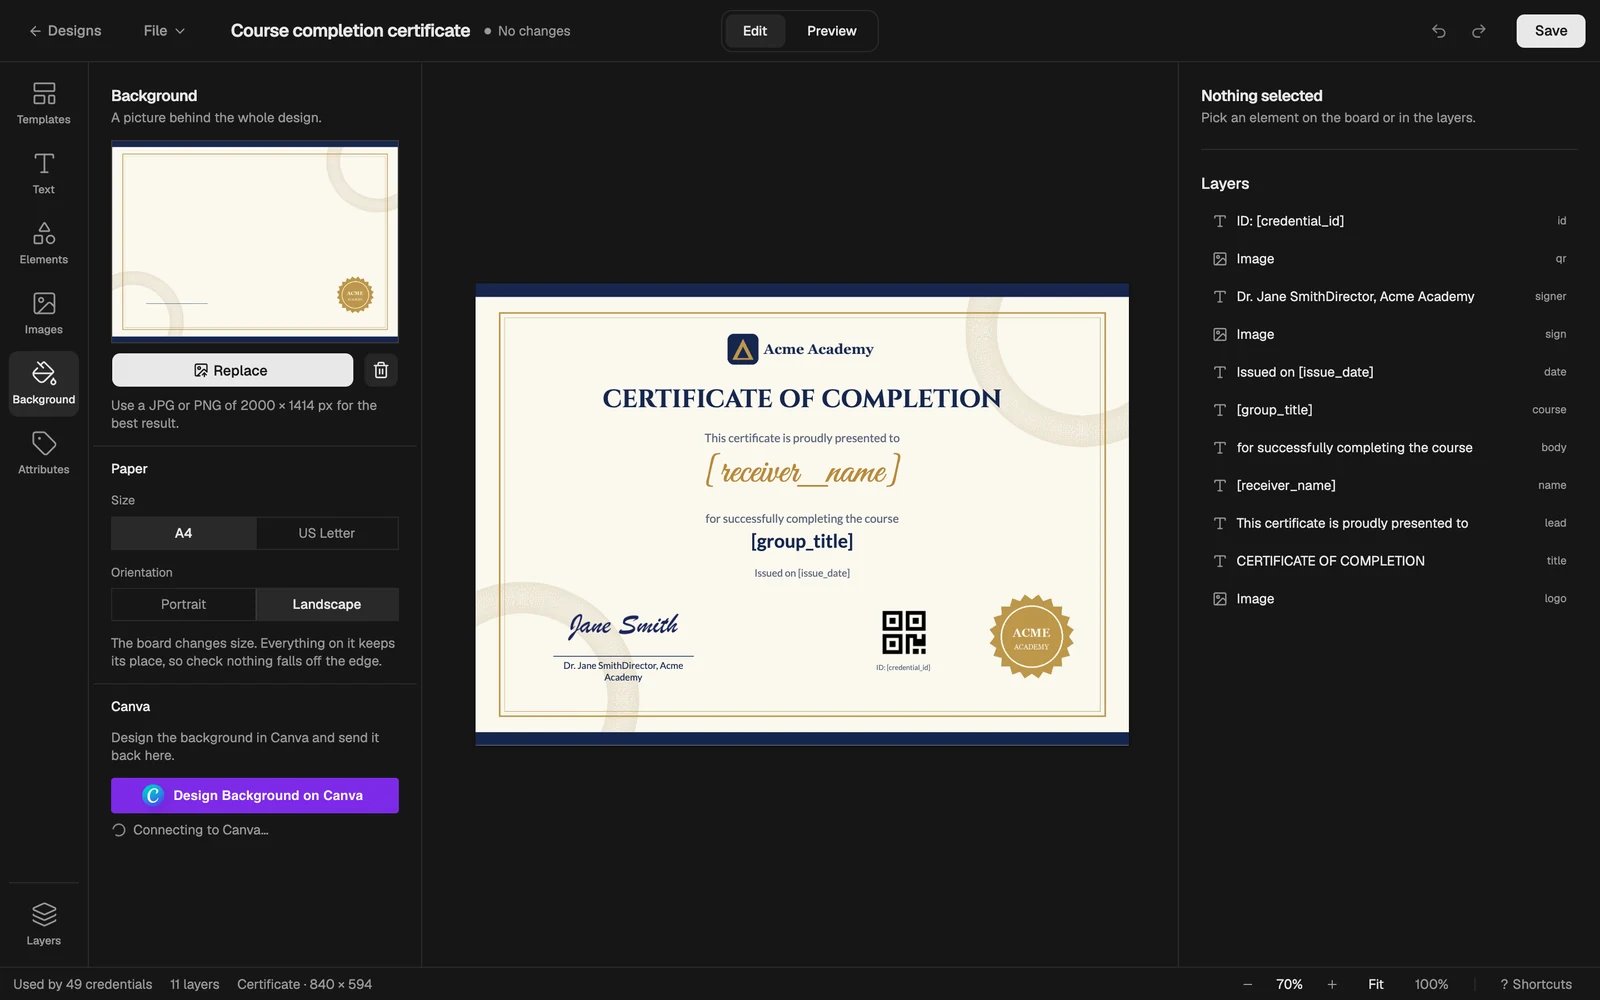
Click Background.- Upload background: for a certificate, use a JPG or PNG of 2000 × 1414 px. For a badge, use a PNG of 500 × 500 px.
- Design background on Canva: design the background in Canva and send it back to the editor.
- Paper: choose the size (A4 or US Letter) and the orientation (portrait or landscape).
Add text
Click Text, then Add a text box, or pick a style: Heading, Subheading or Body text. Curved text bends the text outward or inward, which suits badges.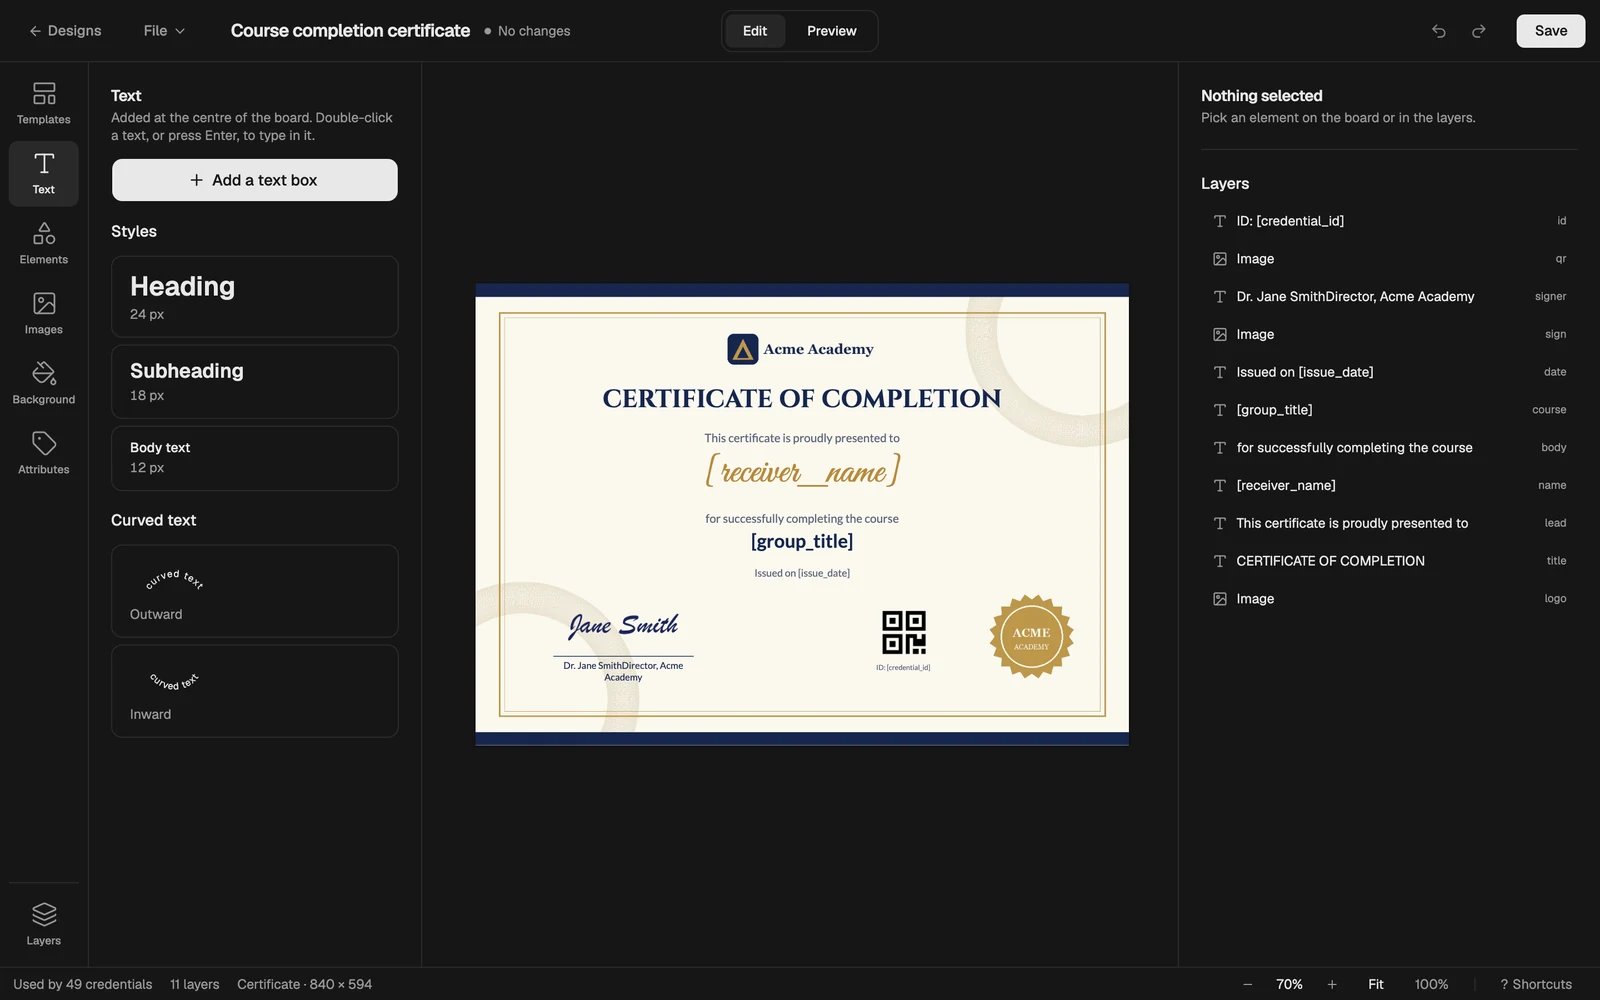
Add images and elements
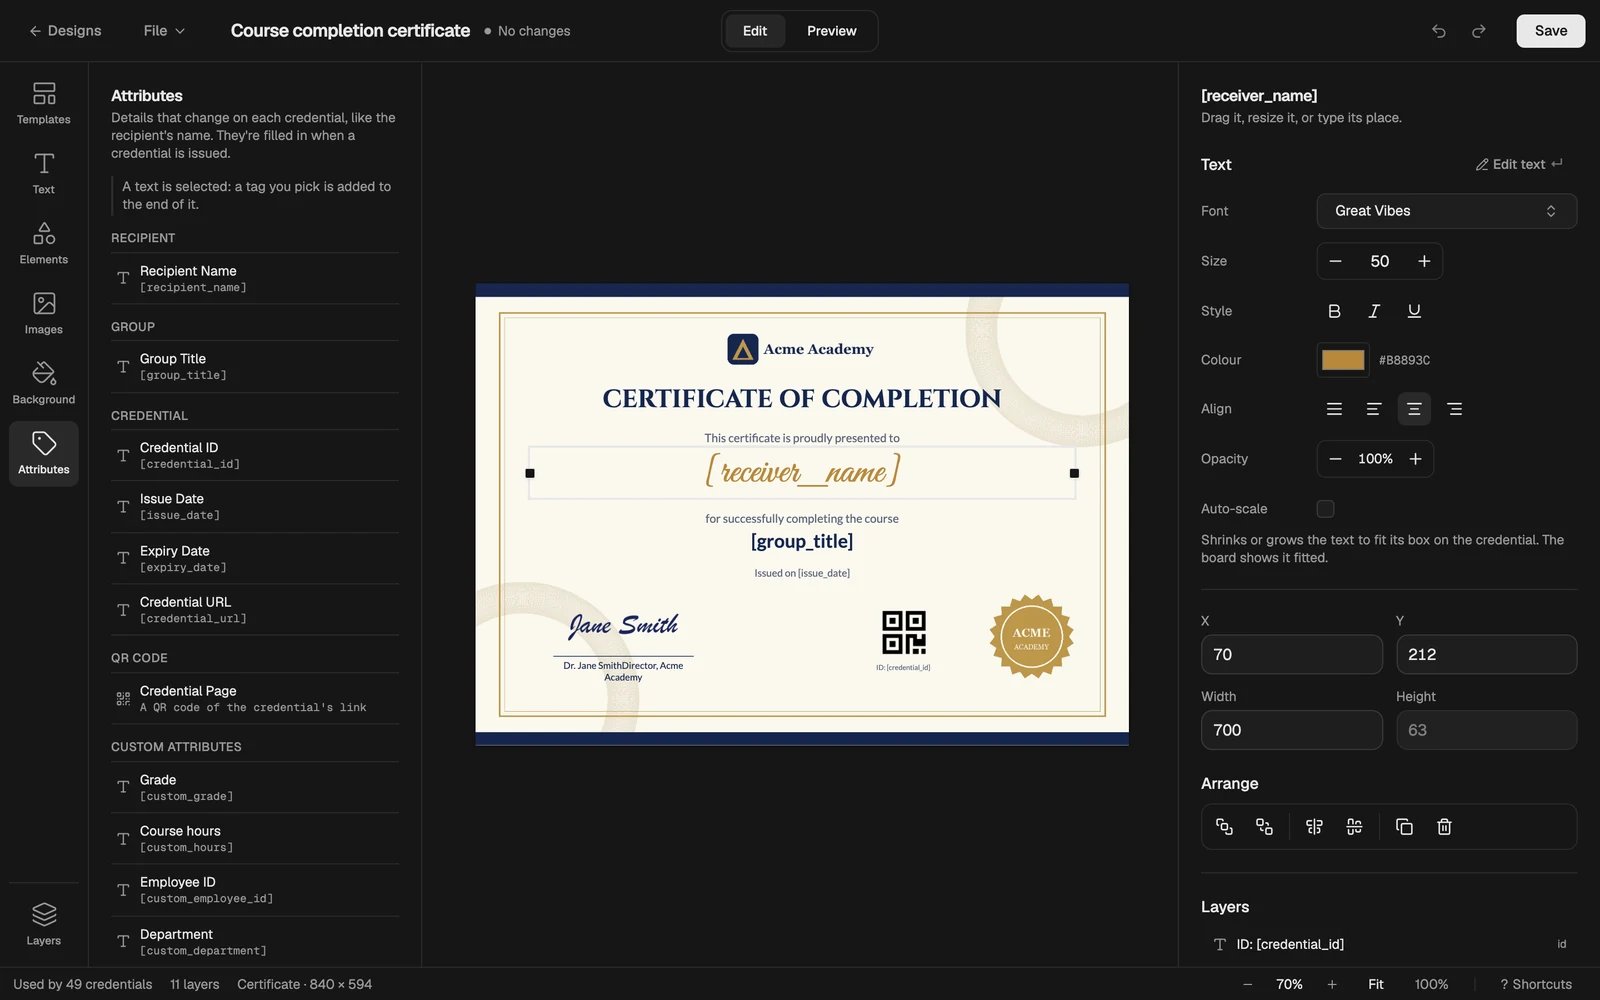
- Images: upload a logo, a signature or a photo (PNG, JPG, GIF, WebP or SVG). The image is saved inside the design, so keep it small.
- Elements: add lines, dots and laurels, or upload your own SVG. Select an element to change its colors in the inspector.
Add attributes and a QR code
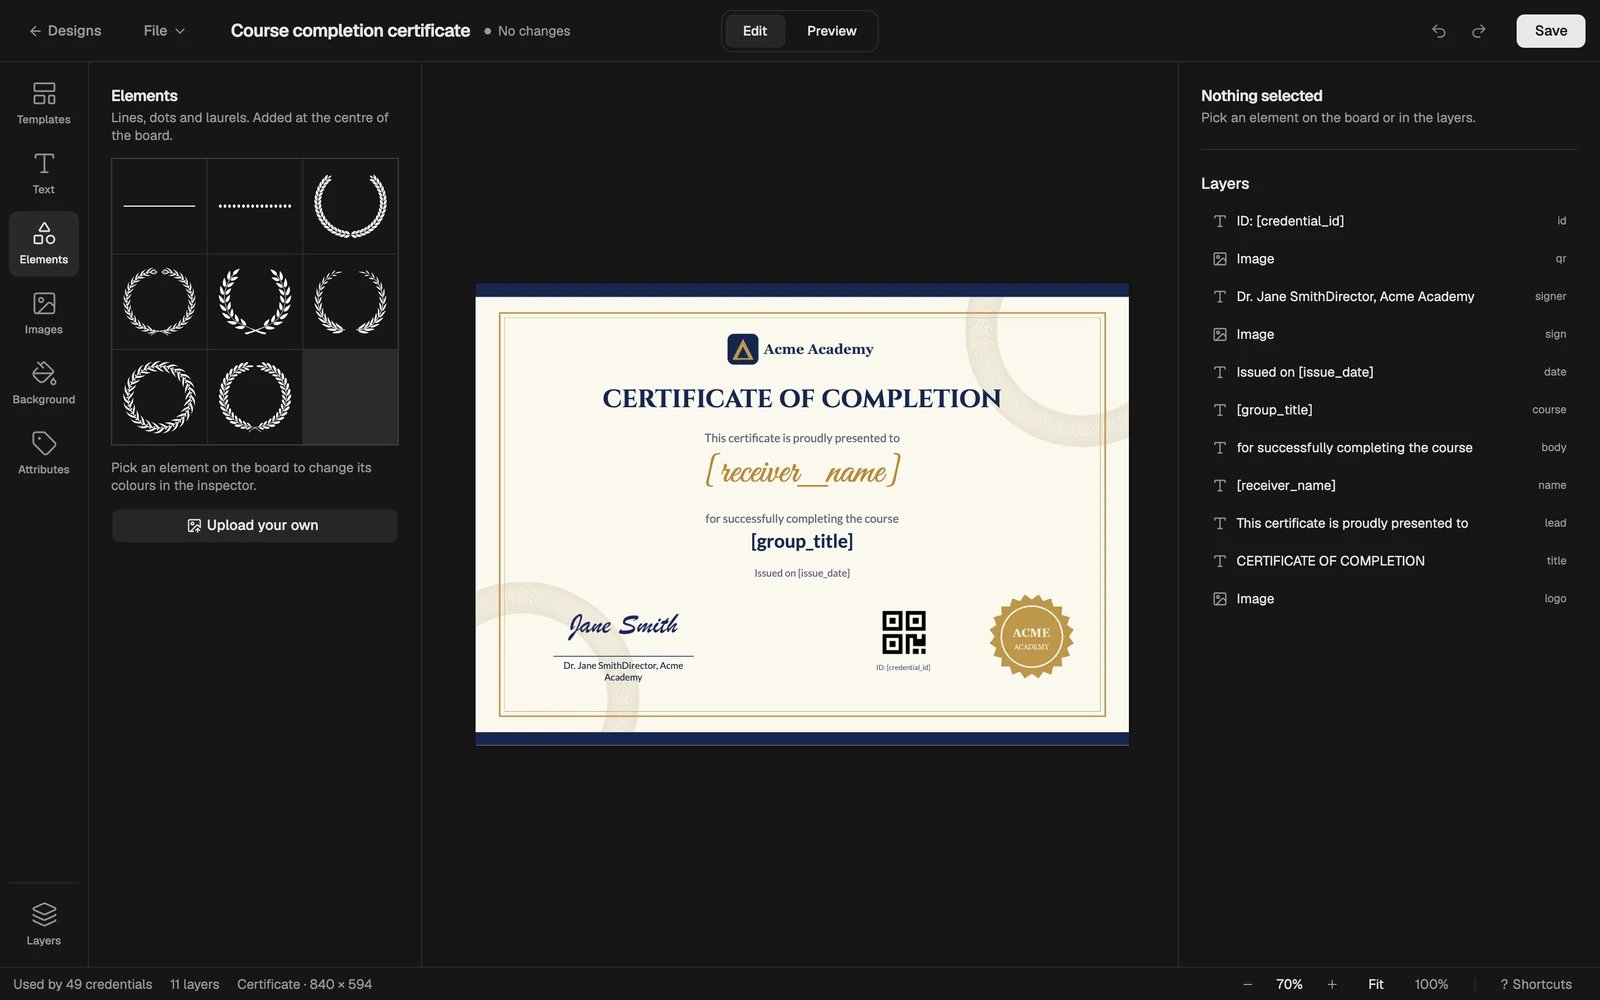
Click Attributes. An attribute is a merge tag that is replaced with each recipient’s details when you issue.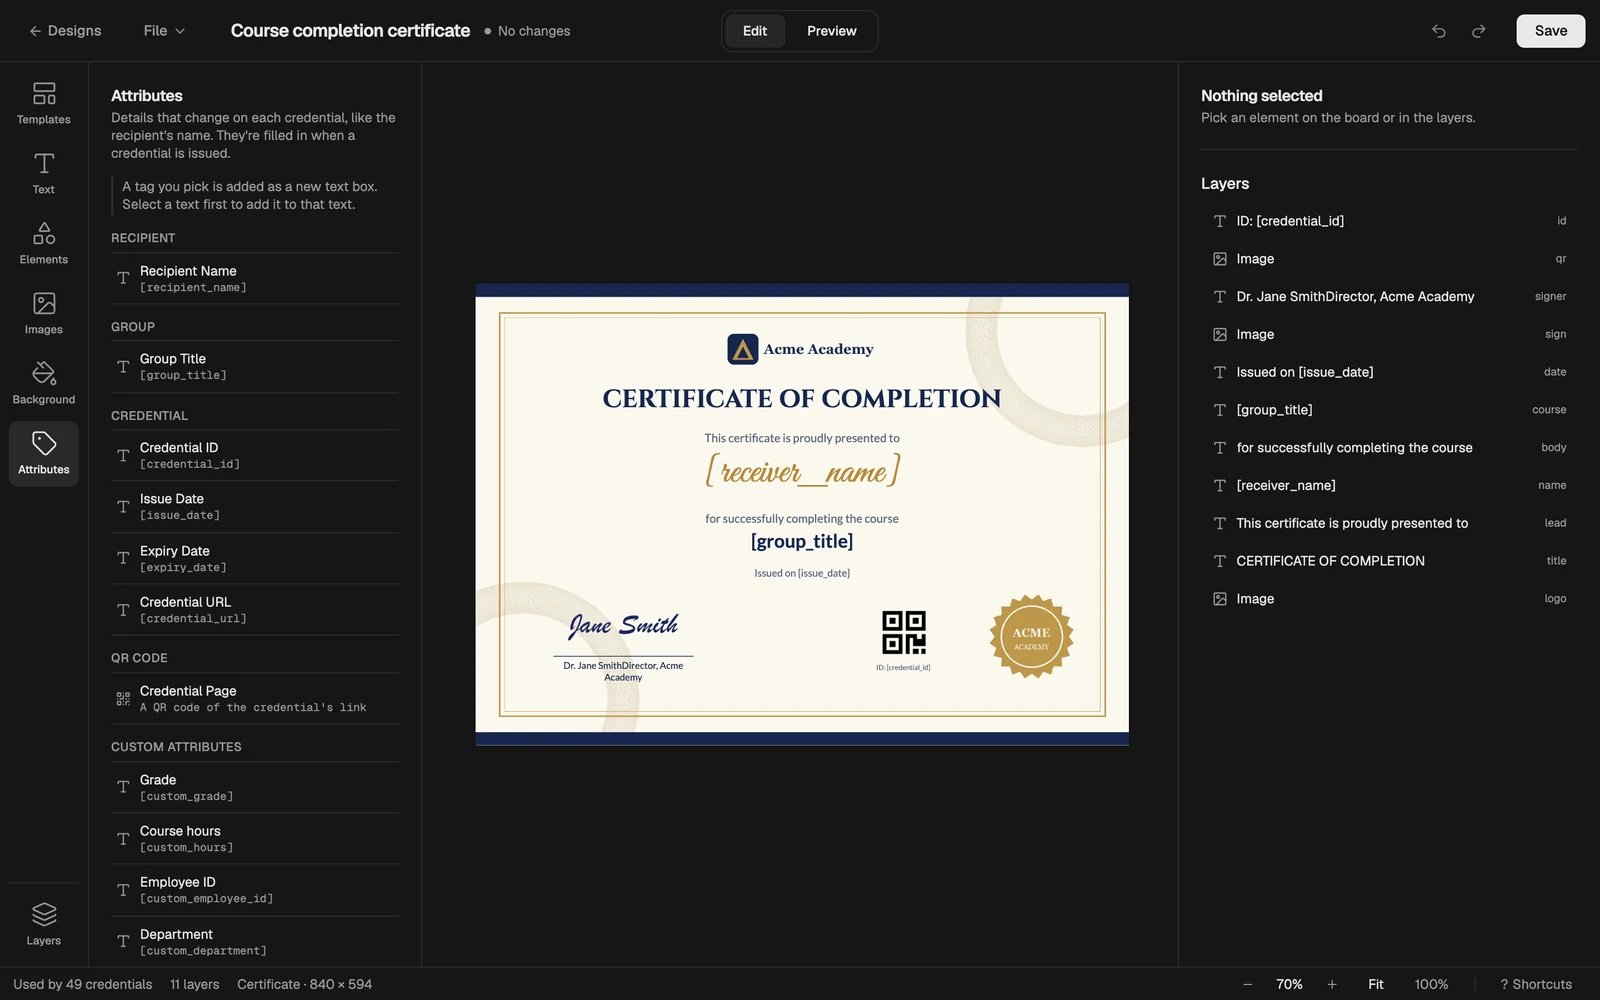
- Click an attribute to add it as a new text box. Select a text first to add the attribute to that text.
- QR code → Credential Page adds a QR code that opens the credential’s public page.
- Custom attributes are the fields you create, such as a grade. See Custom attributes.
Older designs use
[receiver_name] for the recipient’s name. It works the same as [recipient_name].Preview and save
Click Preview to see the design filled with sample data. You can change the sample values on the right. Only you see them.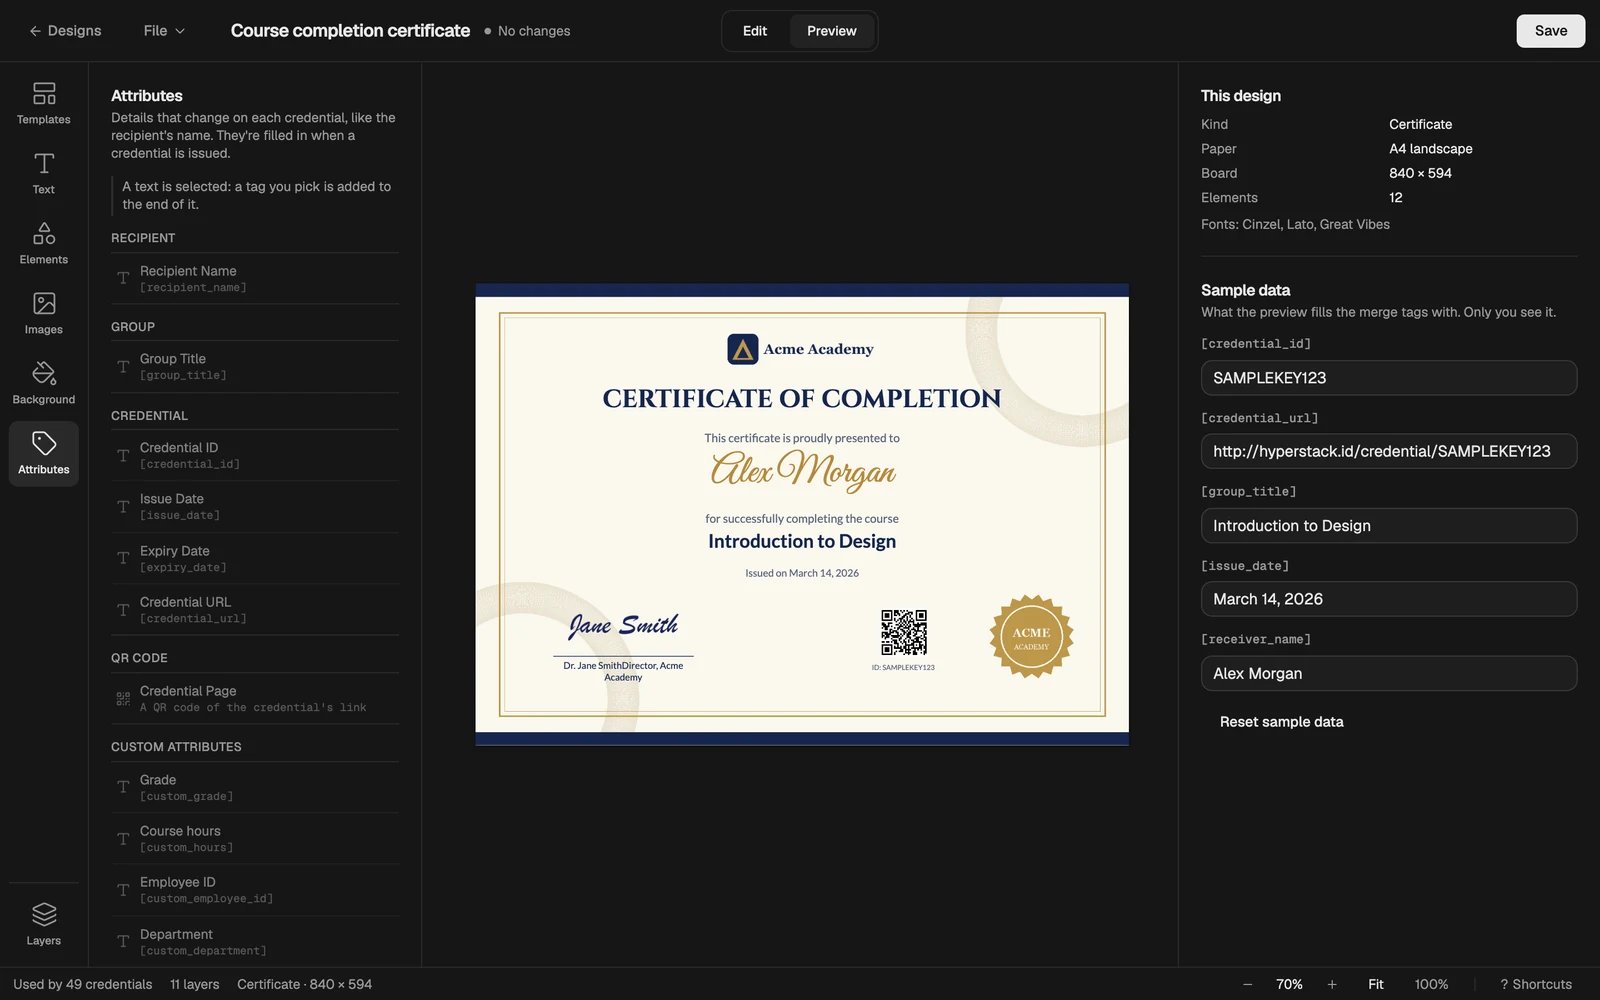
Next step
Create a credential group
Add your design to a credential group, then issue credentials.